A cute Easter bunny drawing: Learn how to draw an Easter bunny, as cute as a button baby bunny rabbit holding an Easter egg. Step-by-step guide.
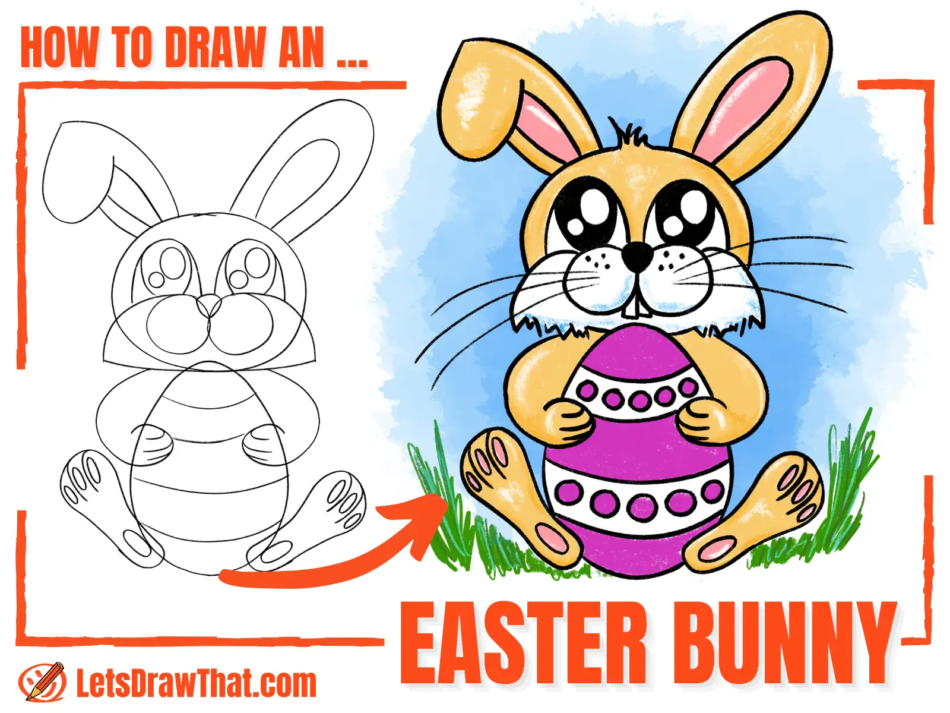
Today, we will learn how to draw an Easter bunny. Since we already have one “how to draw a bunny” tutorial with an adult bunny rabbit, for our Easter bunny drawing we will do a simple and absolutely adorable baby rabbit drawing.
The cheeky trick is our baby bunny hiding behind an Easter egg, which means we do not need to draw its body. Our bunny will also have large, cute eyes to make it the most adorable Easter bunny drawing for any of your Easter cards.
Let’s learn how to draw an Easter bunny!
This tutorial is part of our Easter drawings collection.
min
You will need: pencil, fineliner pen, colored pencils, eraser and drawing paper or sketchbook
Disclaimer: LetsDrawThat.com participates in the Amazon Associates Program. If you purchase a product using a link on our website, we earn a small commission, at no extra cost to you. This is one way how you can support this website.

Easter bunny drawing: base sketch step by step
Step 1: Draw an oval for the head
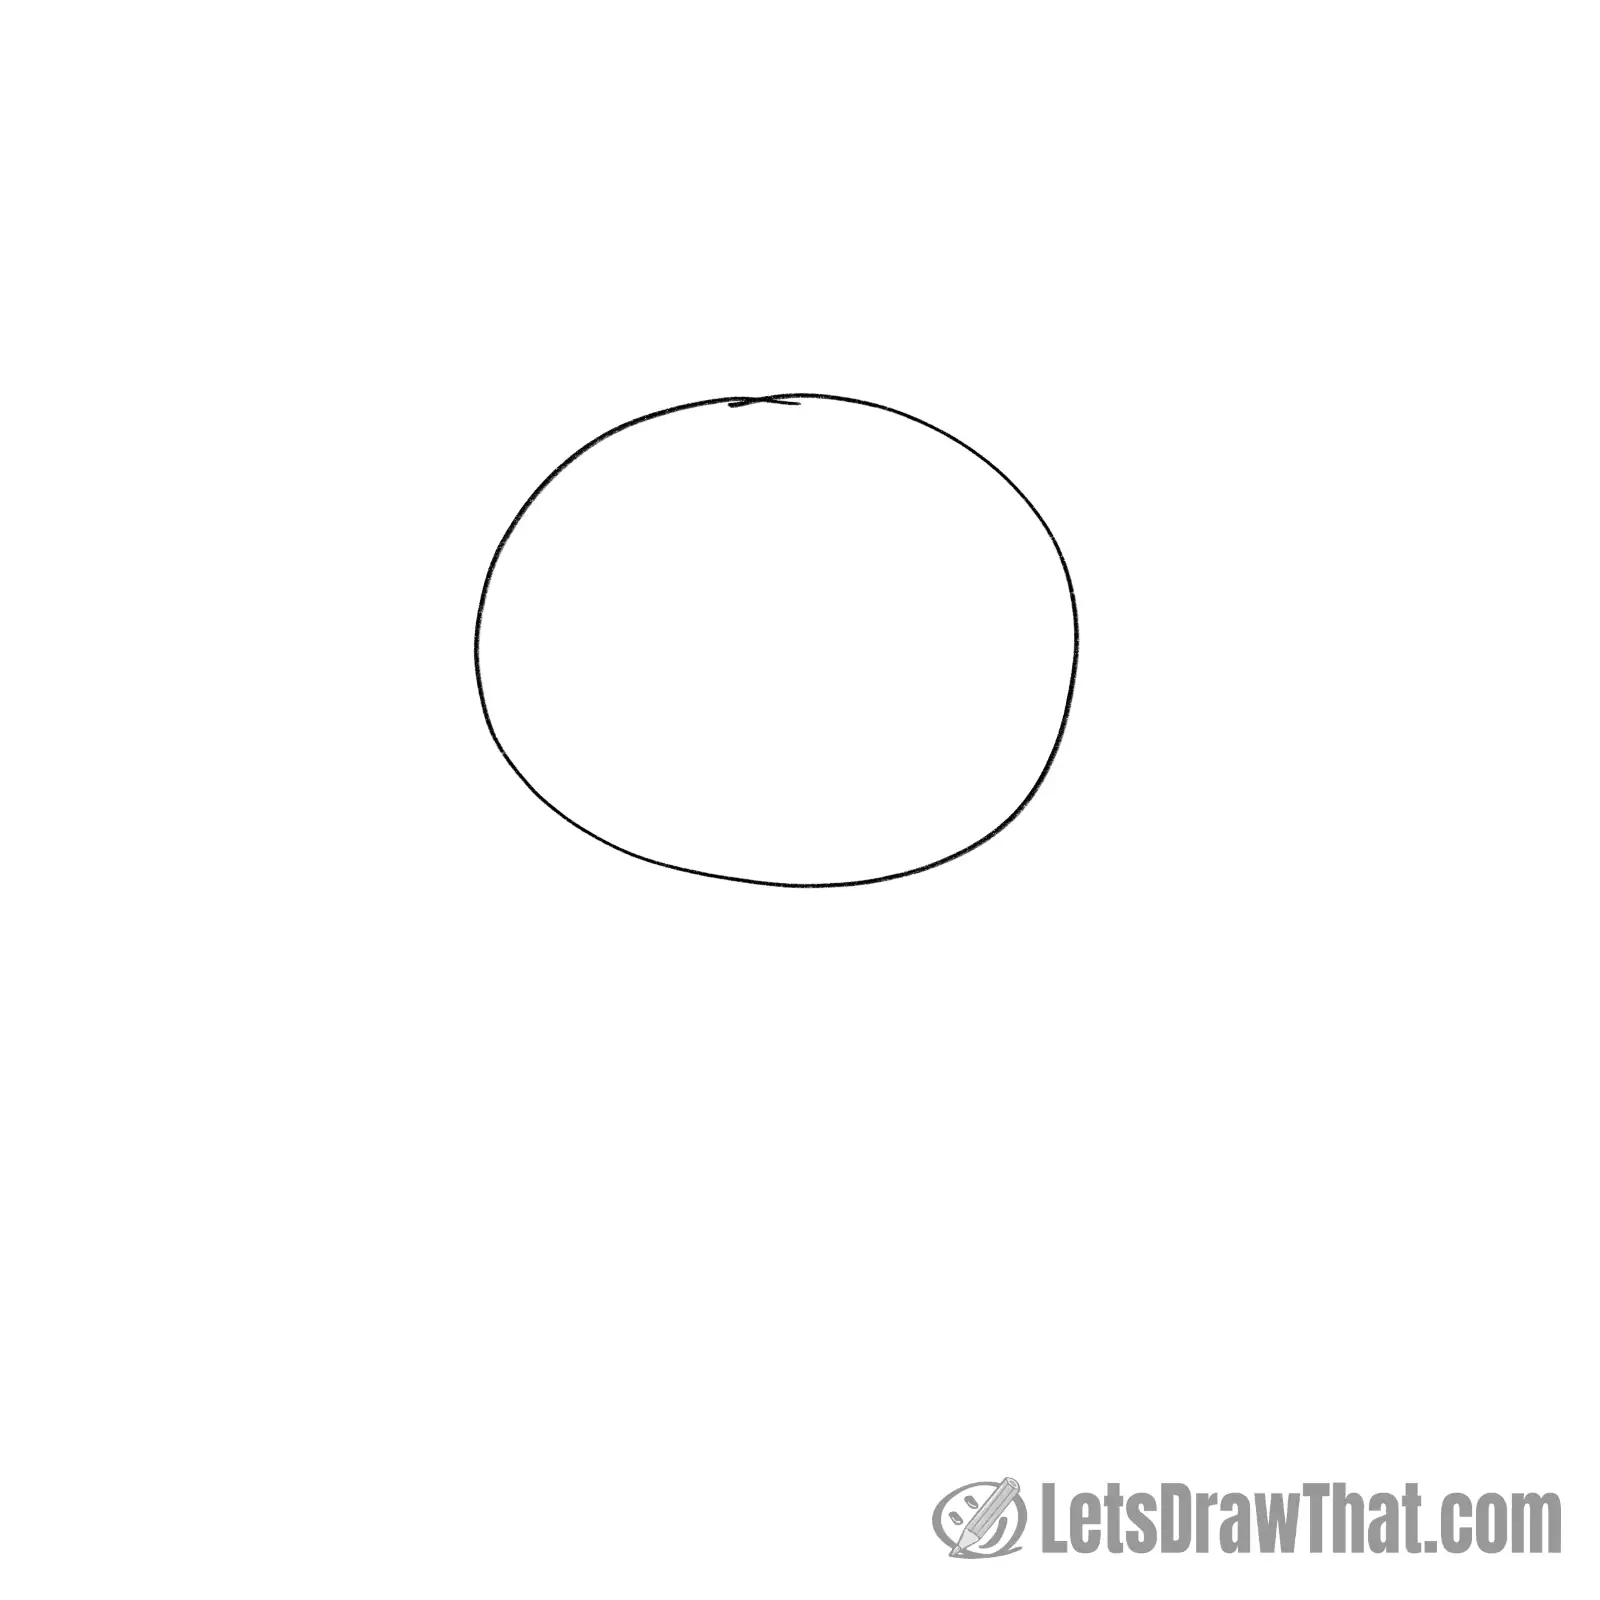
As with any drawing, our easter bunny drawing starts with simple base shapes.
This one is as simple as it gets: Draw an oval for the bunny’s head.
Step 2: Draw the bunny's ears
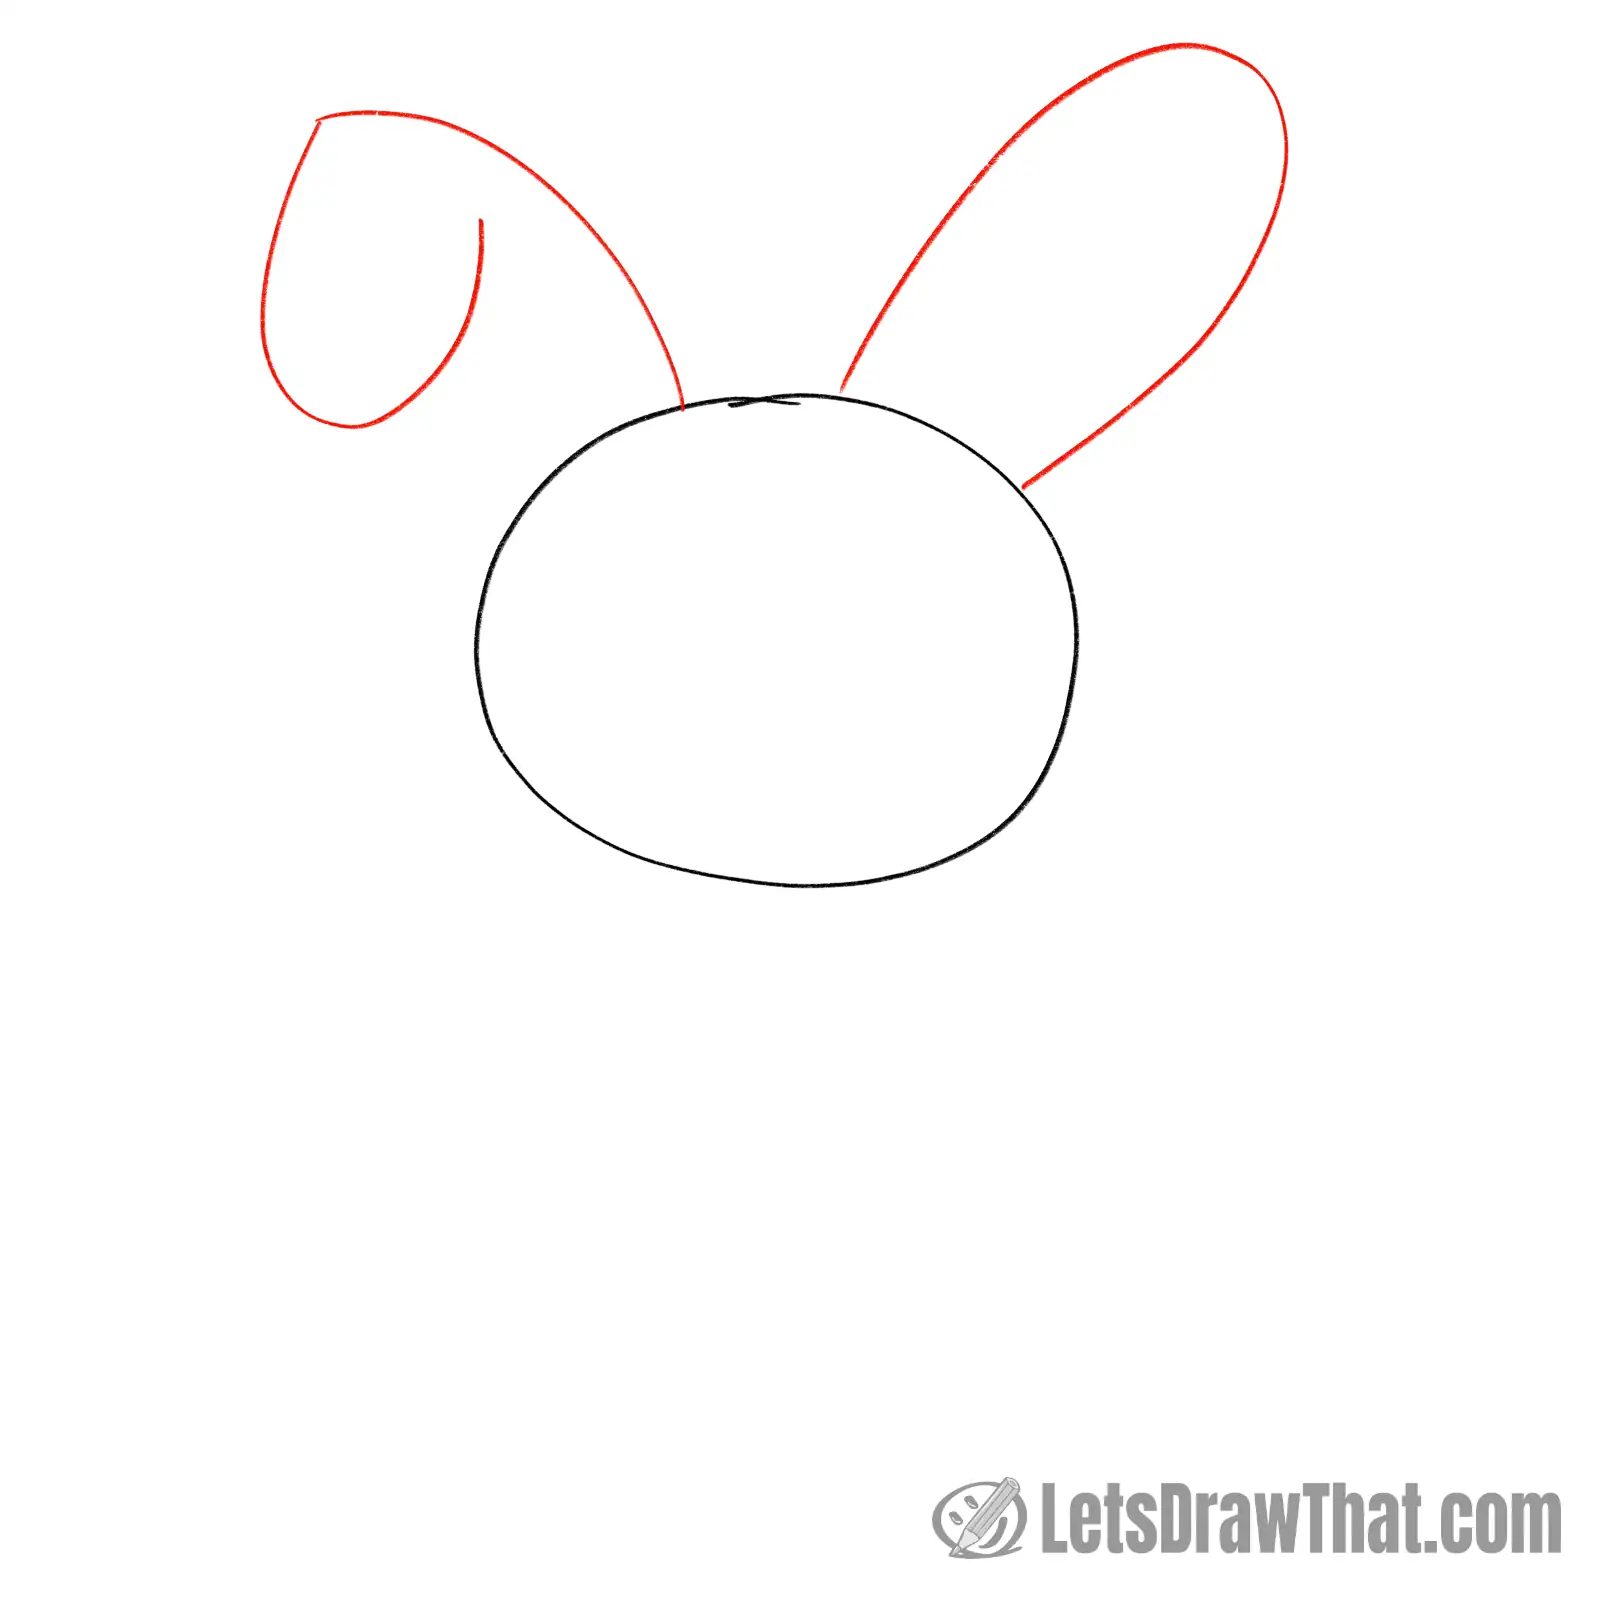
Next, sketch the bunny’s ears.
Draw the standing ear on the right as a simple upside-down “U” line.
Start the folded ear one on the left with a curved line up from the head. Then, “hang” a “U” shape on the left end of the line for the folded-over part of the ear.
Step 3: Finish the inside of the ears
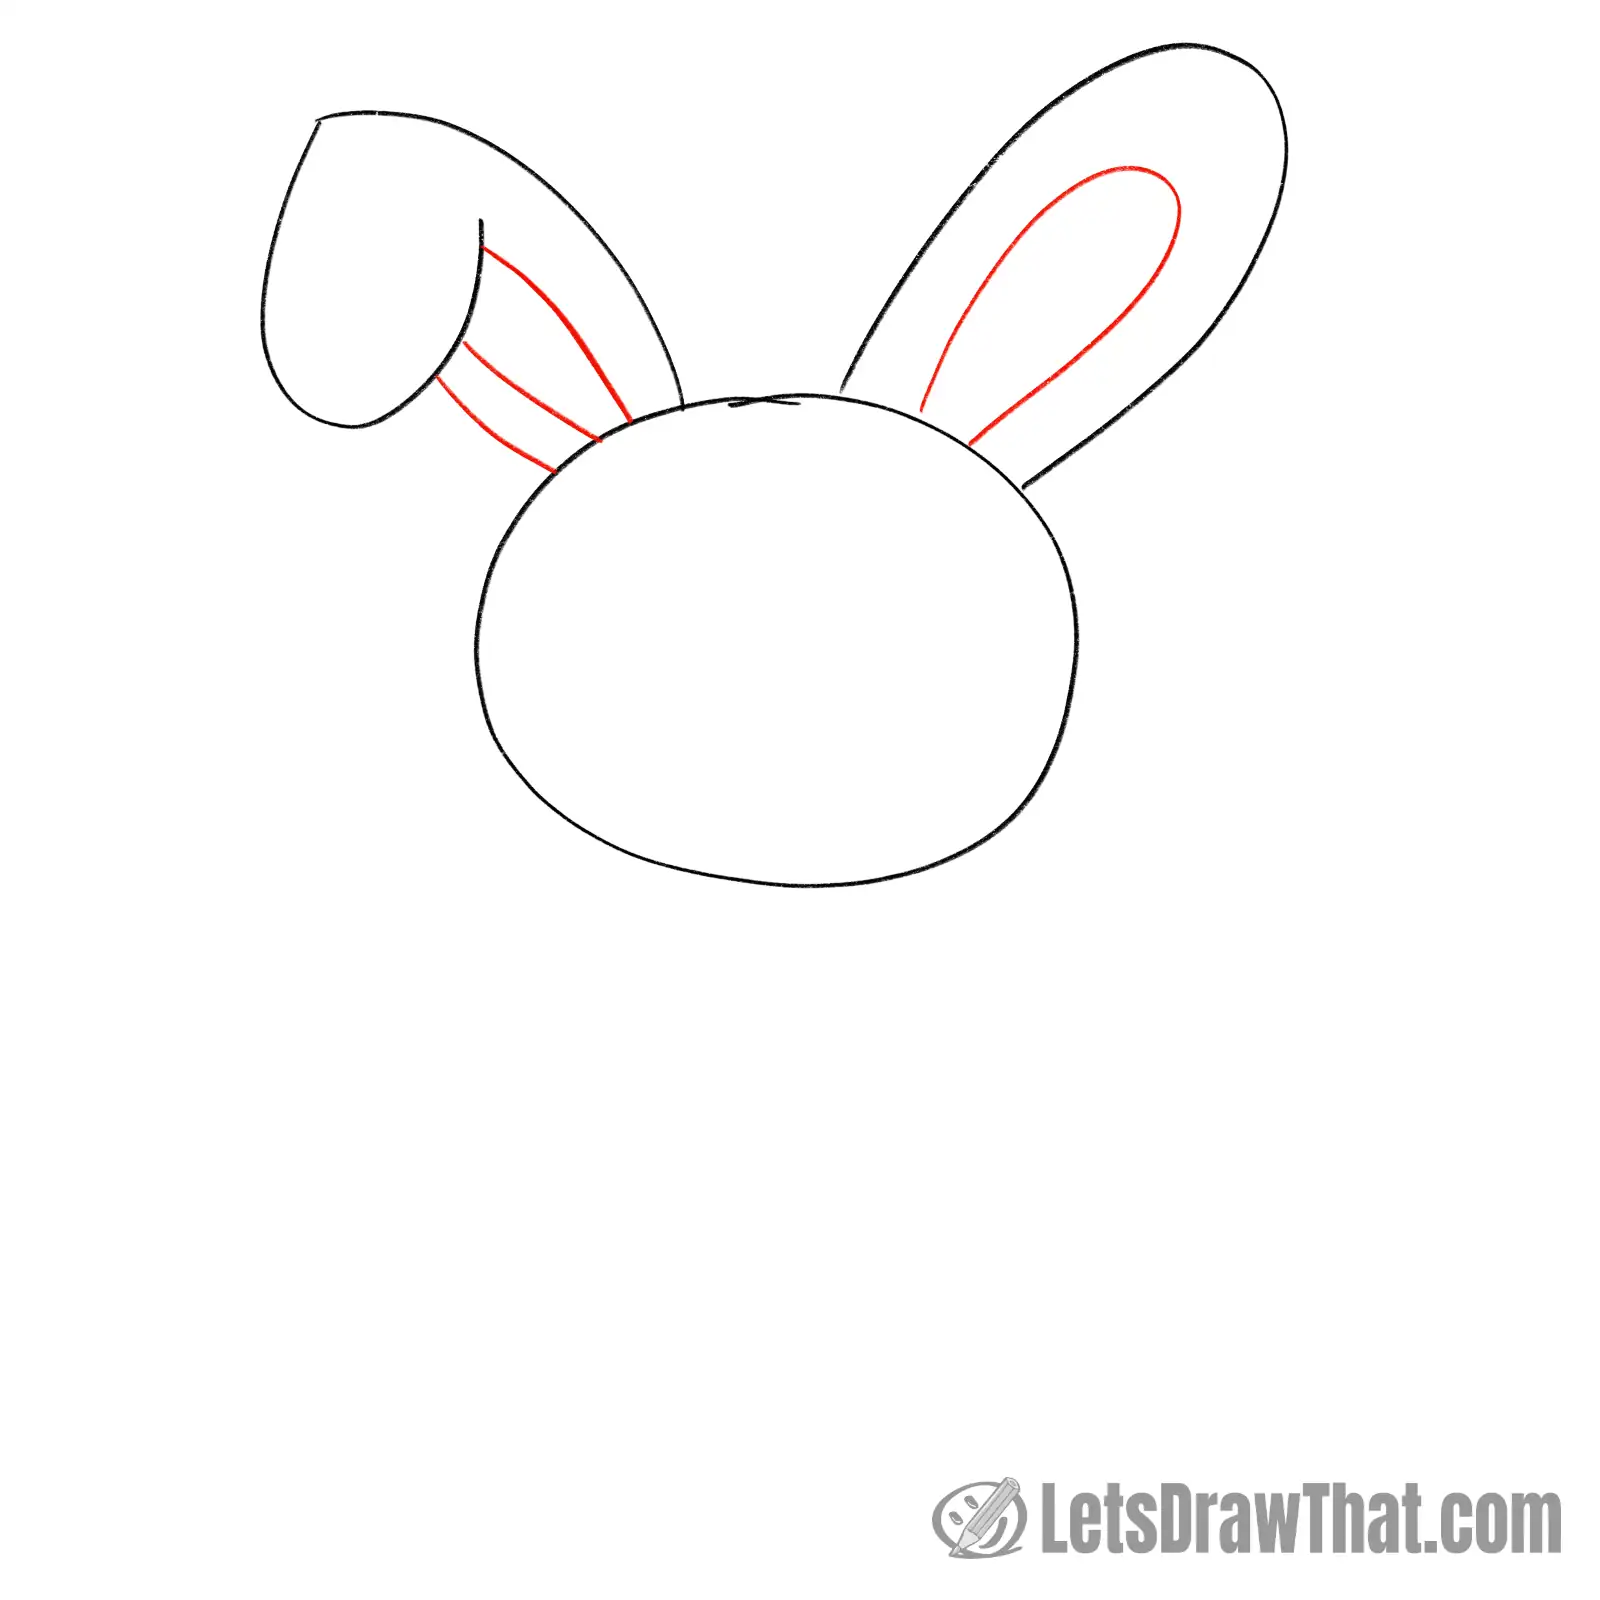
Let’s finish drawing the ears.
Double up the outer line for the standing ear with the same shape inside. Then, draw the bottom half of the folded ear.
Finally, add the inner ear lines to the bottom half of the folded ear. The inside of the ear only shows on the bottom part facing us, not on the folded-over part.
Step 4: Draw the bunny's muzzle
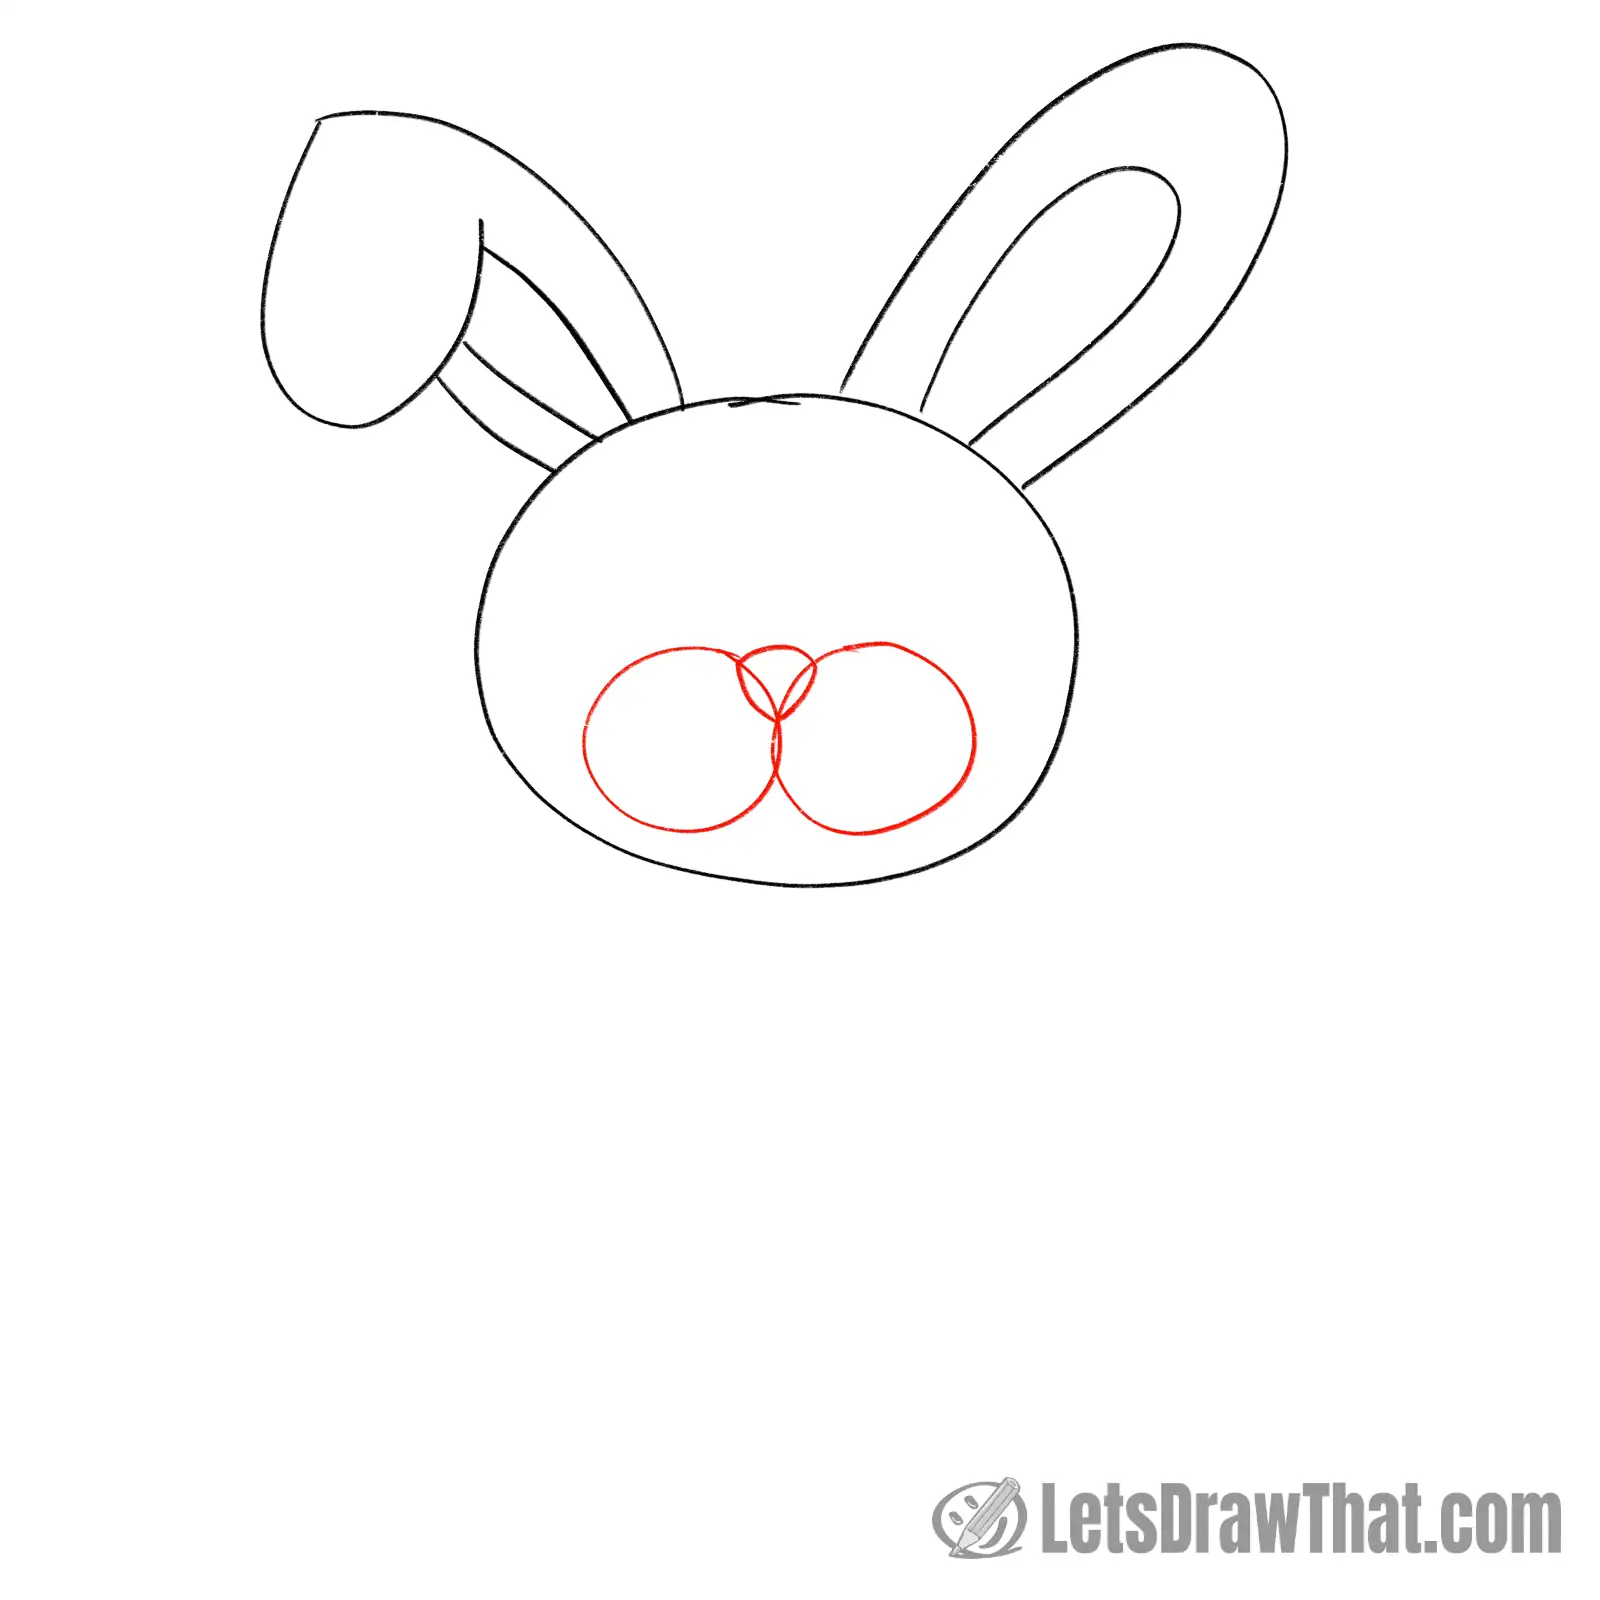
Next, we will draw the bunny’s face, starting with the muzzle.
Draw two small circles, one next to the other, in the lower half of the head oval.
Then, draw the bunny’s nose – a kind of rounded triangle sitting at the top where the two circles meet.
Step 5: Draw the eyes and cheek outlines
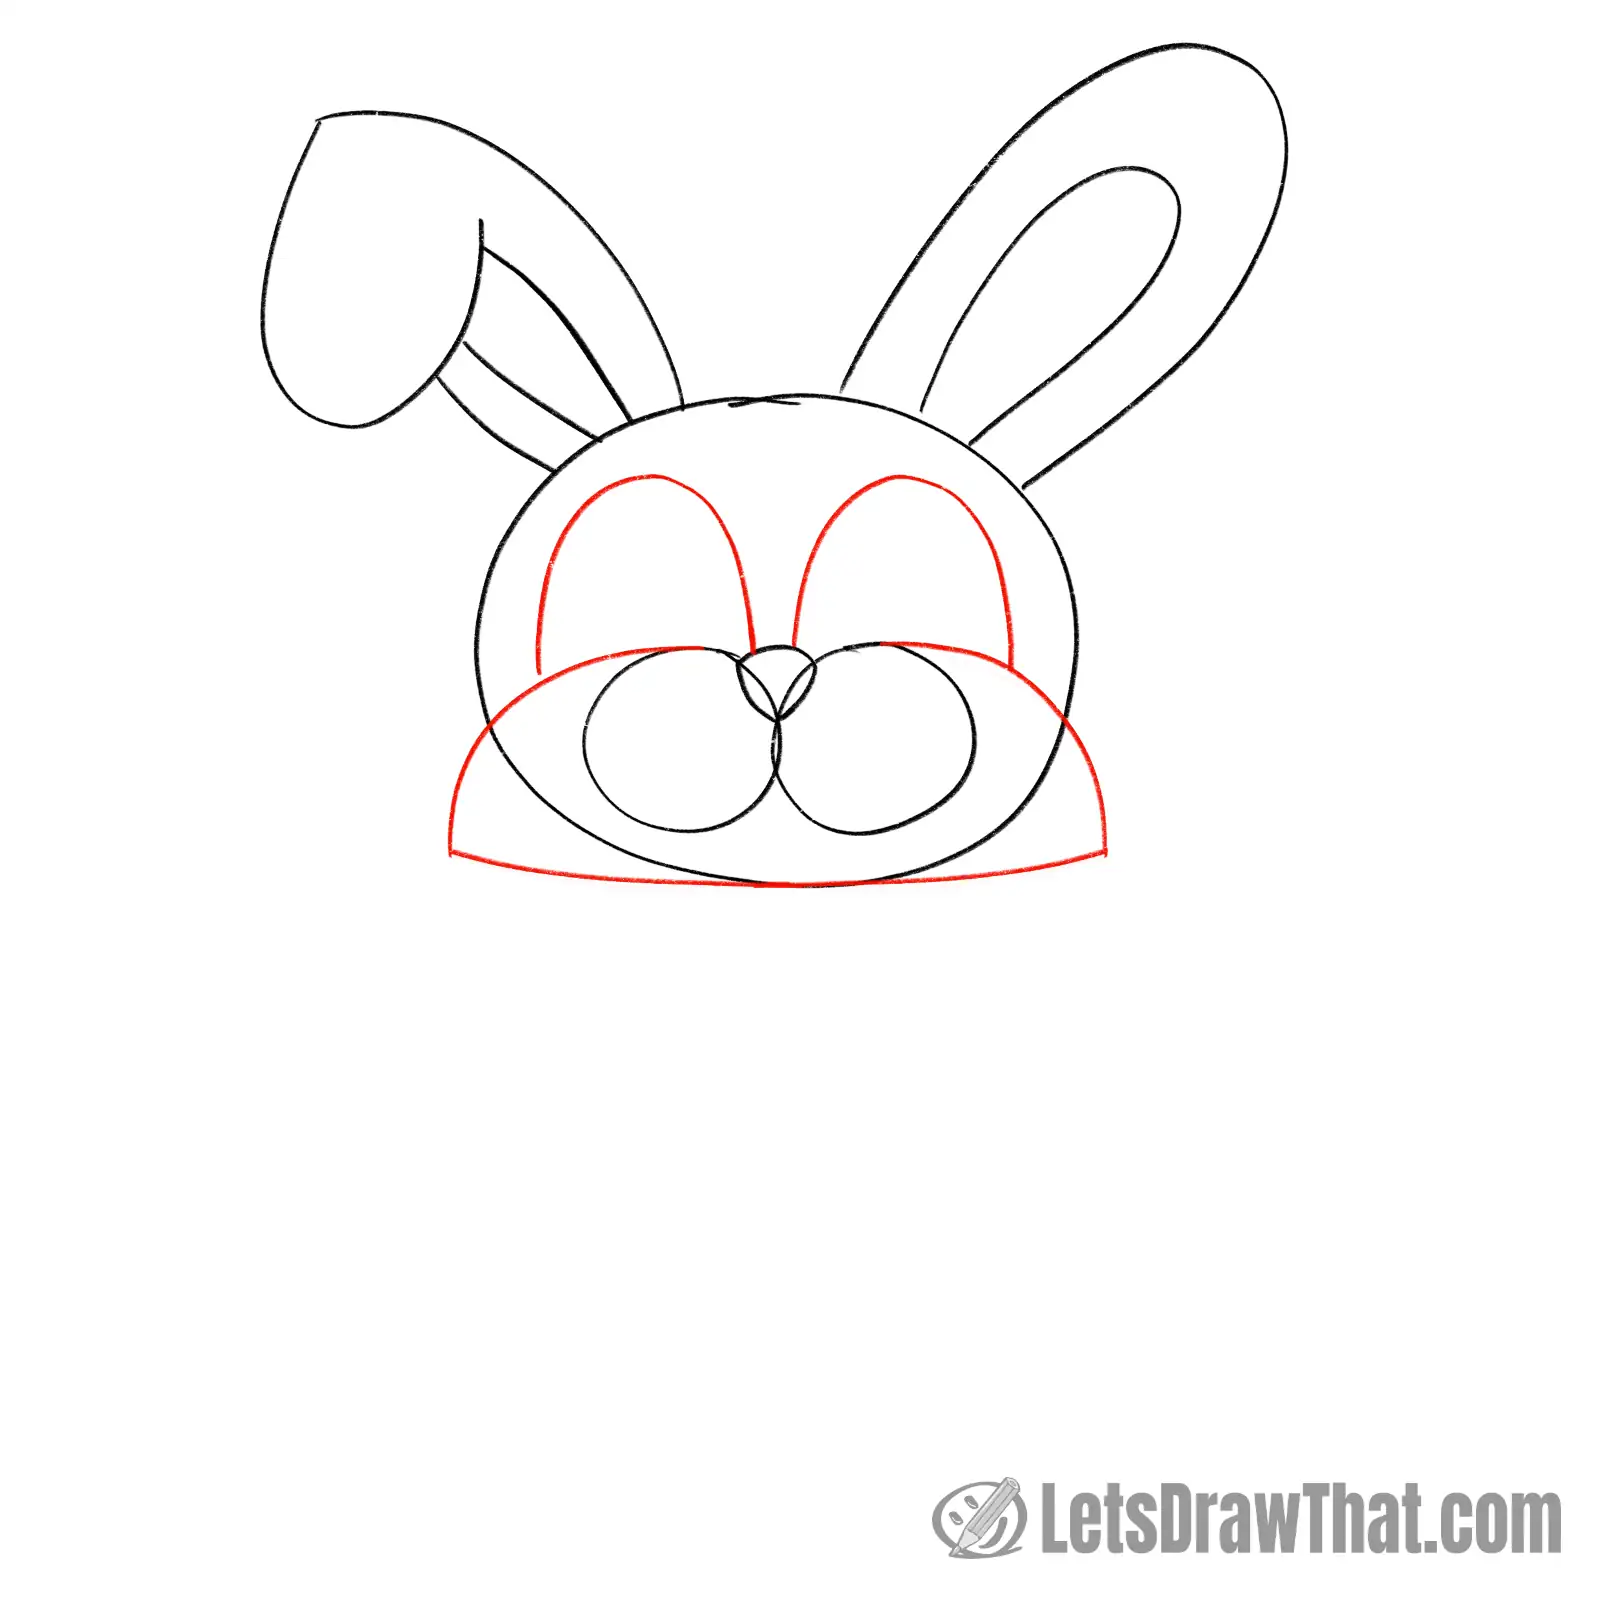
Continue drawing the face. Draw the cheeks first.
These are the two lines starting from the nose that curve down and overlap out of the head circle. They are joined with an almost straight line at the bottom that just touches the chin or the lowest point of the head oval.
Then, draw the outlines for the eyes. We are going for an incredibly cute easter bunny rabbit drawing, so the eyes are huge. They are drawn as two upside-down “U” shapes sitting on the top of the nose and cheek lines.
Step 6: Draw the bunny's eyes
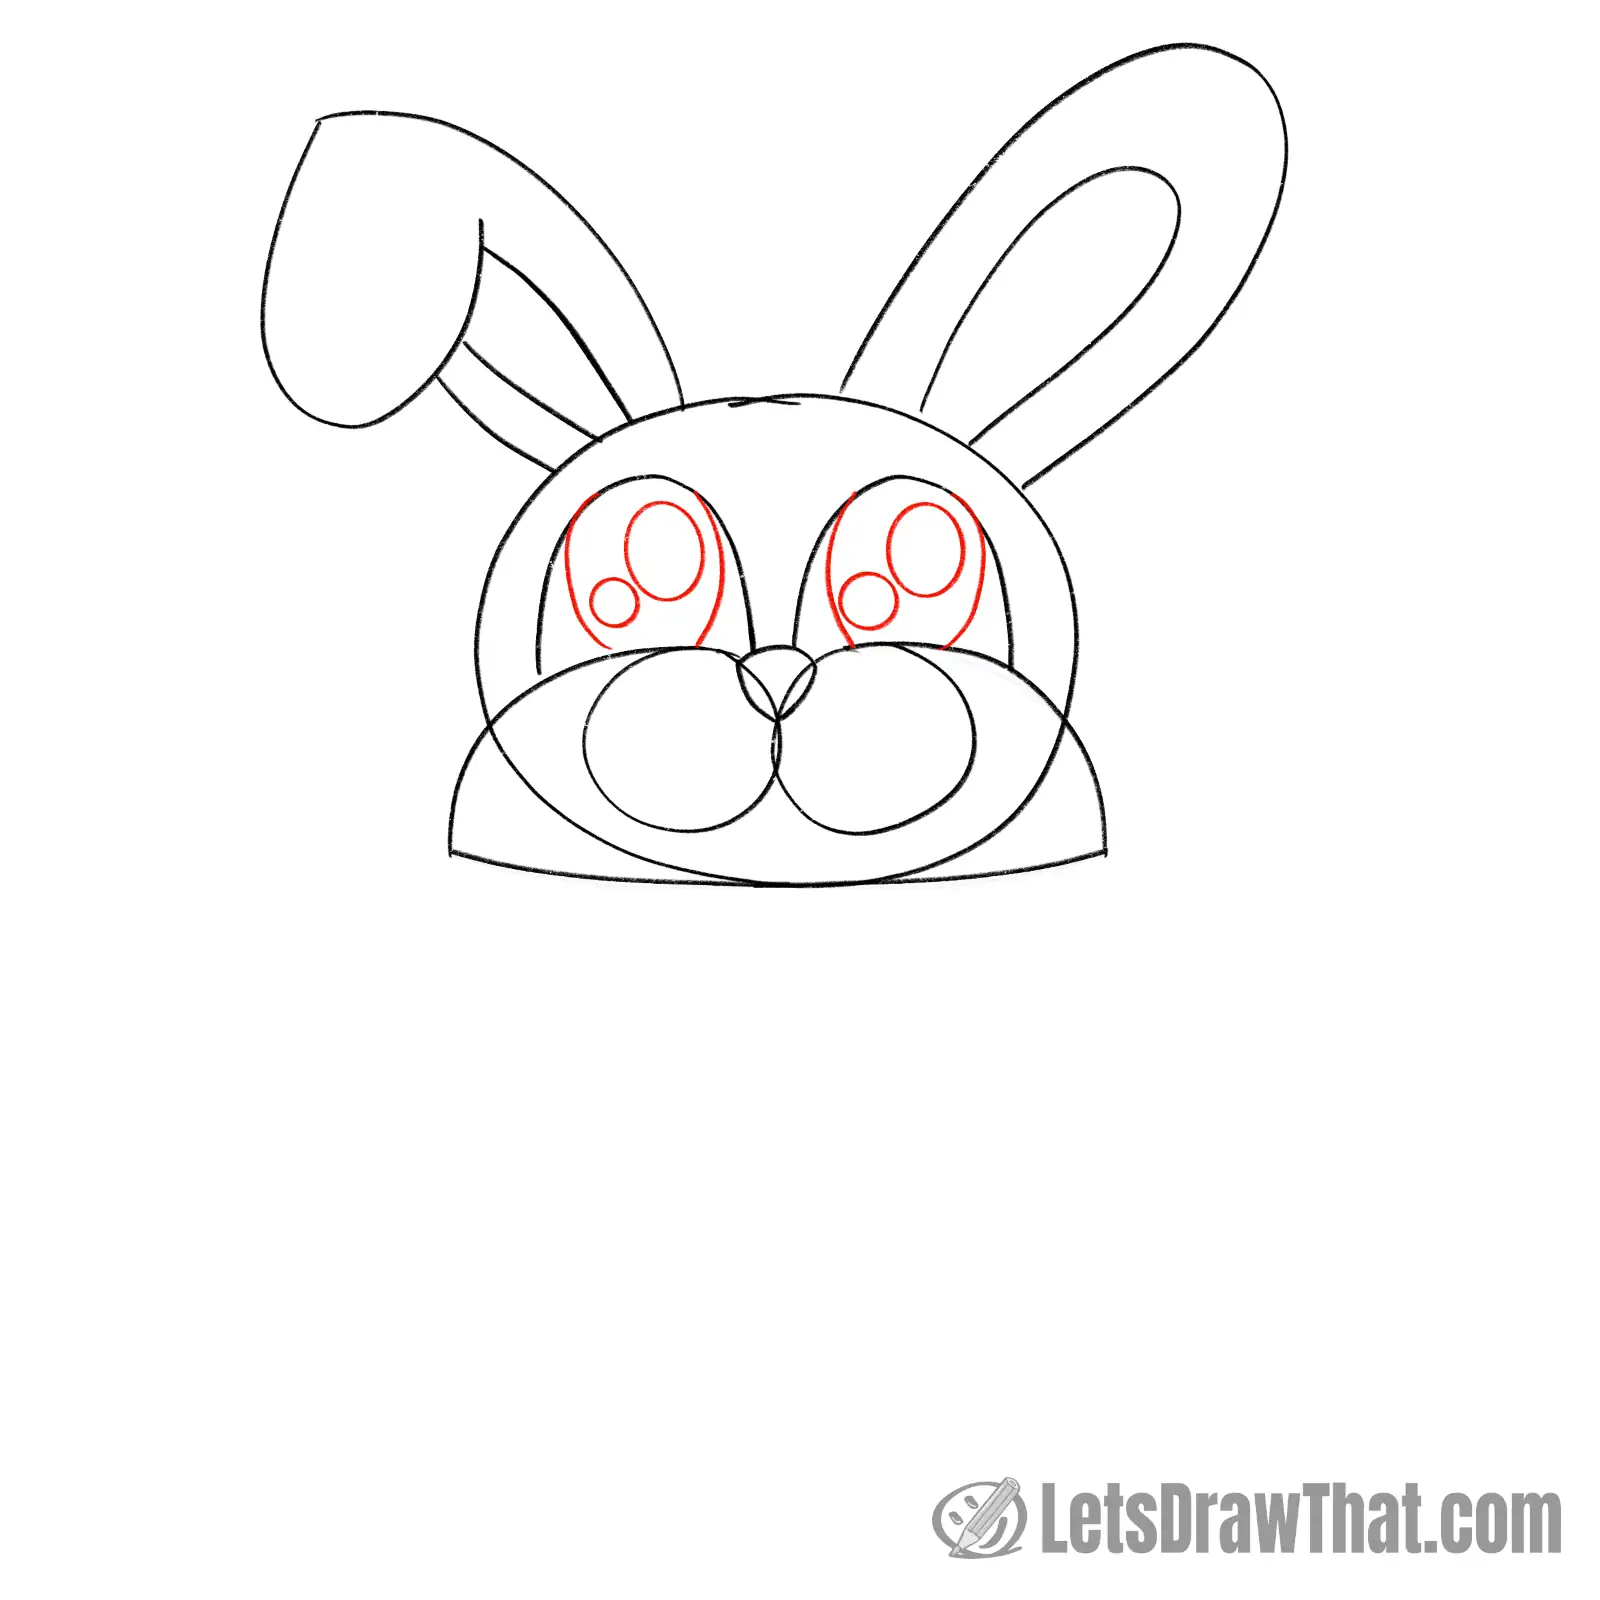
Let’s finish those large, cute bunny eyes.
Draw the two downlines for each of the eye pupils. Then, add the two bubbles inside, one larger and one small, for the shine or the highlights in the eye.
Step 7: Draw the easter egg the bunny is holding
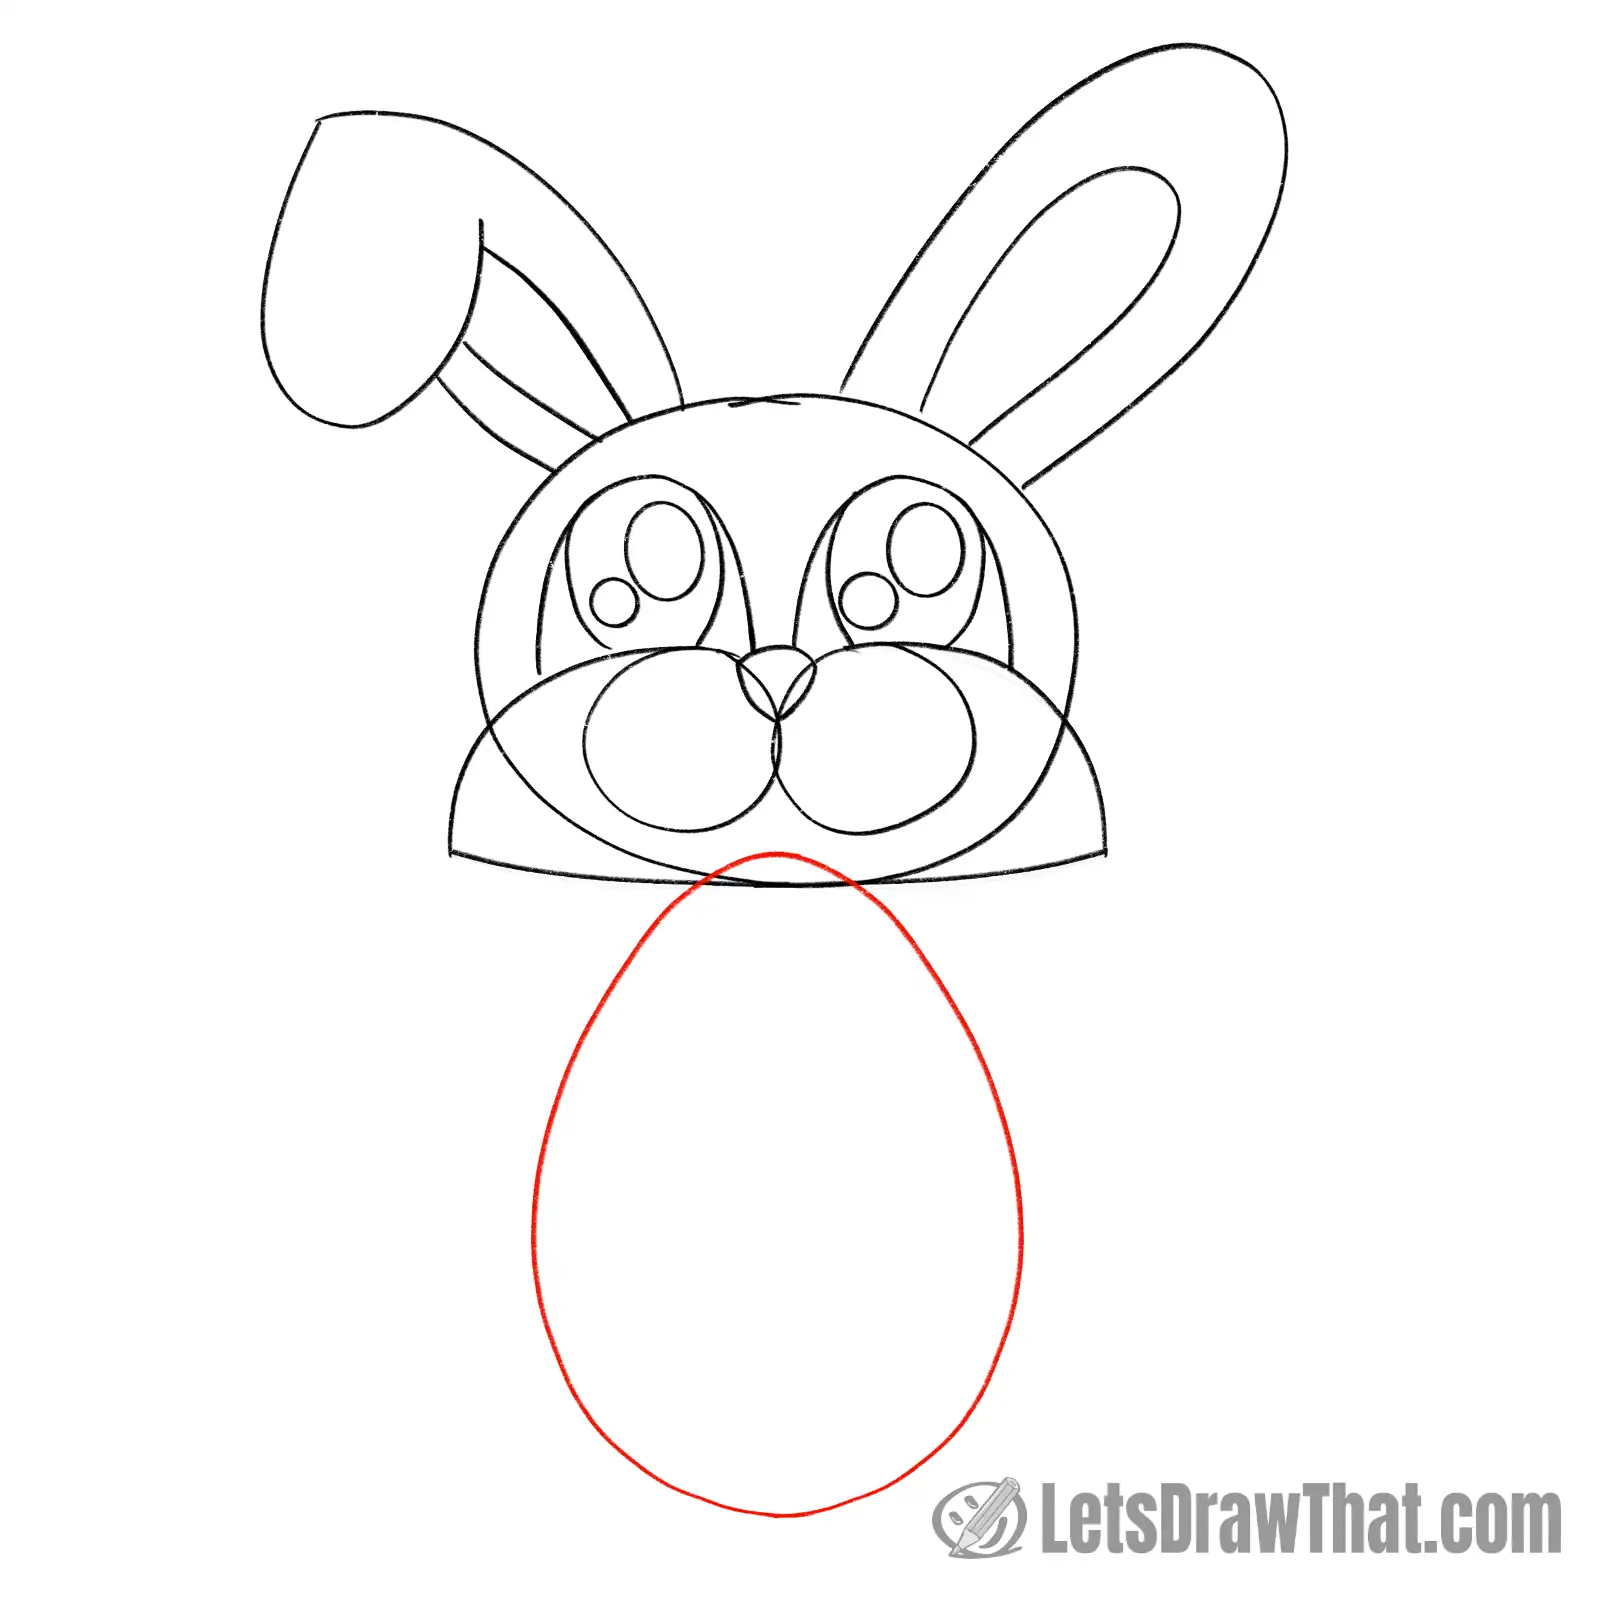
Here is a small cheat to make the drawing nice and easy for you.
Our bunny will hold a large Easter egg, which hides its body entirely. So, instead of figuring out how to draw the body, just draw a nice egg shape that slightly overlaps the bunny’s chin.
If you have a hard time drawing the egg, draw a small circle at the tip and a large one at the bottom, and then join them together with a curved line. That will give you some guides to latch onto and will make it easier.
Step 8: Draw the bunny's hands and feet
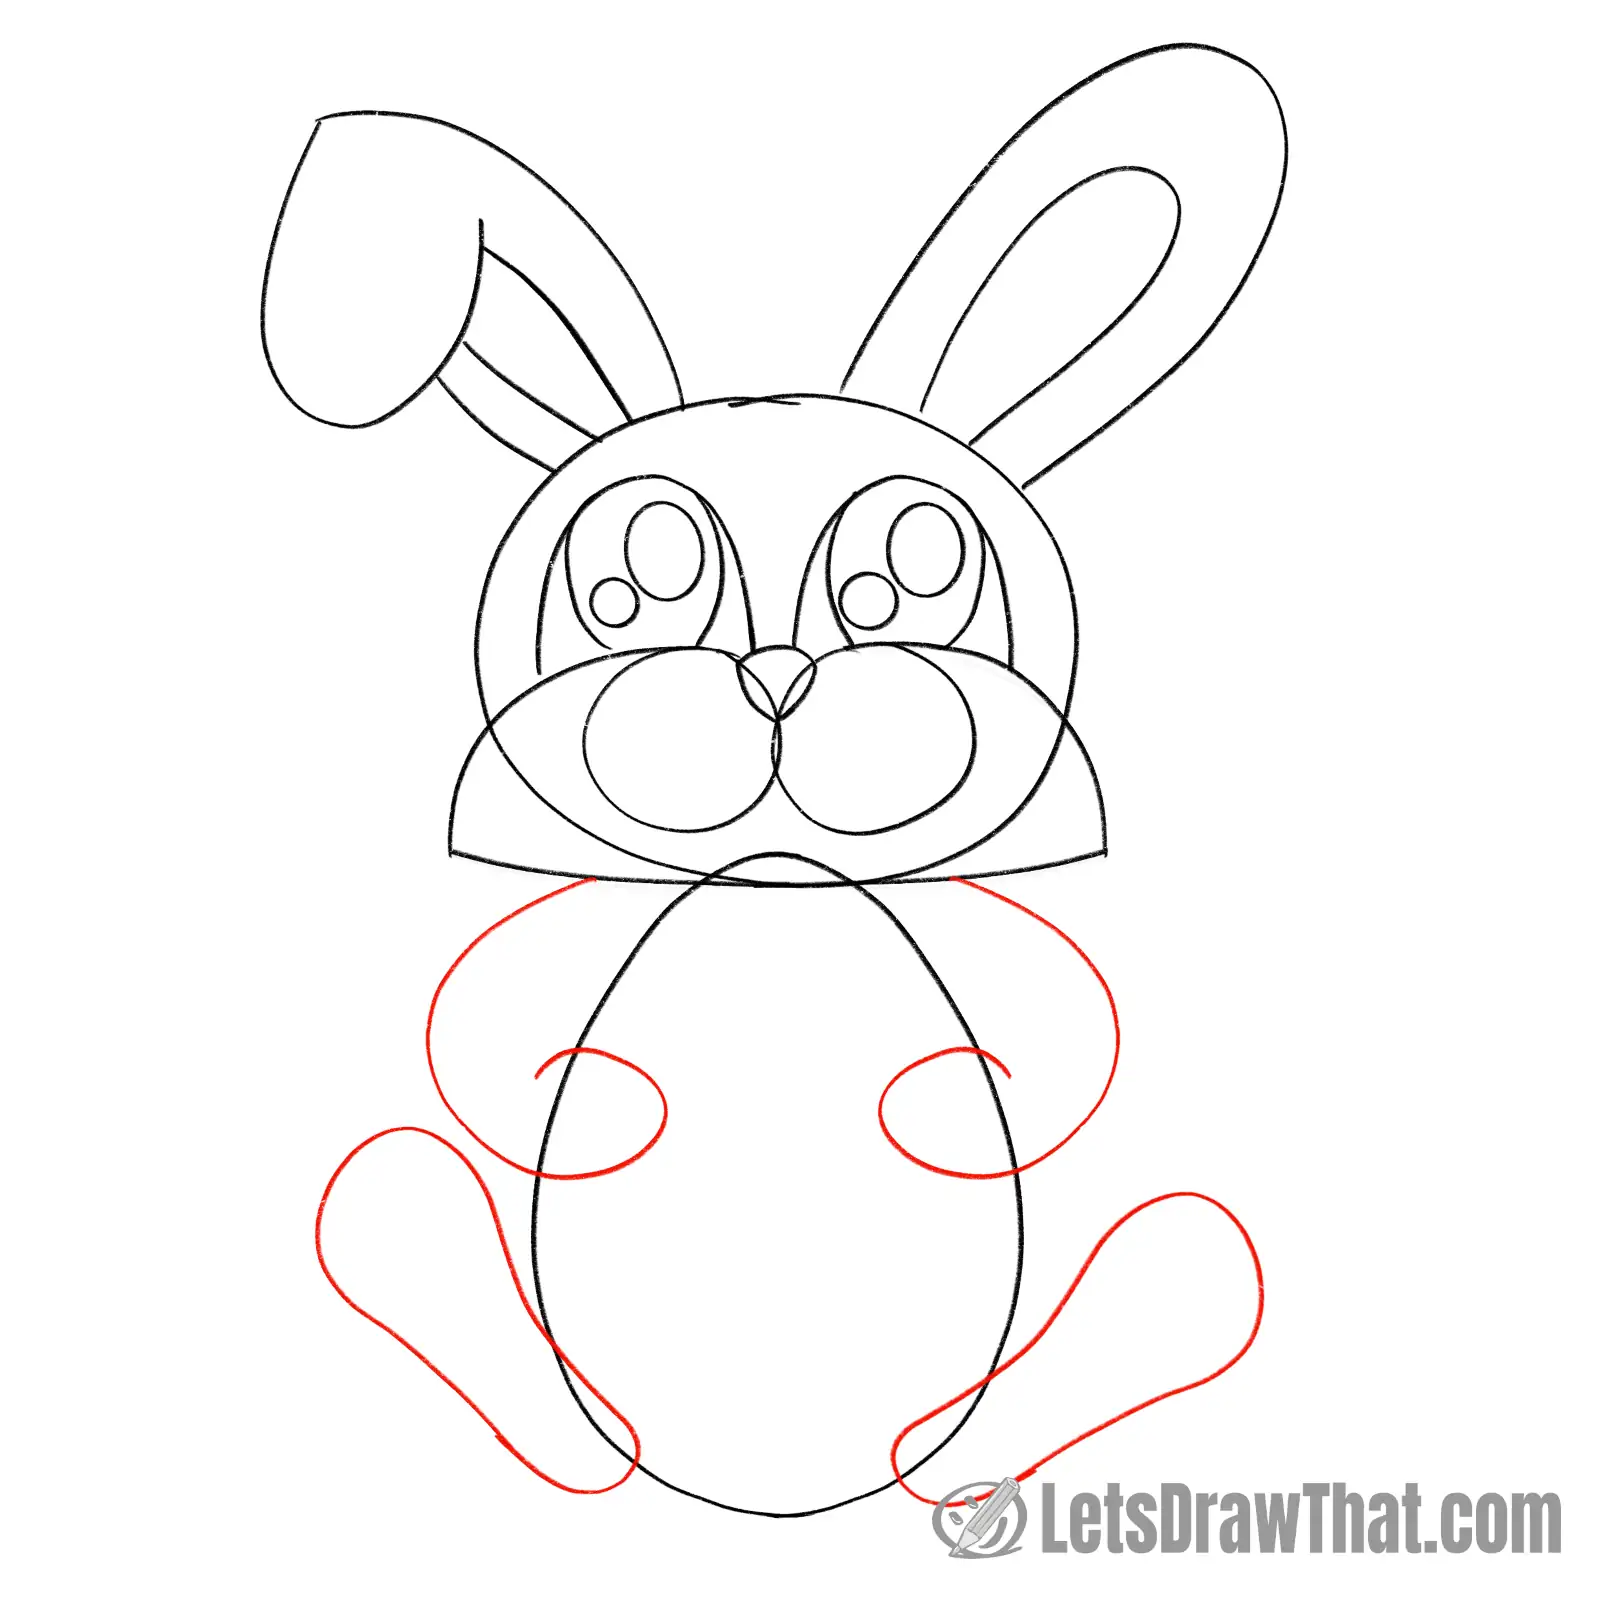
Draw the bunny’s hands next.
Each is a simple spiral, starting under the neckline and curving over the edge of the eggshell. The small curly part at the end will be the bunny’s paw.
Next, draw the bunny’s feet. As the bunny sits, we see only the soles of his feet. Those are two peanut-shaped ovals that attach level with the bottom of the eggshell. Again, draw them slightly overlapping the edge of the egg.
Step 9: Draw the fingers for the hands and feet
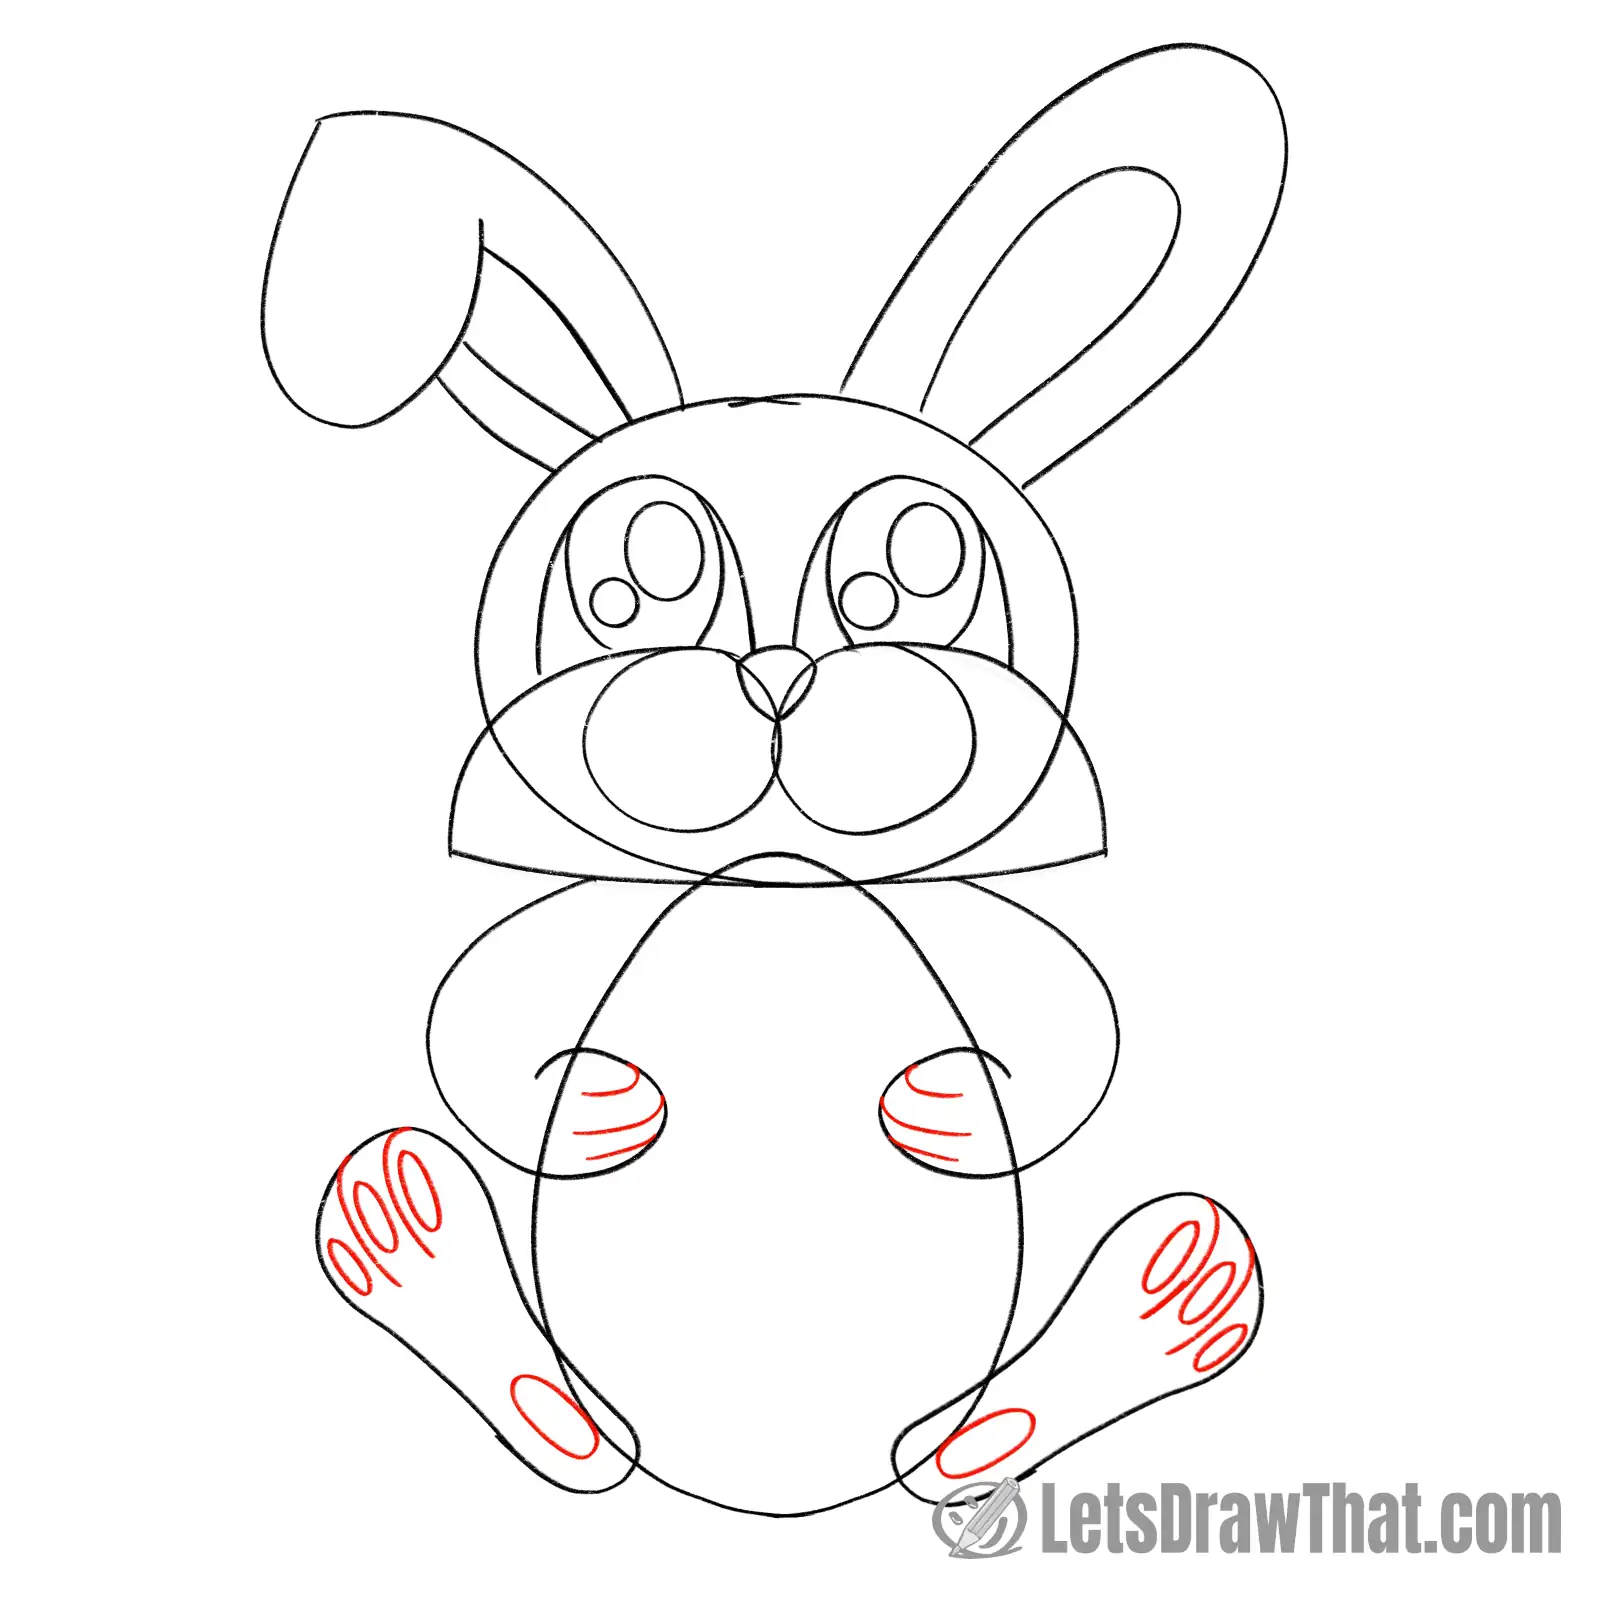
Our Easter bunny drawing sketch is almost done. Let’s add some final details and draw the “fingers” on the hands and feet.
Split the bunny’s paws into “fingers” with two to three short curved lines – depending on what you can squeeze in.
Then, do the same for the “fingers” on the feet. Add small oval foot pads onto each finger and slightly larger ones at the heels.
Step 10: Draw the lines on the easter egg
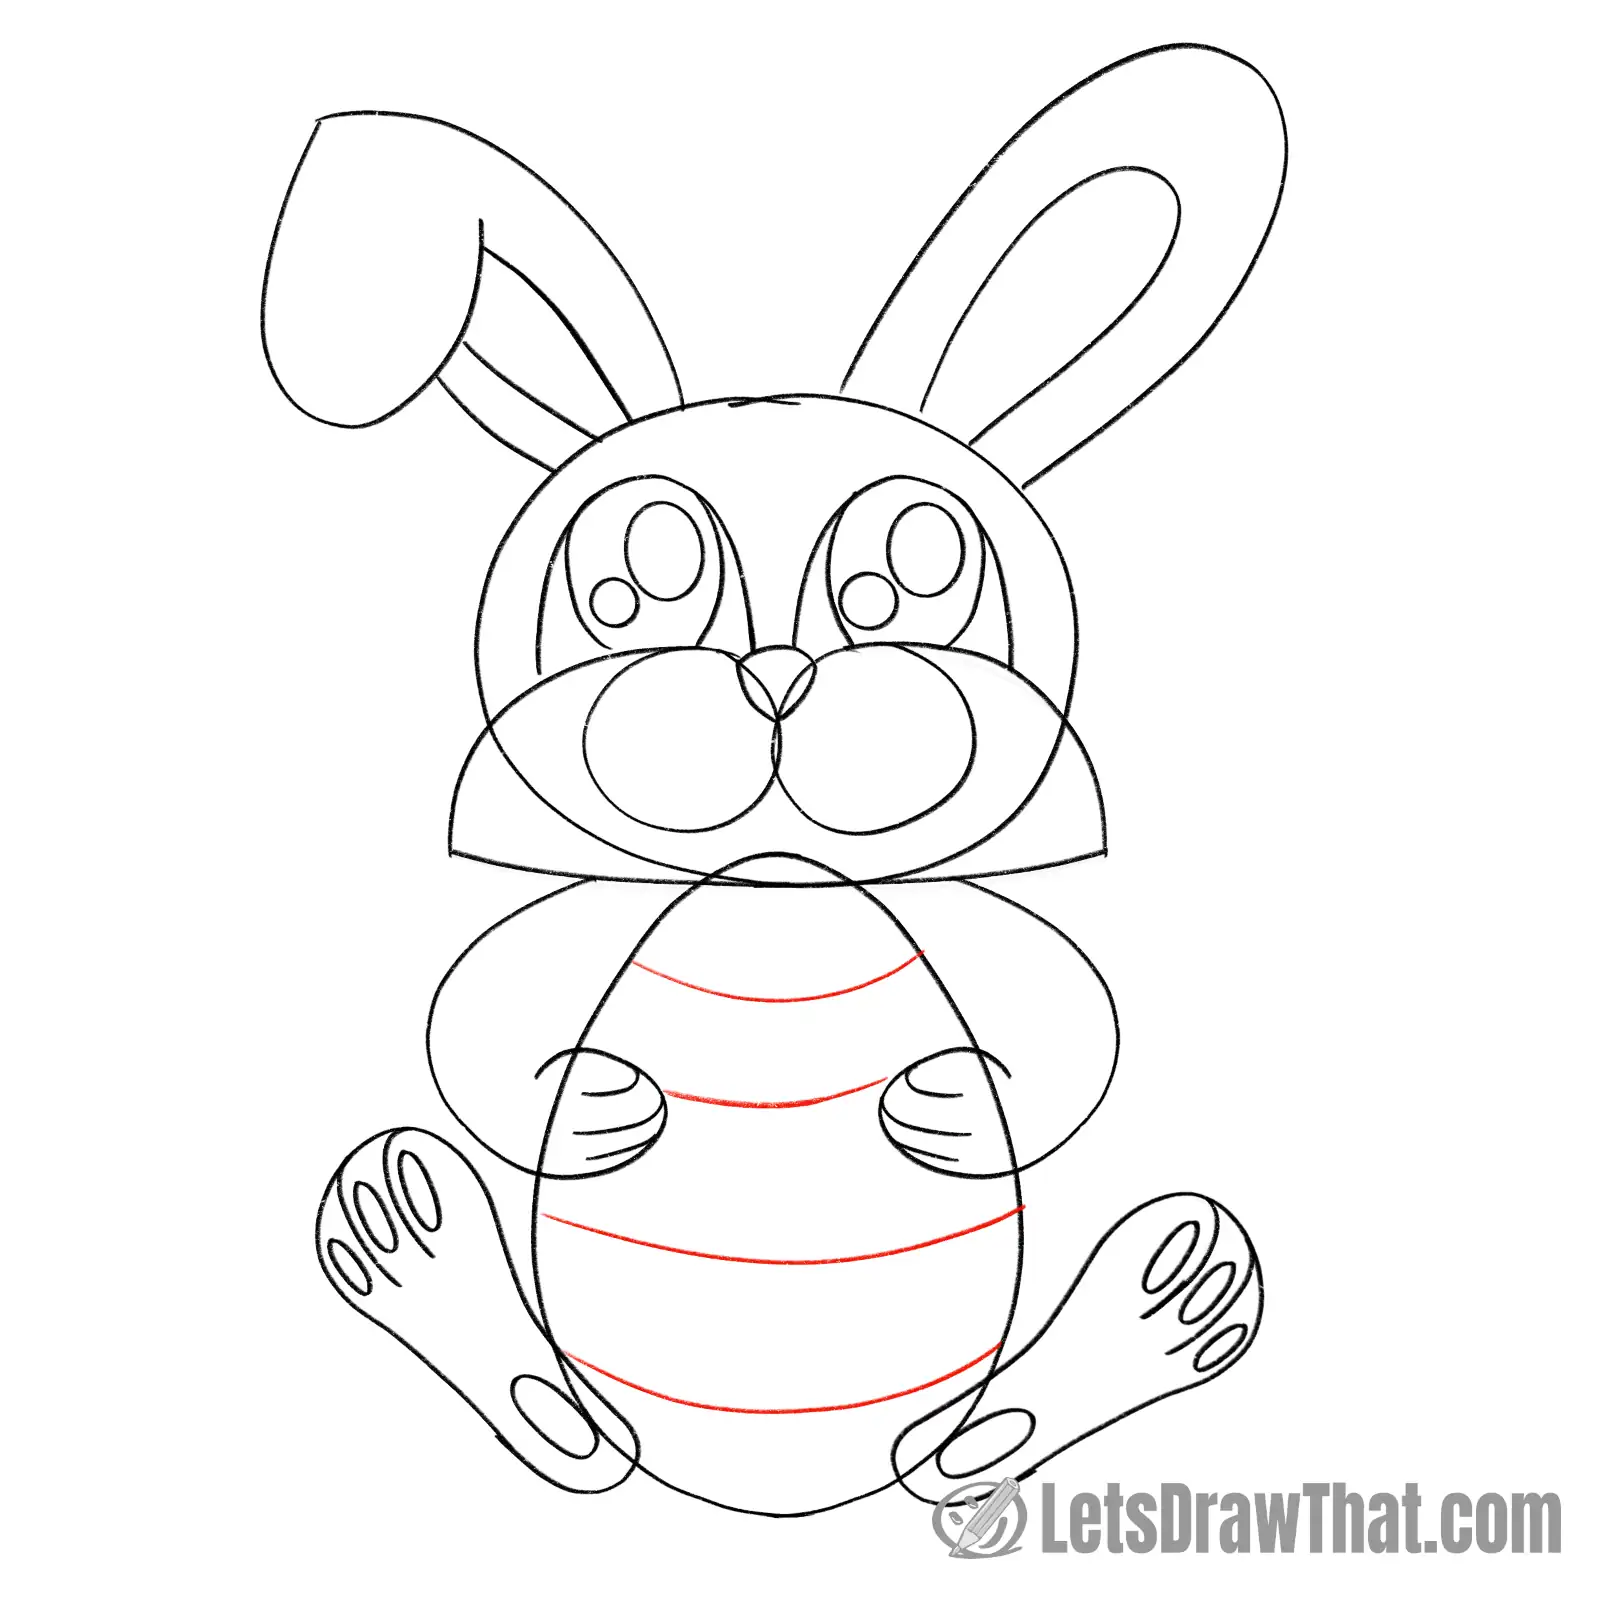
As the very last sketch prep, split the egg shape with four lines. They will guide us when decorating the easter egg.
These are slightly curved down to suggest the egg is a three-dimensional round object.
Easter bunny drawing: outline step by step
Step 1: Draw the nose, muzzle, and teeth
With the sketch done, it is time to start outlining and improving our easter bunny drawing.
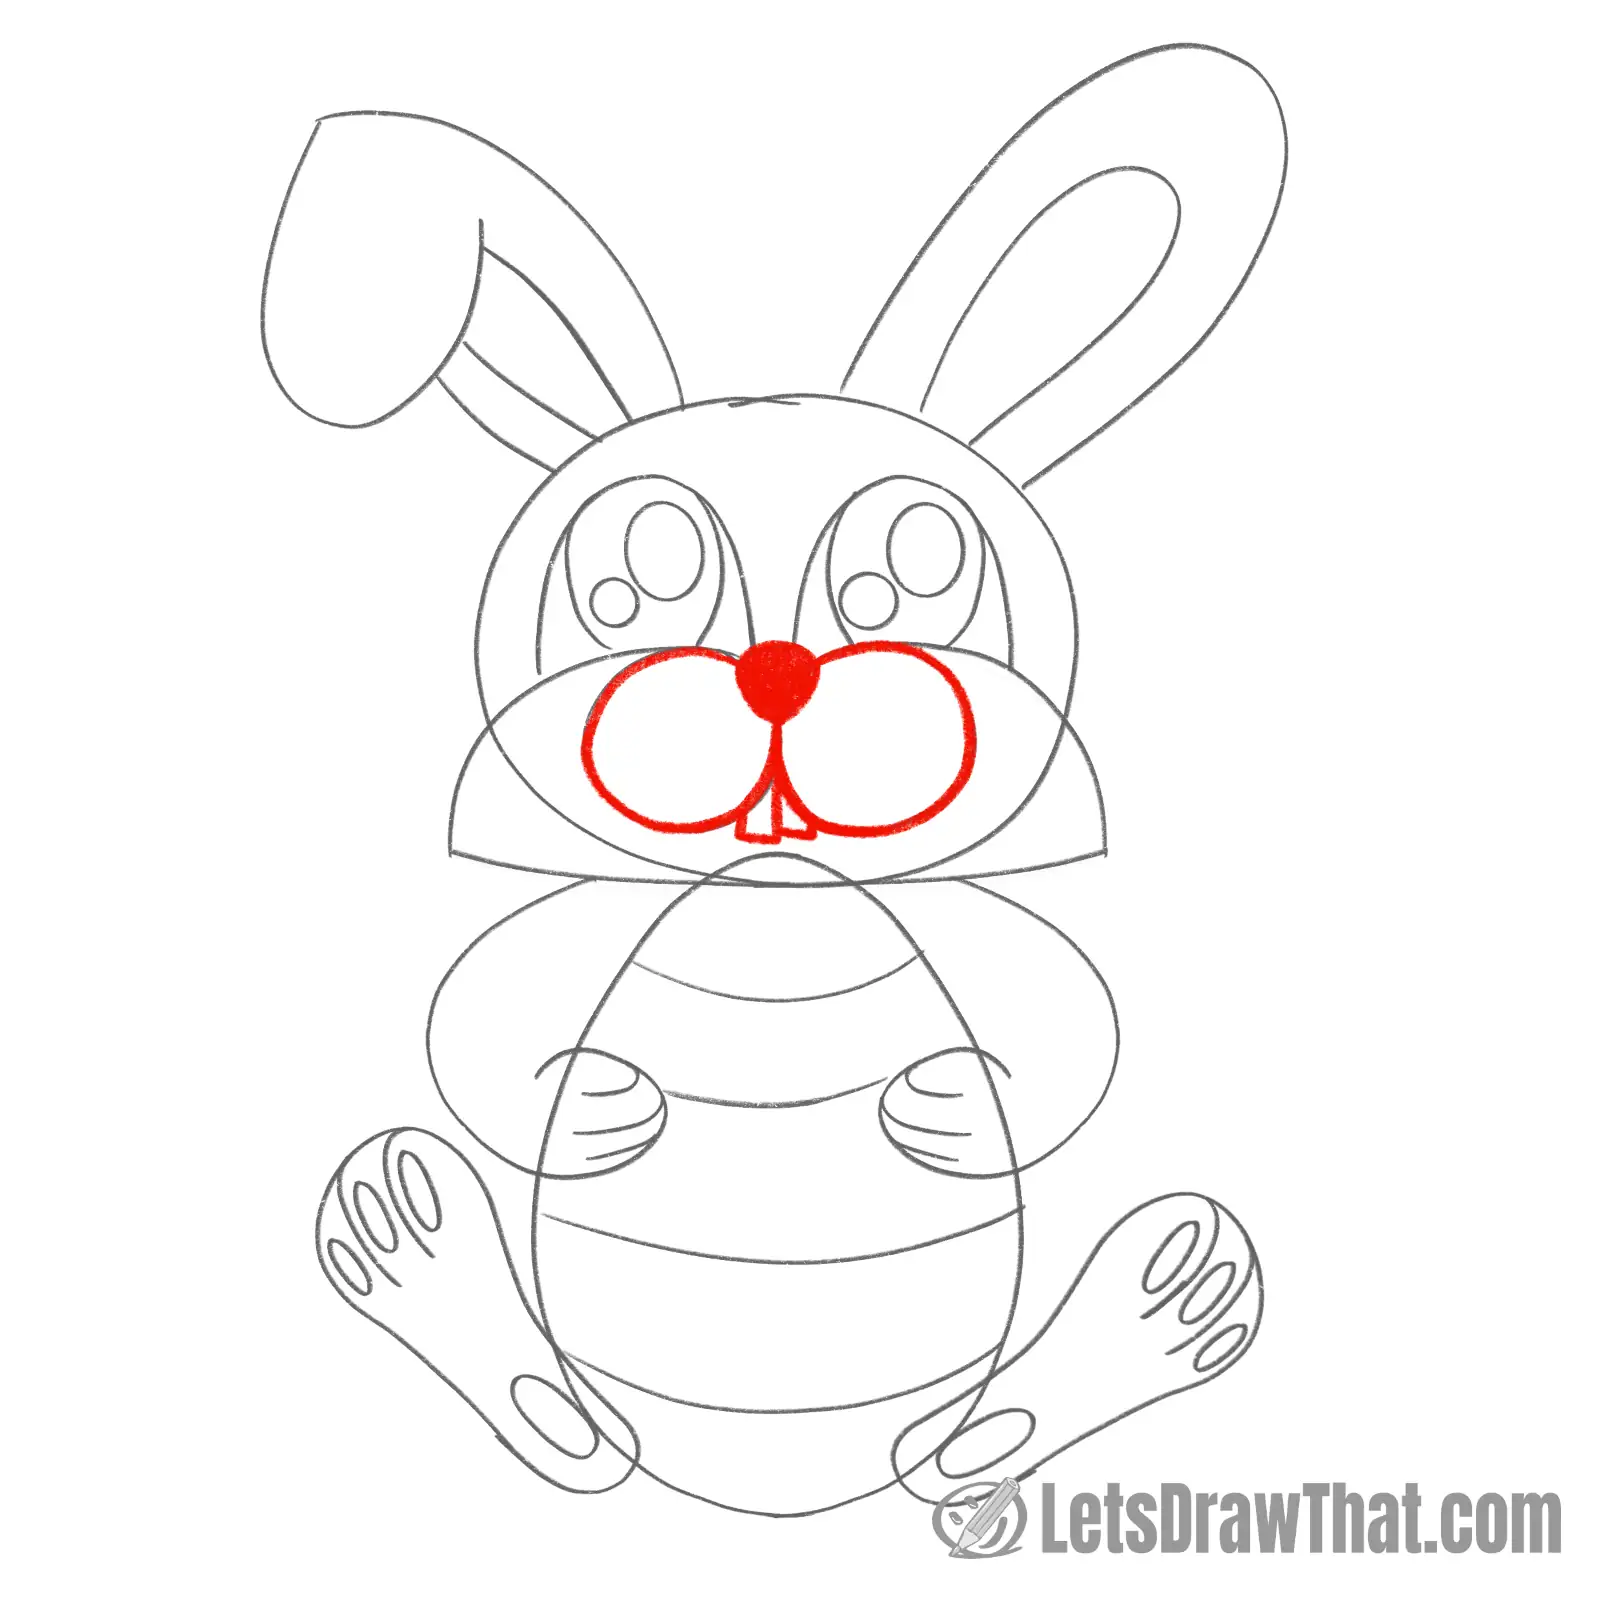
Color in black the bunny’s nose. Then, outline the two muzzle circles.
For our first extra detail and improvement, draw two teeth. These are a kind of bunny trademark and are drawn as two small rectangles in between the two muzzle circles.
Step 2: Draw the bunny's furry cheeks
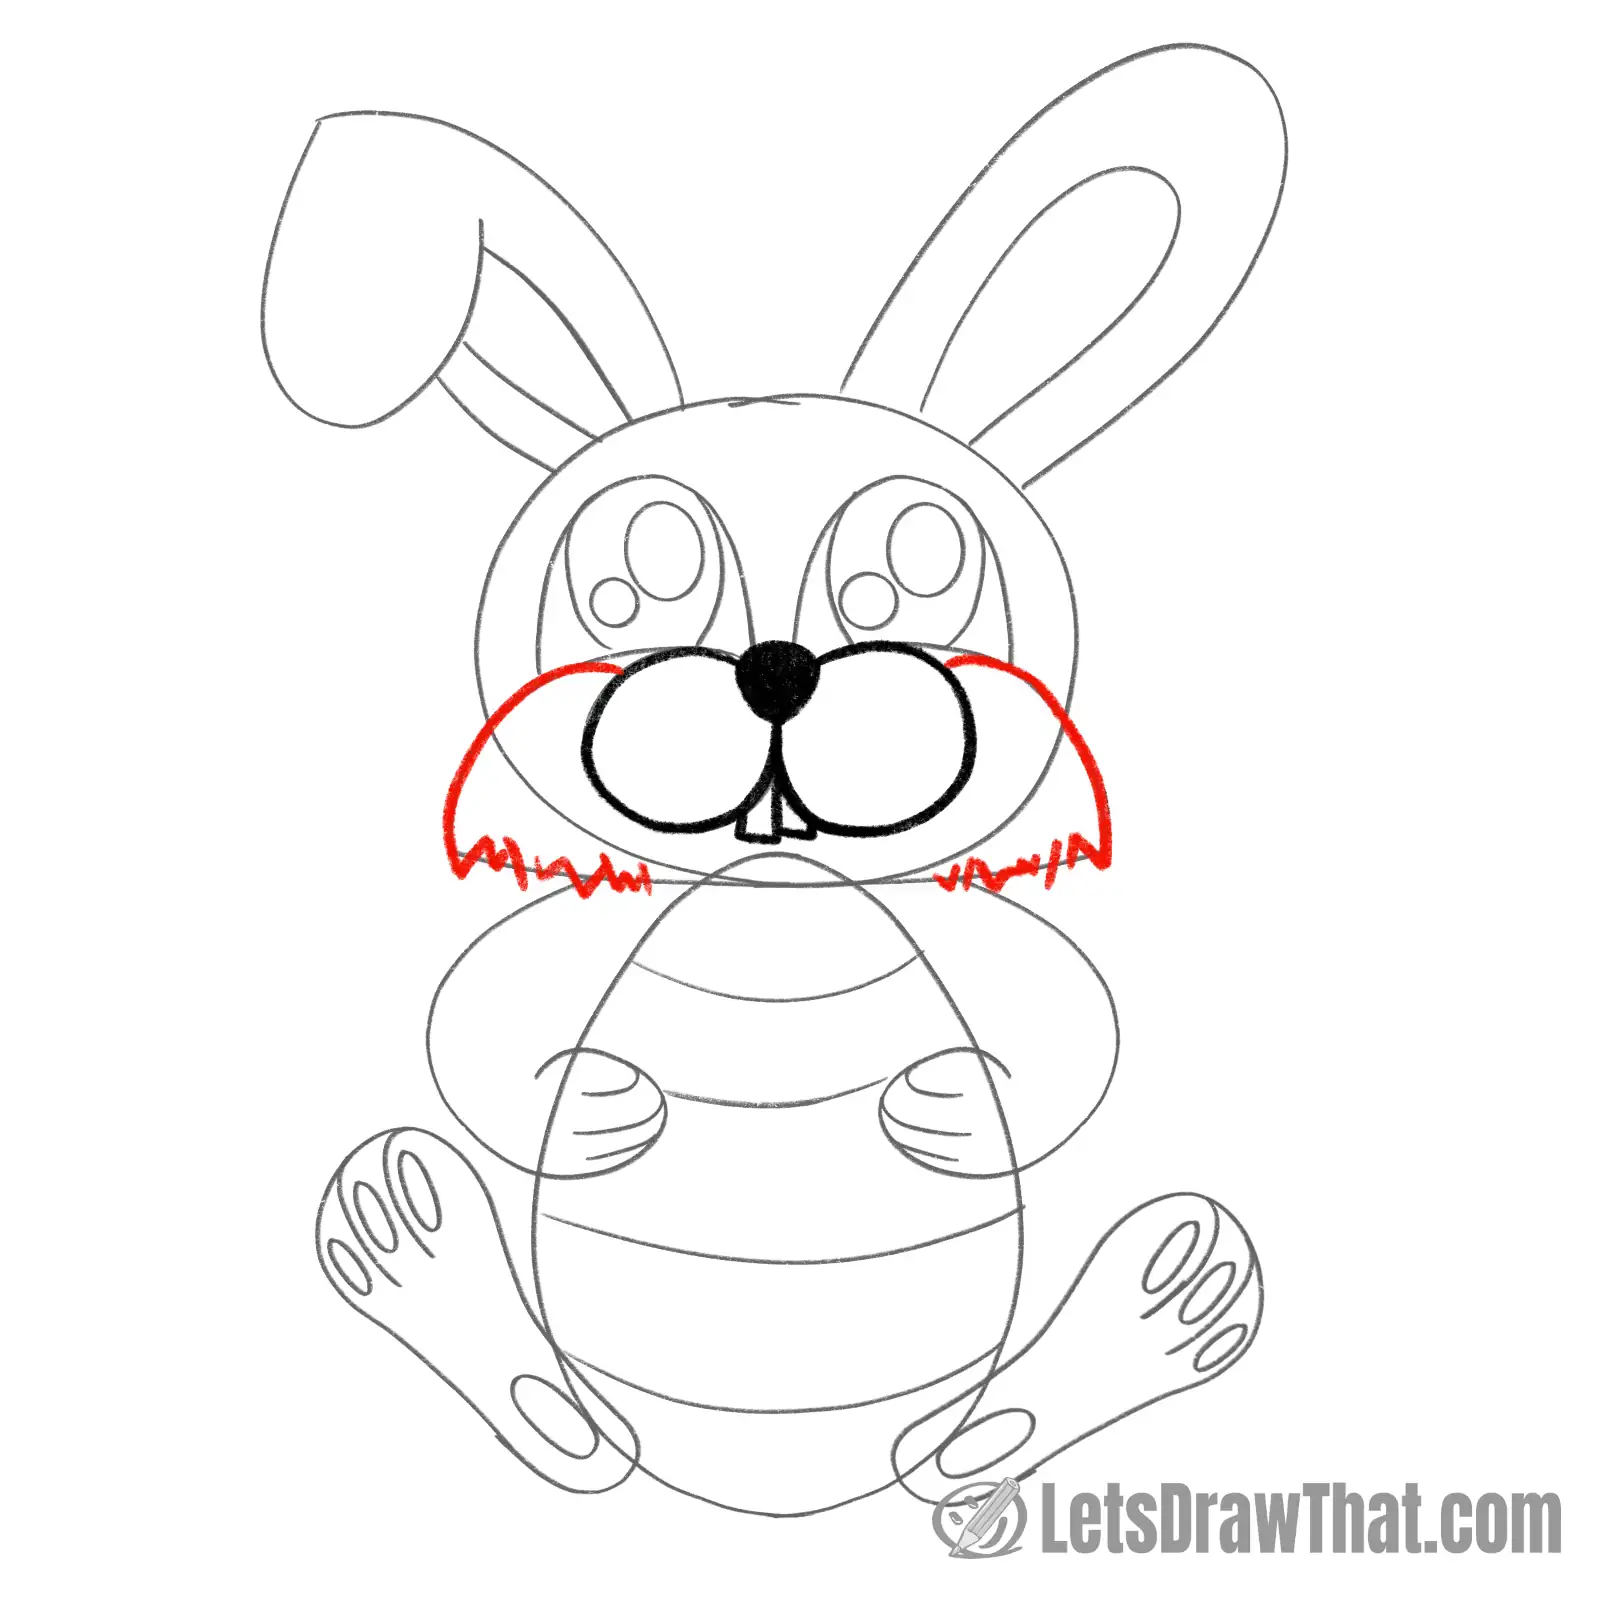
Next, we outline the cheeks – with some small extras again.
For the two side lines, notice how we have curved the start a bit more to separate it from the muzzle circles.
Draw the bottom line with small “V” and “W” zig-zags to suggest the furry edge to the cheeks.
Step 3: Draw the bunny's eyes
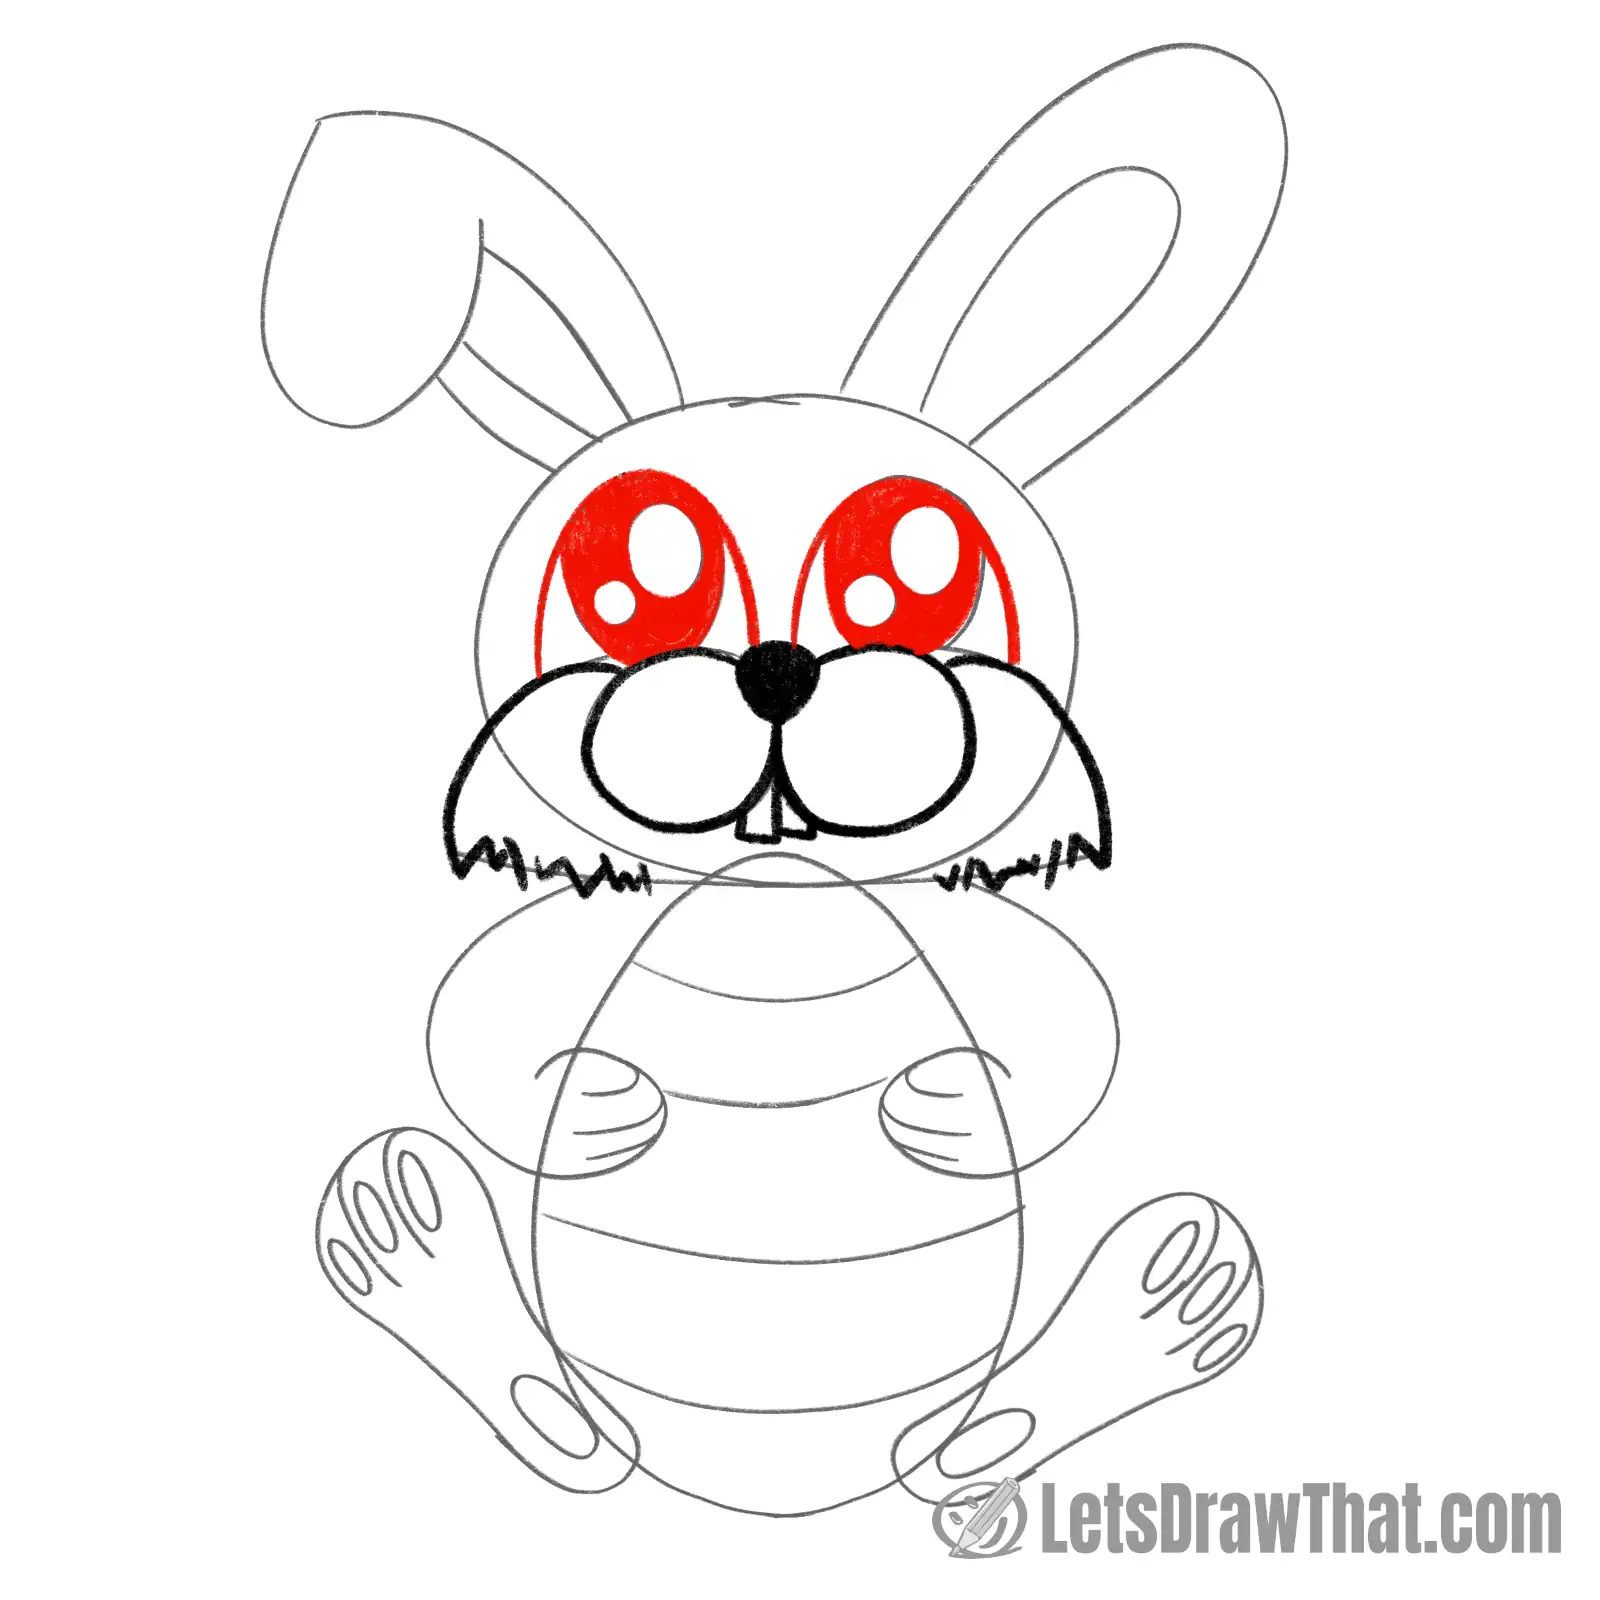
Here is an easy step since we have already done all the hard work sketching the eyes:
Just outline the eyes from the sketch and color in the pupils.
Step 4: Draw the head and some hair
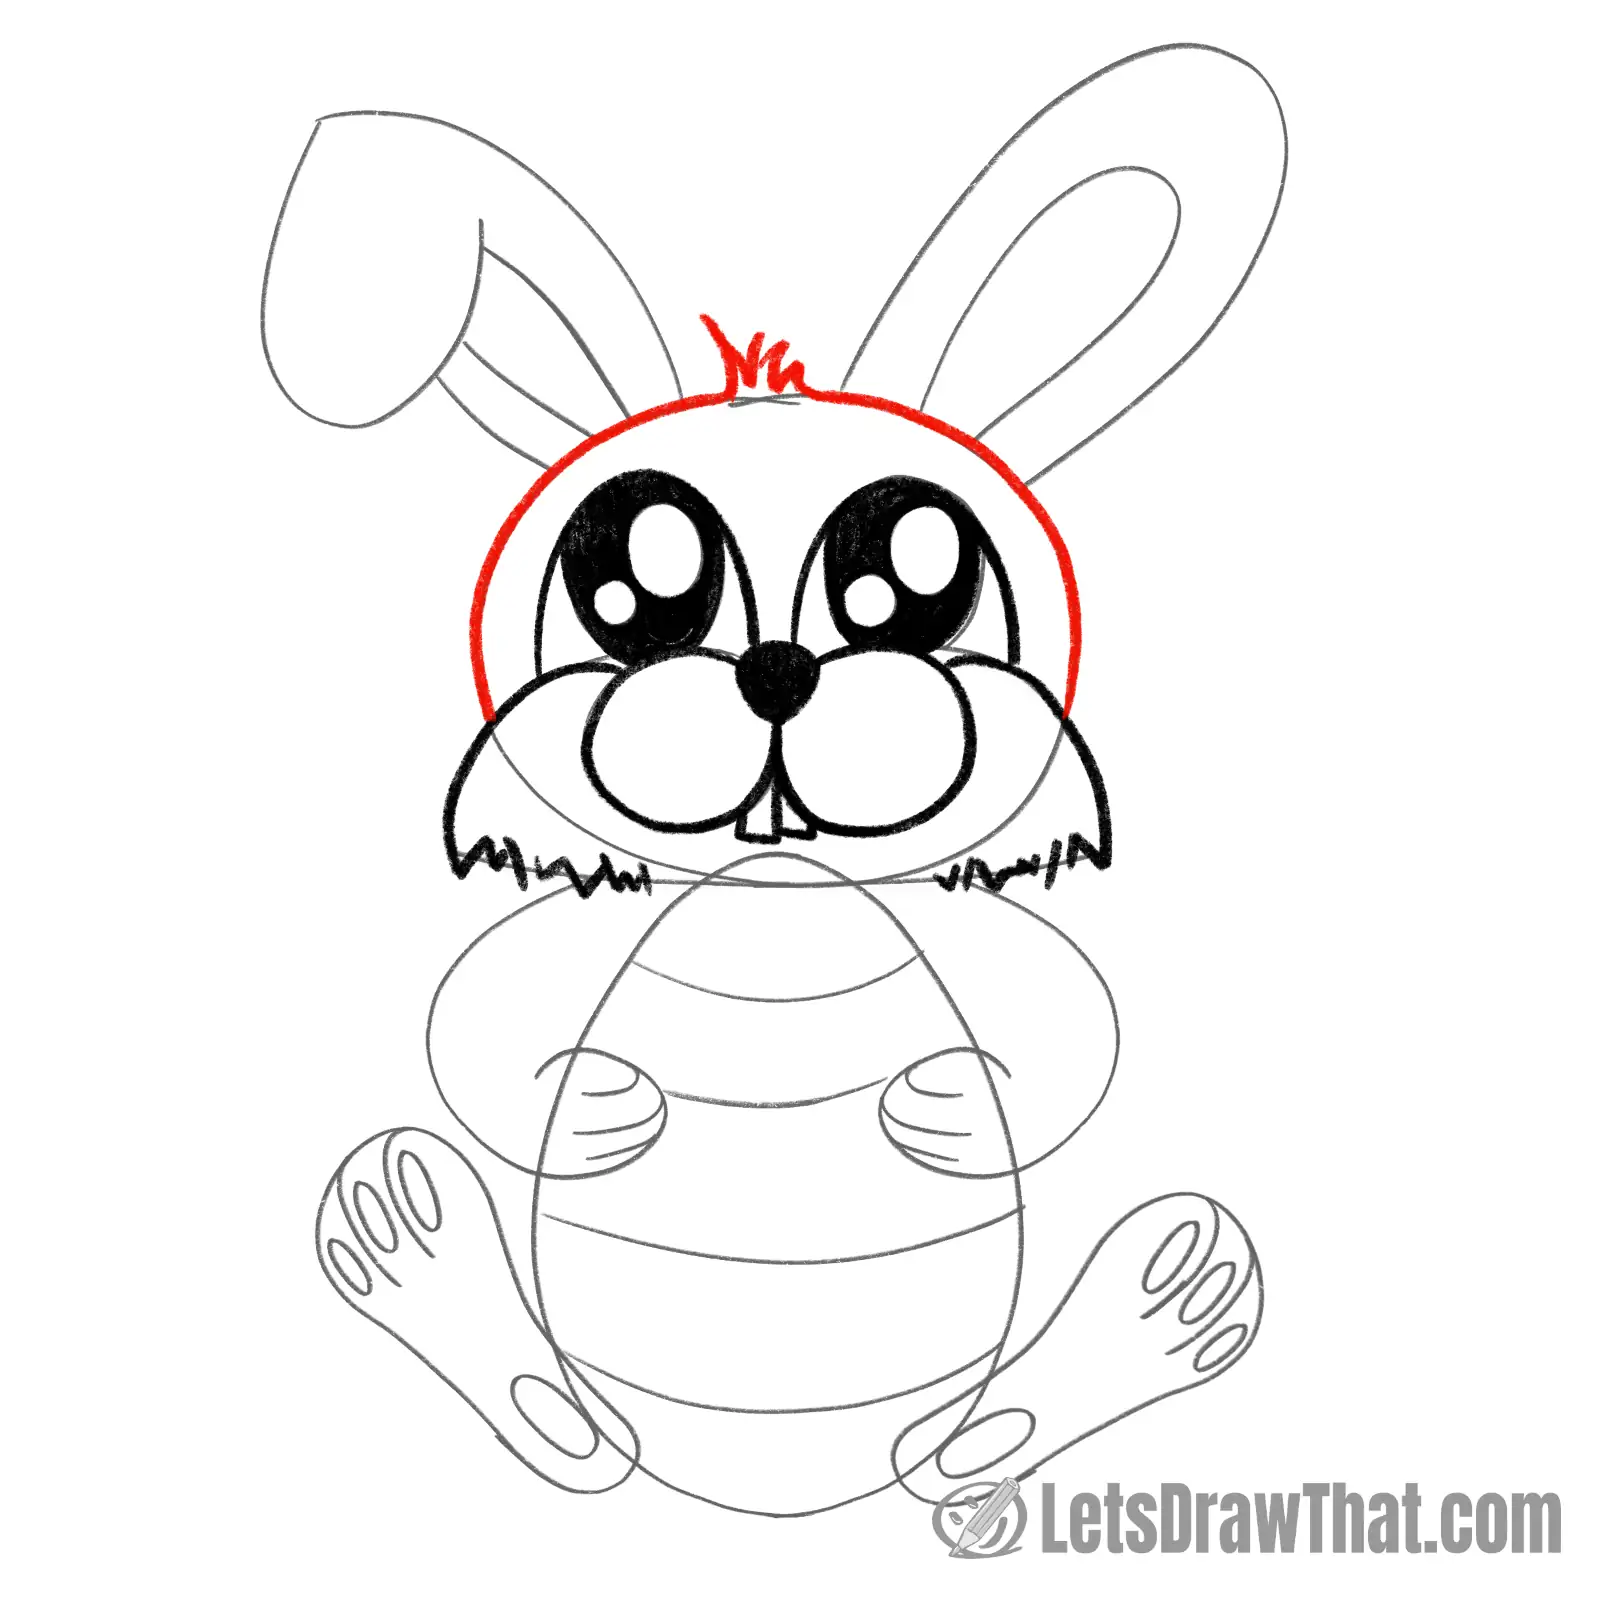
Another simple step – draw out the top of the bunny’s head.
As a small improvement, to make our bunny a touch more cute, let’s add a small hairdo on the top of the head. Again, these are just a few “V” and “W” zig-zags, the same as when we have drawn fur on the cheeks.
Step 5: Draw the bunny's ears
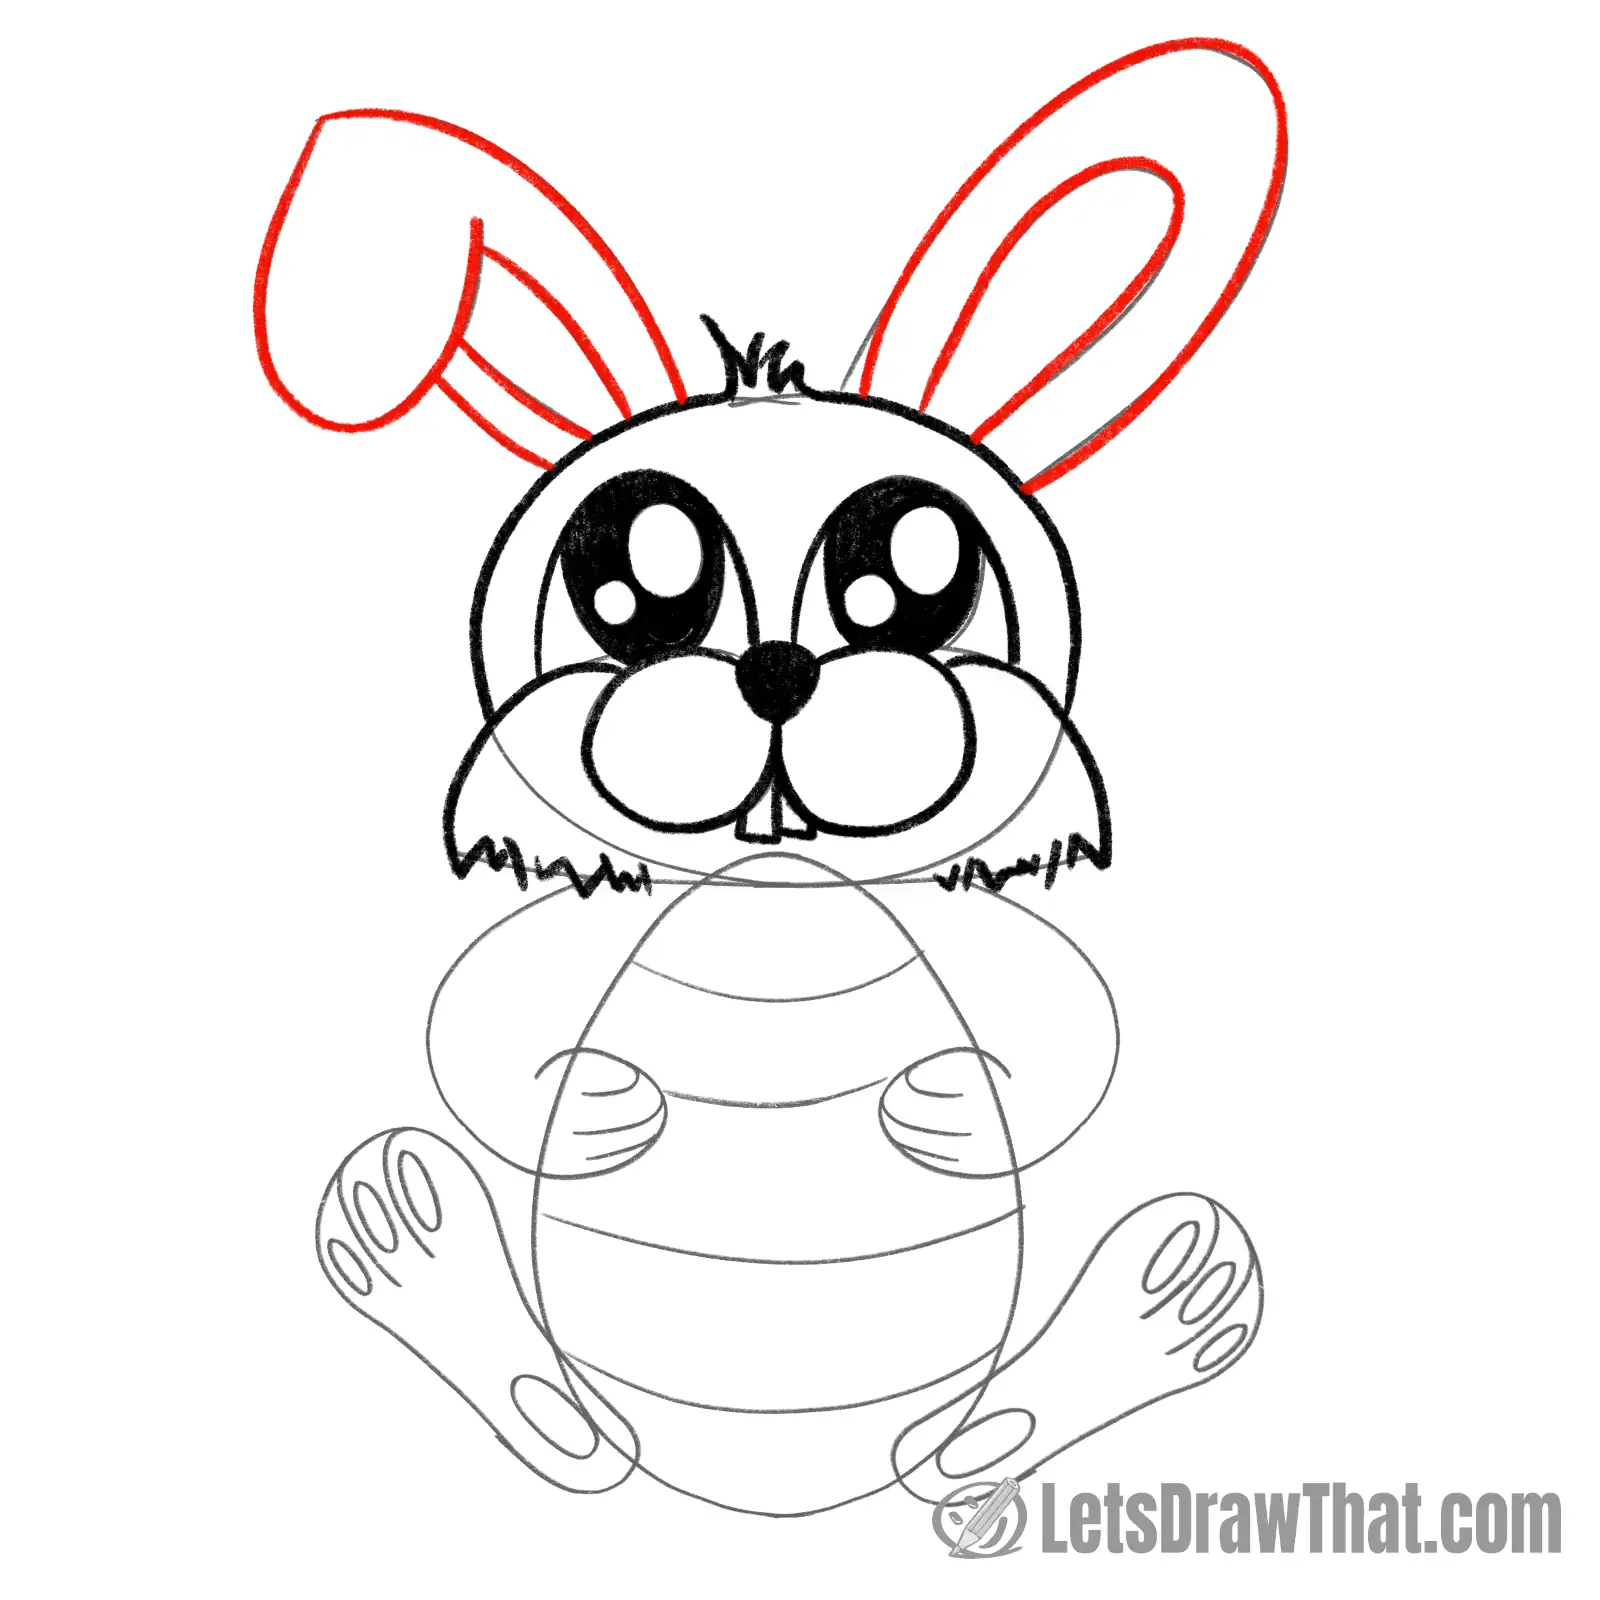
Next, draw the bunny’s ears, simply following the sketch.
Step 6: Outline the bunny's hands and feet
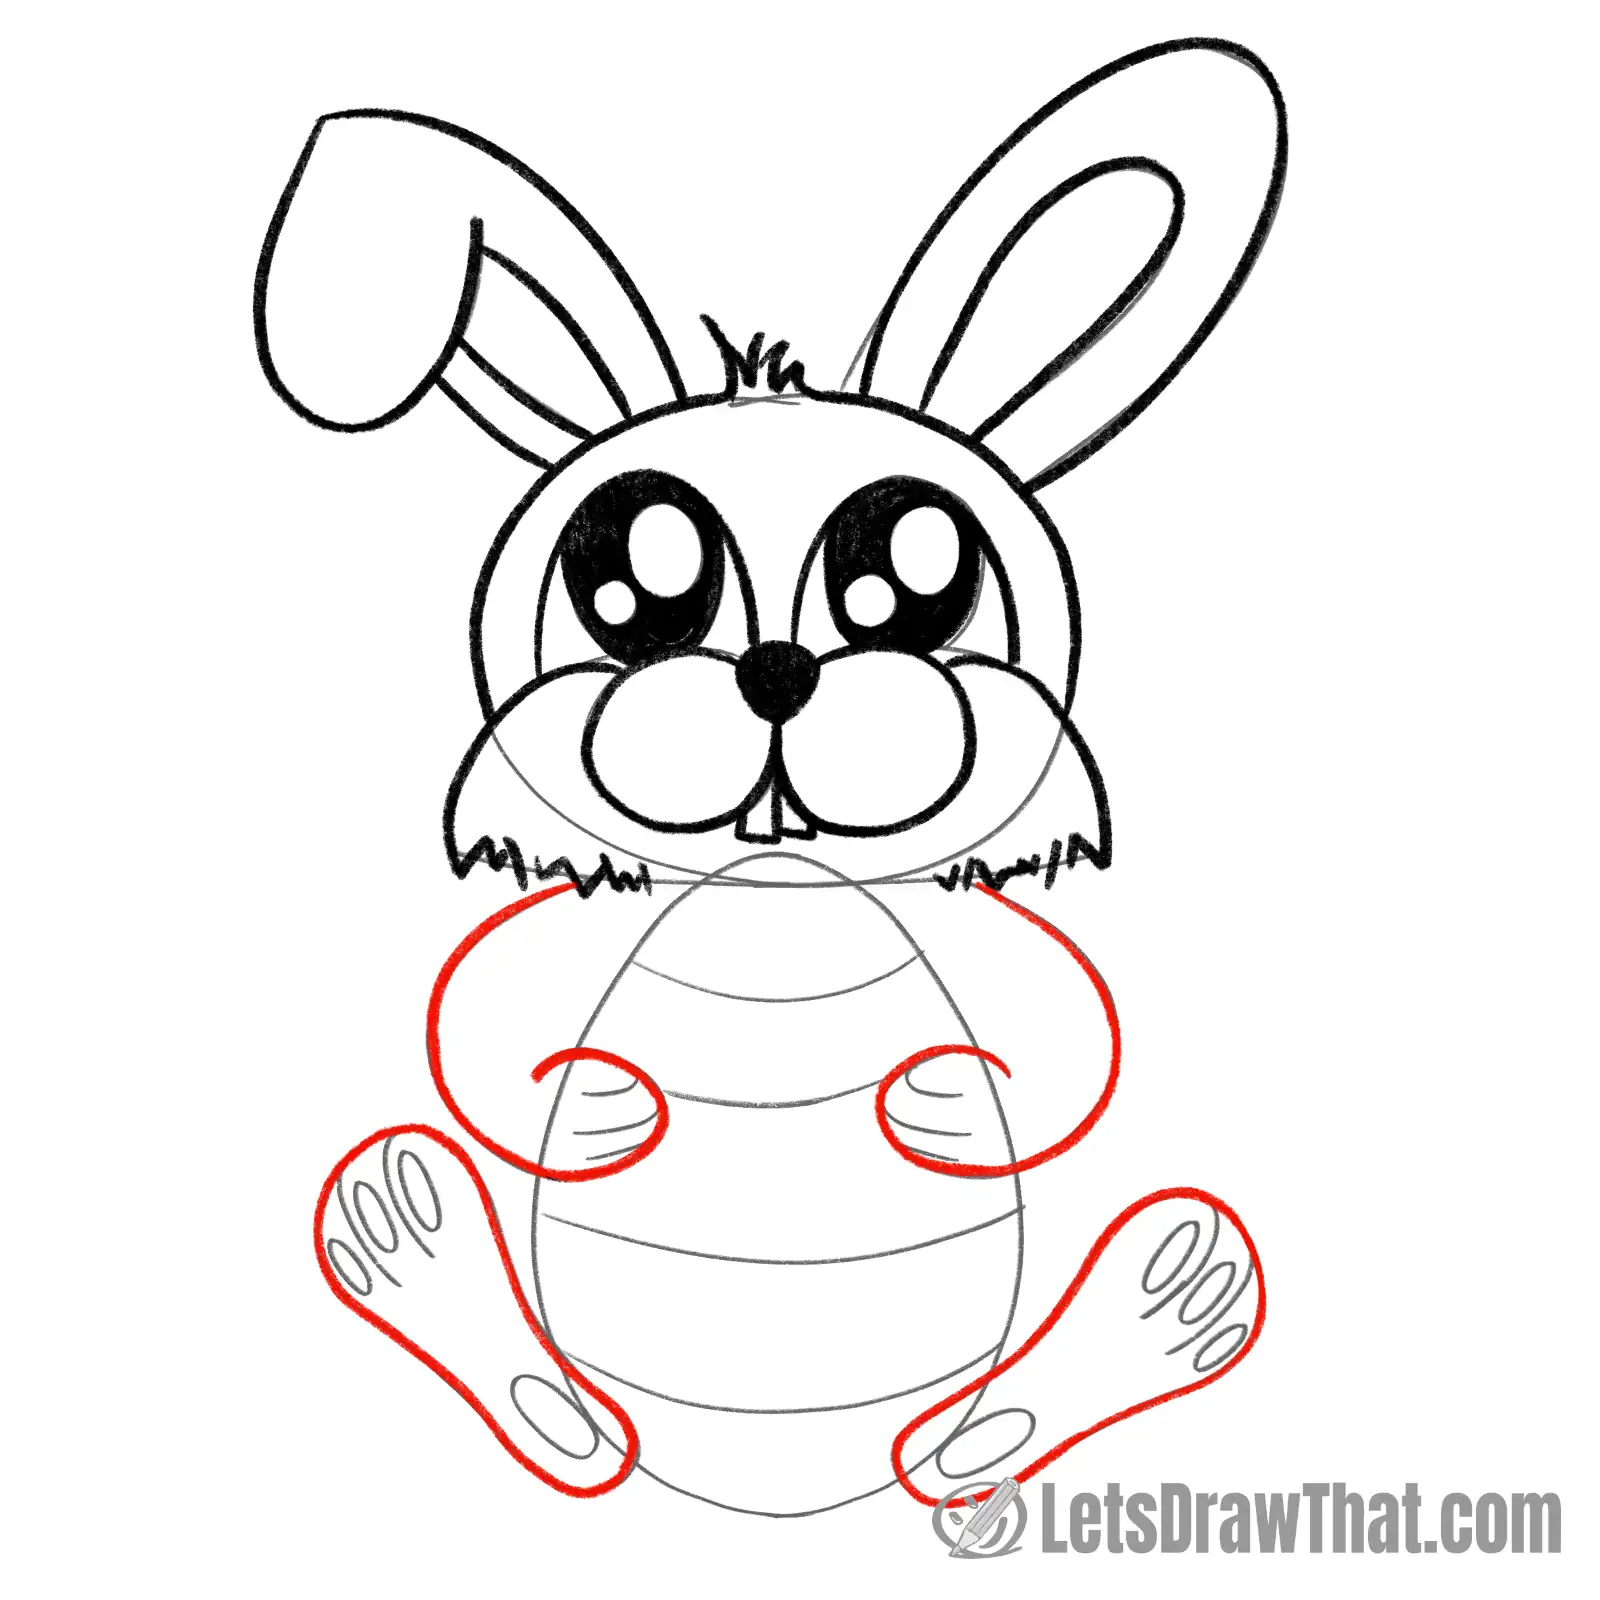
Another easy step – outline the bunny’s hands and feet following the sketch line.
Step 7: Outline the egg
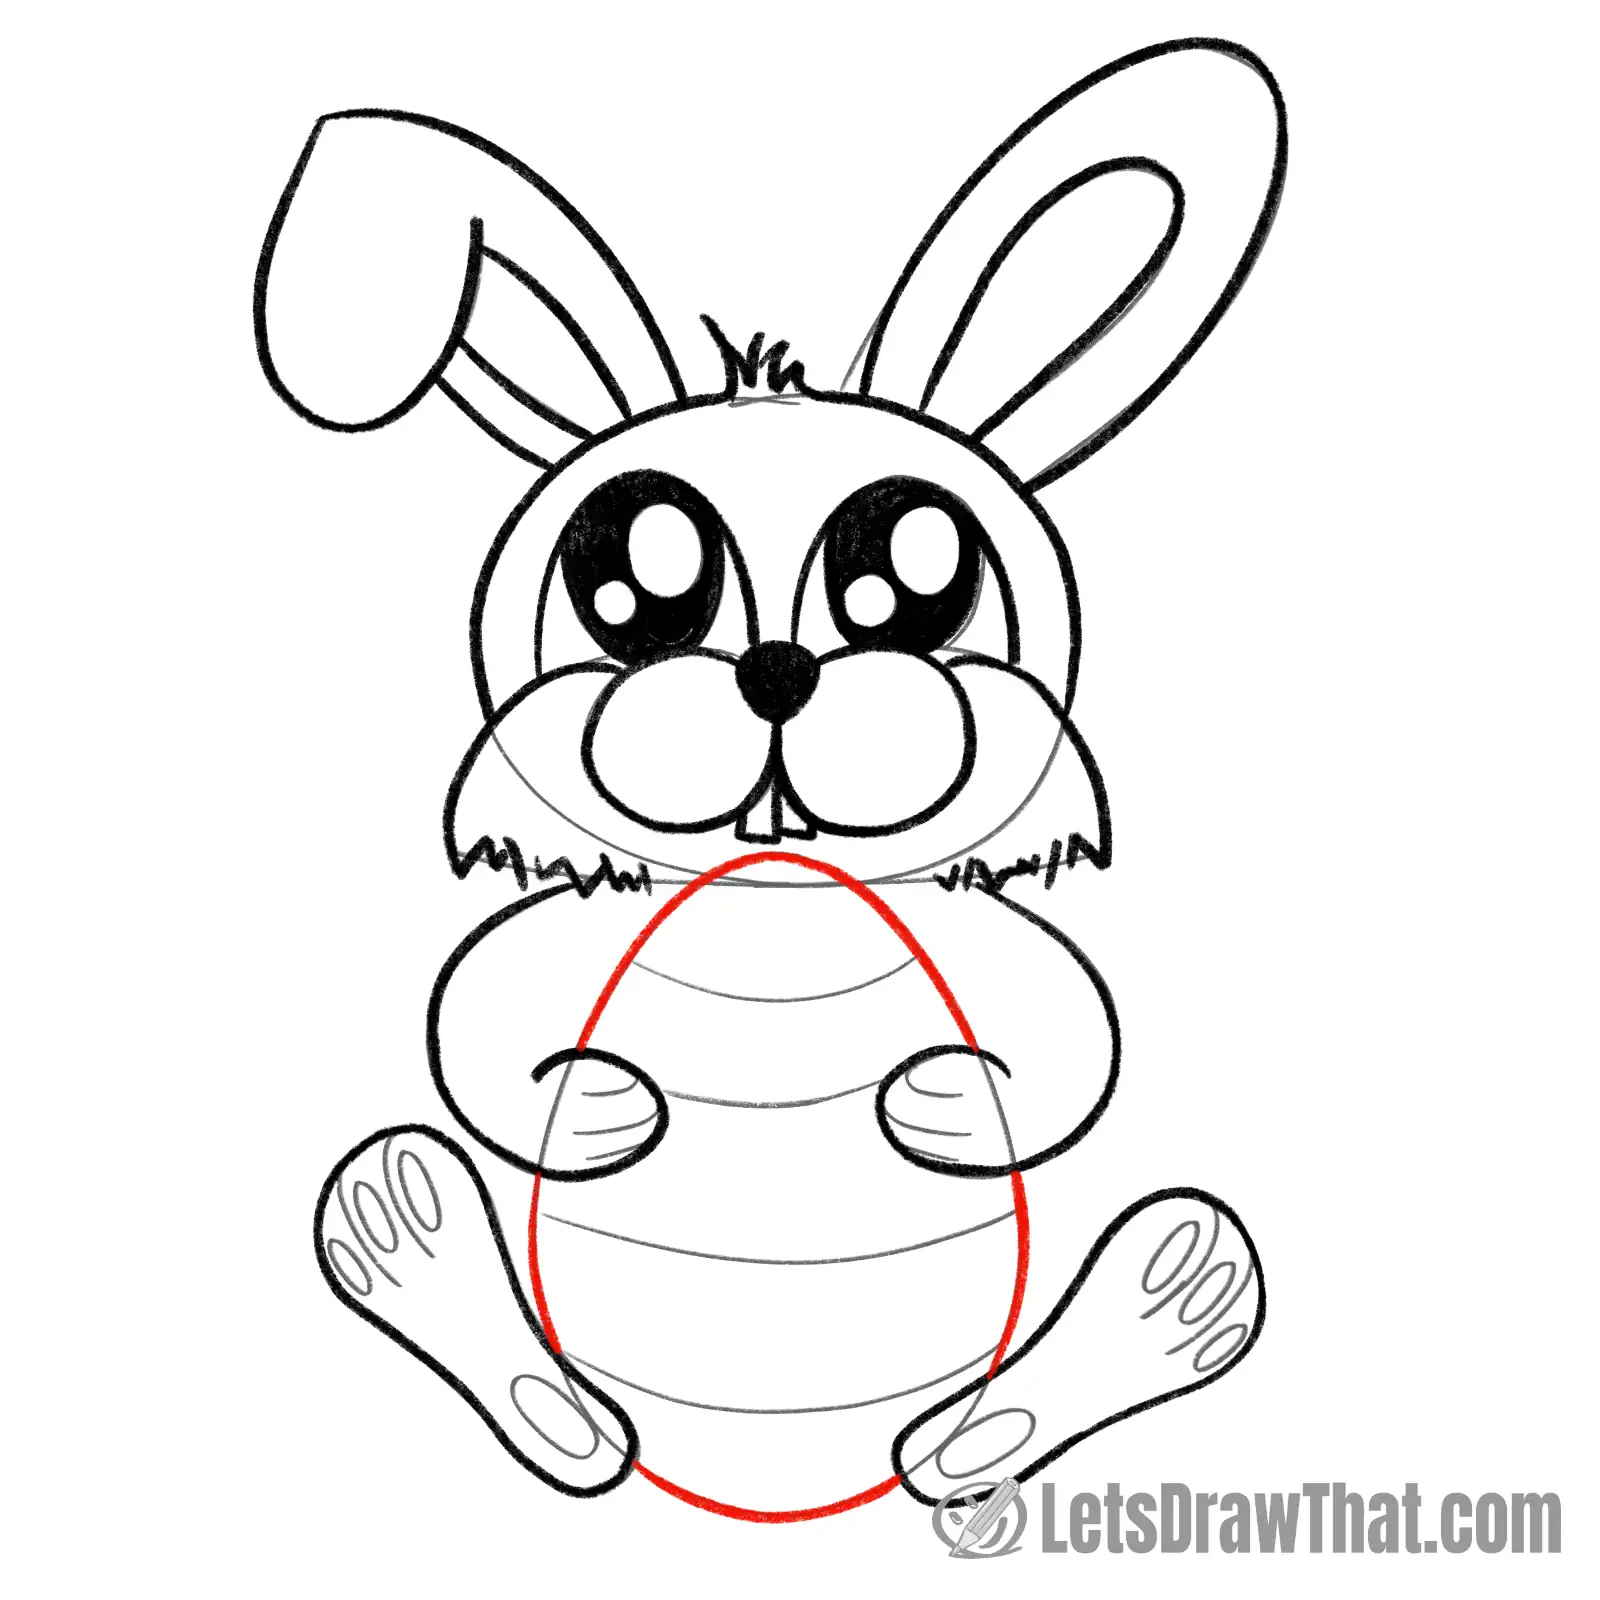
With the hands and feet in place, we know where they will cover the egg.
Here, simply outline from the sketch the egg edges where they are not covered by the feet or hands.
Step 8: Draw fingers and foot pads
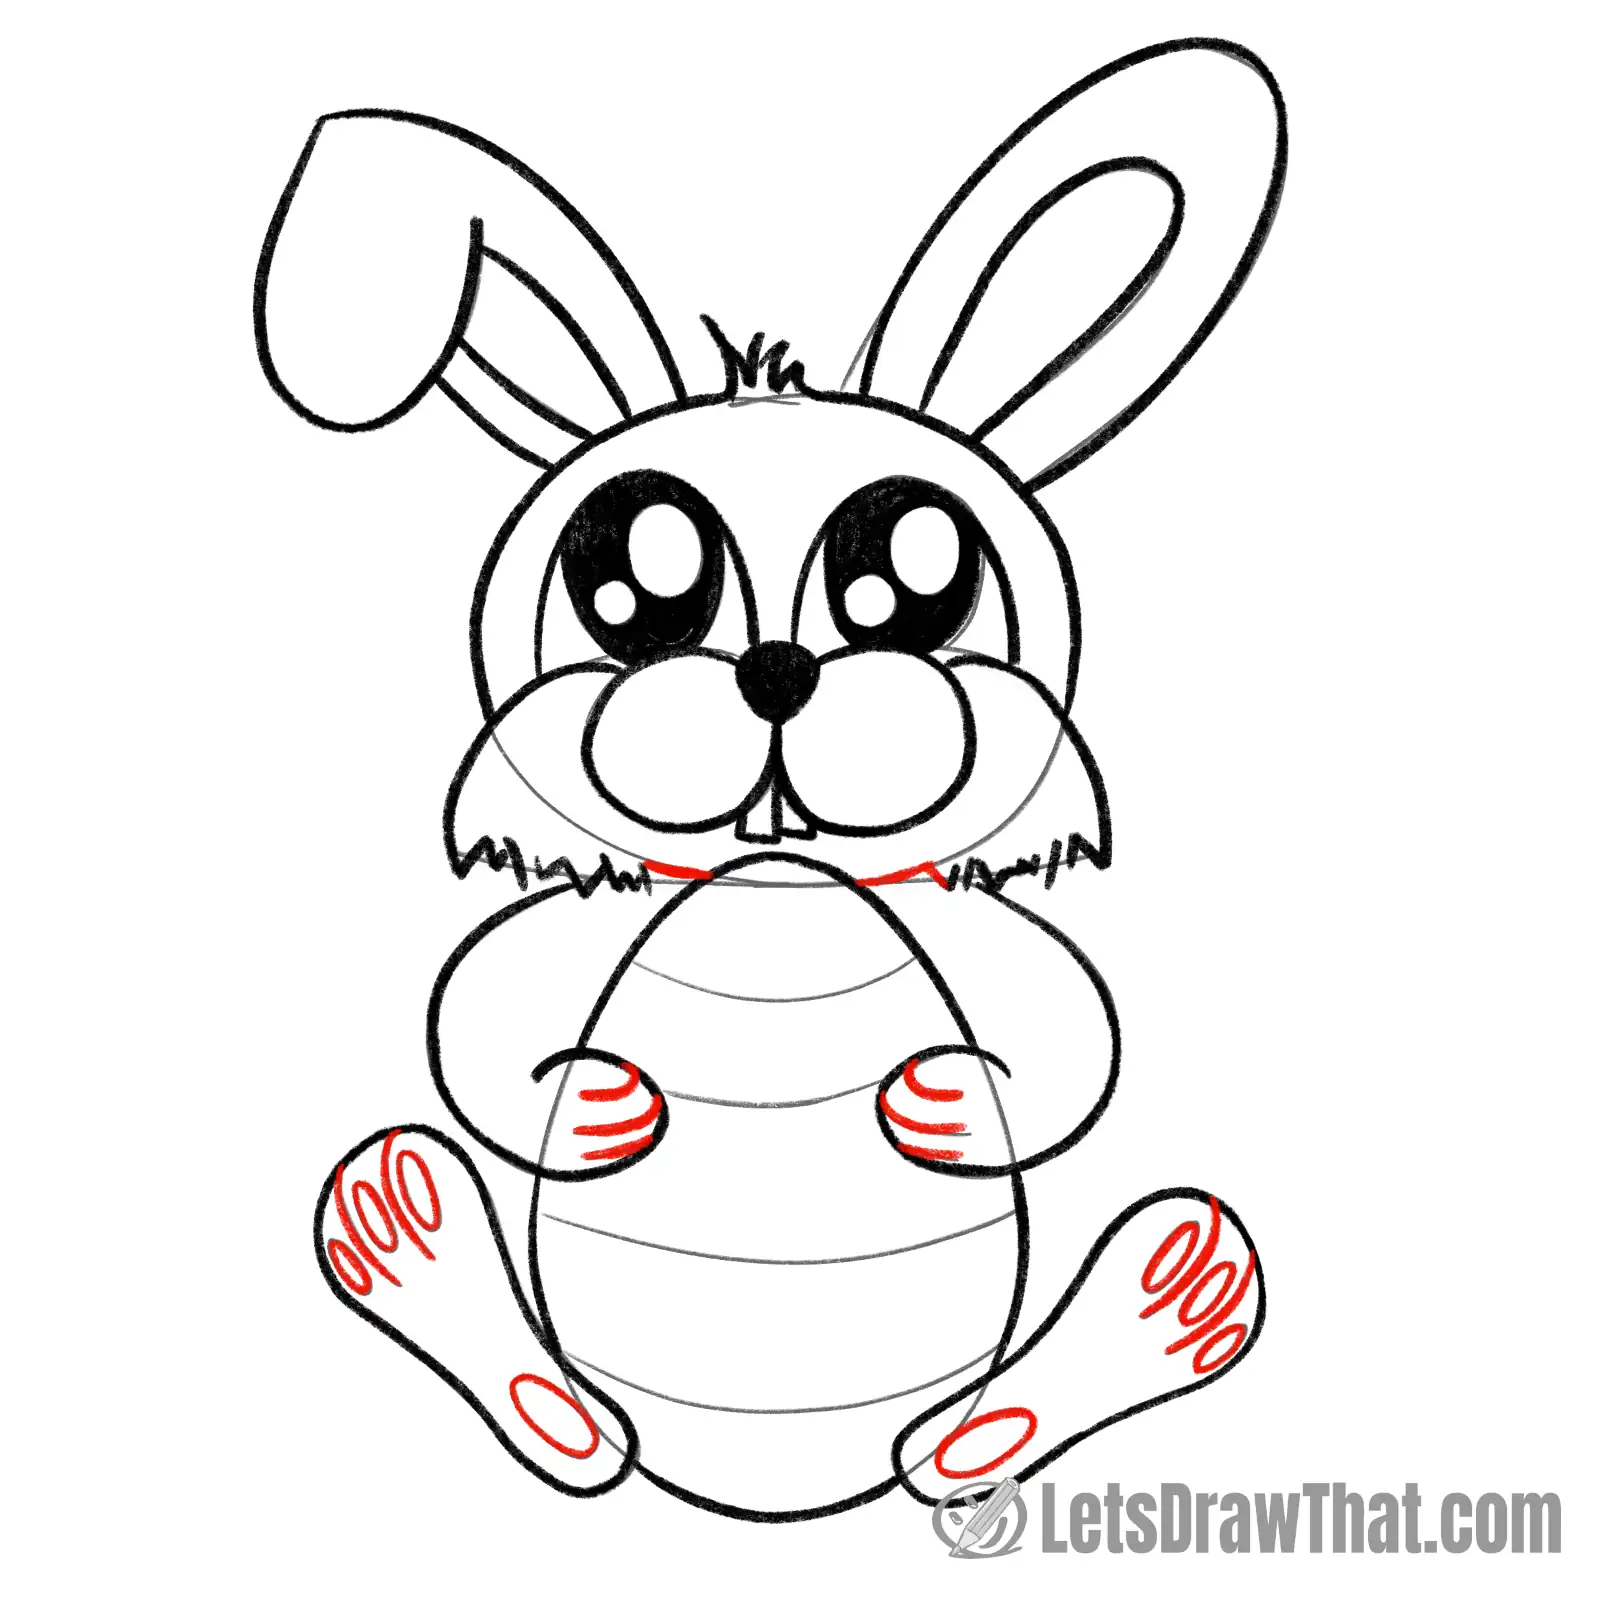
To finish the easter bunny drawing, outline the “finger” split lines and the foot pad ovals from the sketch.
And do not forget to draw the small chin line to finish the head contour.
Step 9: Draw the bunny's whiskers

Ooh, here is something new: Let’s give our bunny some whiskers.
These are three curved long lines from each muzzle. Then, add four small dots above them, still inside the small circle, to suggest some short hair there.
Step 10: Decorate the Easter egg
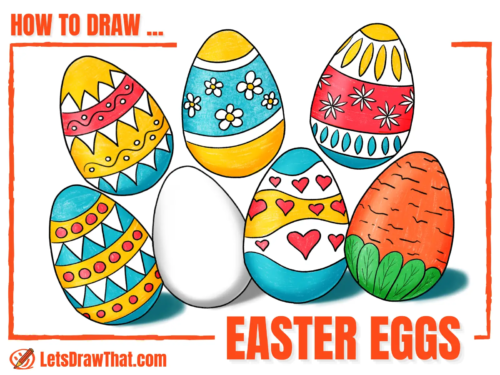
To finish our Easter bunny drawing, we only need to decorate the egg. We have a separate tutorial for Easter egg drawing if you feel fancy.
But for this tutorial, we stick with a simple and basic pattern. Just outline the four lines we have sketched to split the egg. Then, draw a row of simple dots in the second and fourth bands.
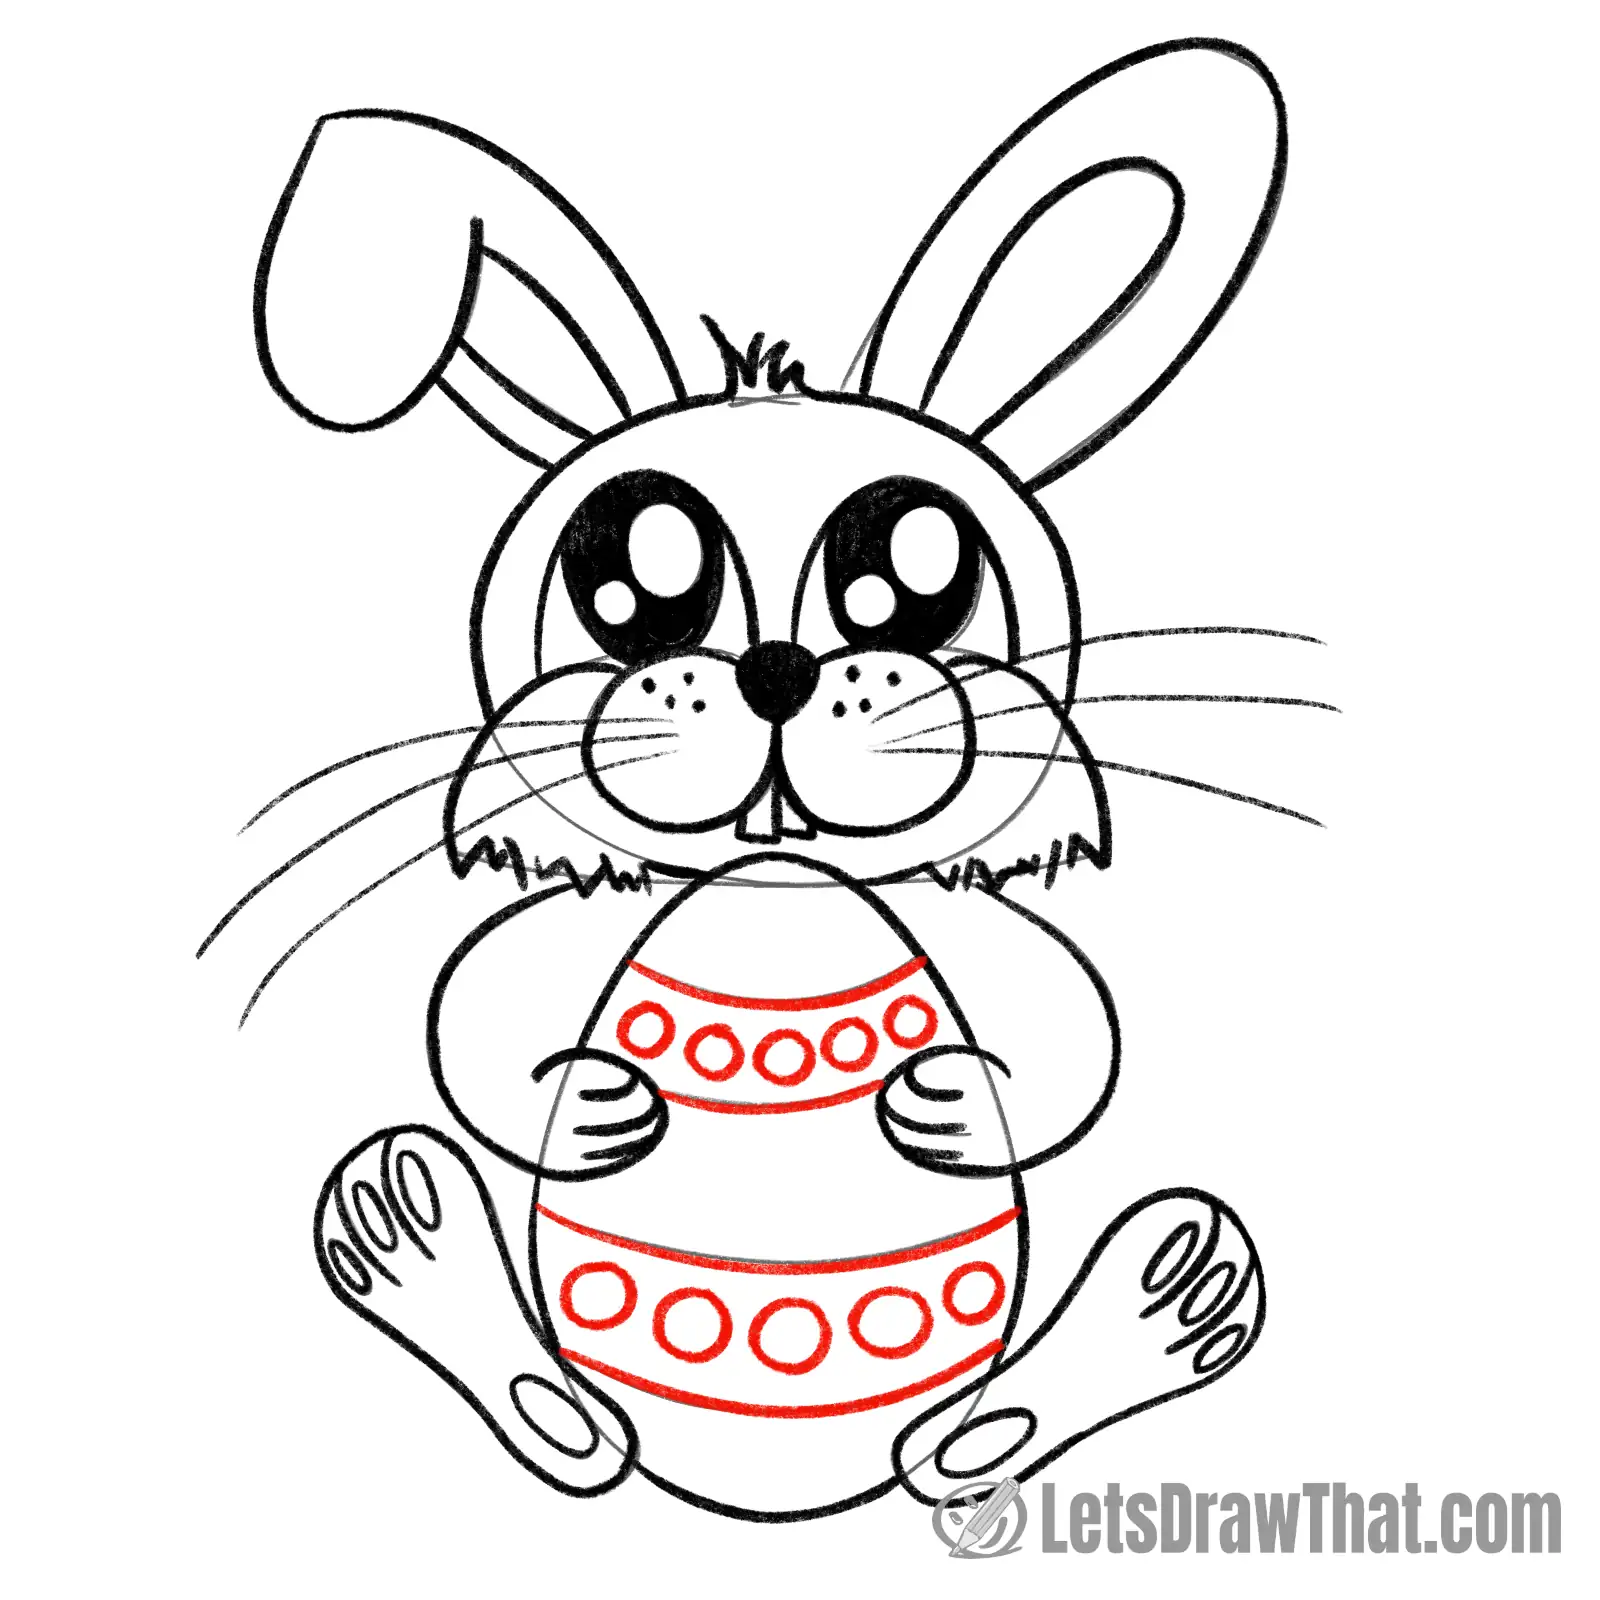
The Easter bunny drawing finished
Easter bunny drawing outline

And here is the result of our “how to draw an Easter bunny” tutorial: the cleaned up Easter bunny drawing outline after we have erased the sketch lines.
Well, this one is as cute as a button Easter bunny. If those eyes were any larger, they would pop out of his head. With the large head, this also looks like a little baby bunny rabbit.
If you want a more mature-looking bunny, try our “how to draw a bunny” tutorial – there is another bunny drawing waiting for you there.
Easter bunny drawing colored-in
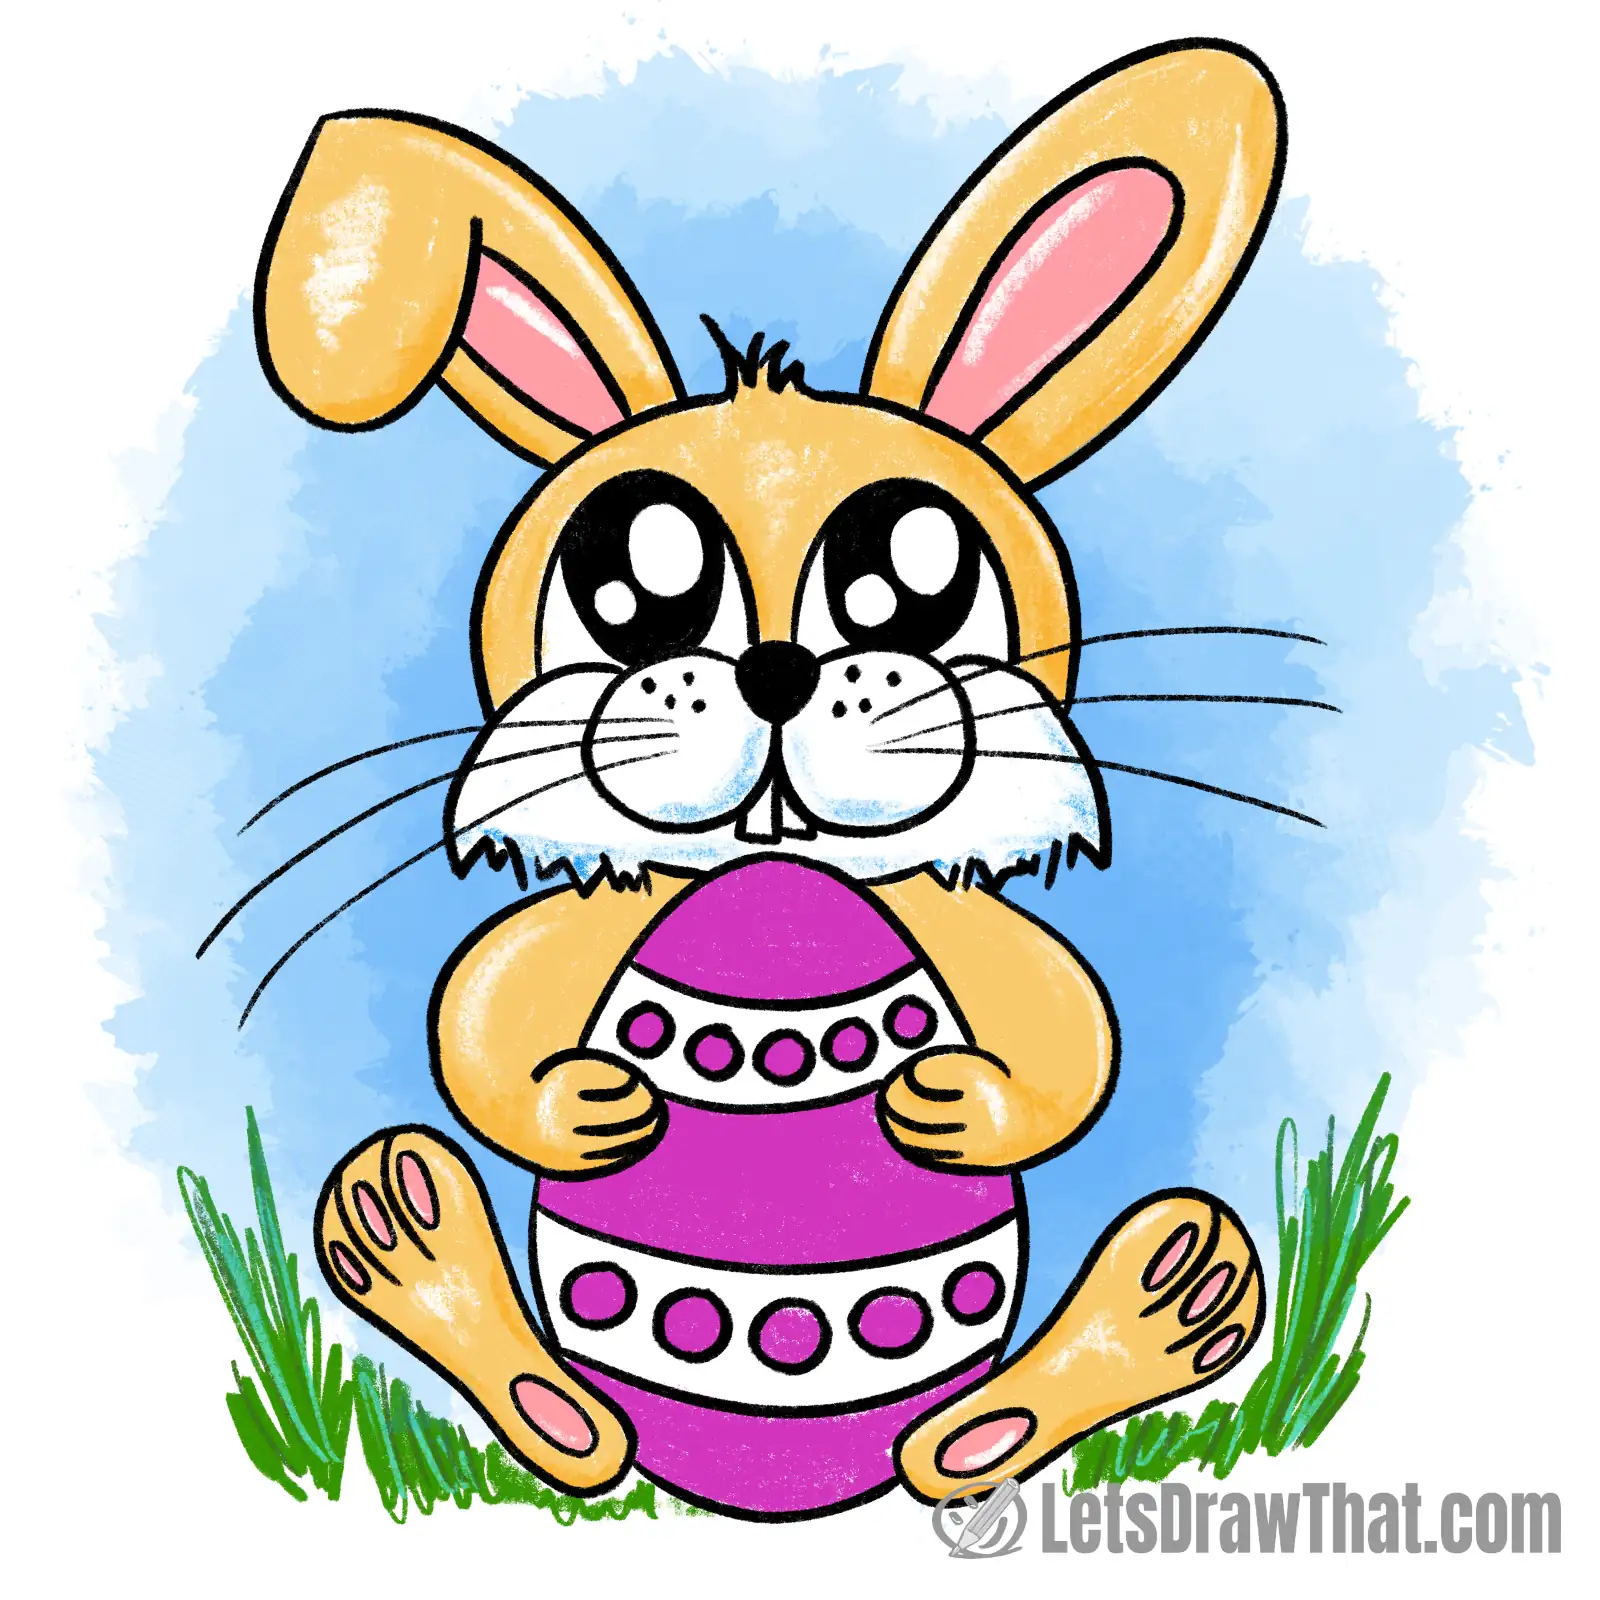
And here is the Easter bunny drawing colored in. We have kept the colors simple.
The bunny’s fur is beige, with barely visible darker shading and some left-out white highlights.
Inside of the ears and foot pads are sweet baby pink, to add more cuteness and some color variation.
We have colored the egg bright purple to add some contrast to otherwise fairly muted colors in the drawing.
Some green grass and a blue sky background add a touch of springtime mood and make sure that our Easter bunny is sitting on the ground and not just floating in void space.