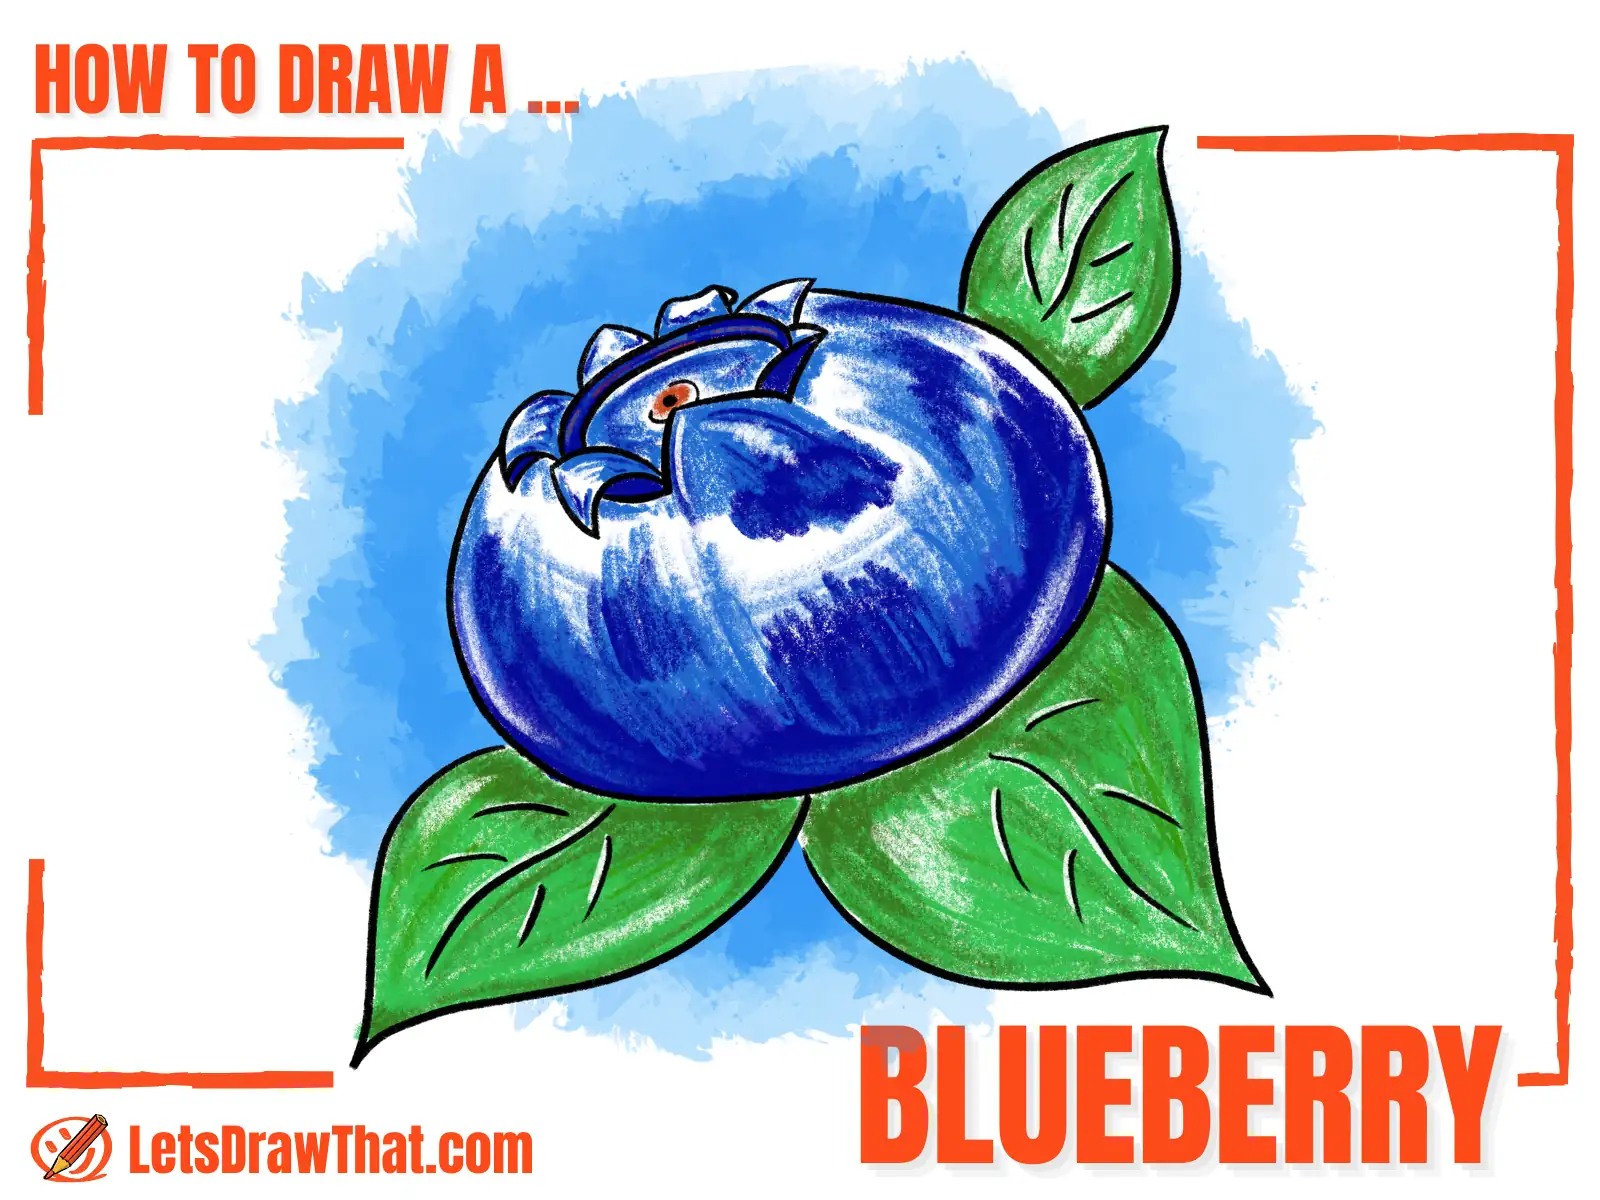
Learn how to draw a blueberry with a simple step-by-step tutorial. This is an easy blueberry drawing with a nice "belly button" and some leaves.

Today, we will learn how to draw a blueberry. Starting with some simple ovals, we dress up the blueberry “belly button” with some nice folding sepals. Then, we add three larger leaves to add some contrast and extra color to our blueberry drawing.
Oh, and if you would find the folded sepal leaves, even with the step-by-step instructions, too fiddly or too hard, we have for you an even easier variation. Let’s get drawing!
min
You will need: pencil, fineliner pen, colored pencils, eraser and drawing paper or sketchbook
Disclaimer: LetsDrawThat.com participates in the Amazon Associates Program. If you purchase a product using a link on our website, we earn a small commission, at no extra cost to you. This is one way how you can support this website.
How to draw a blueberry: base sketch step by step
Step 1: Draw the base blueberry shape
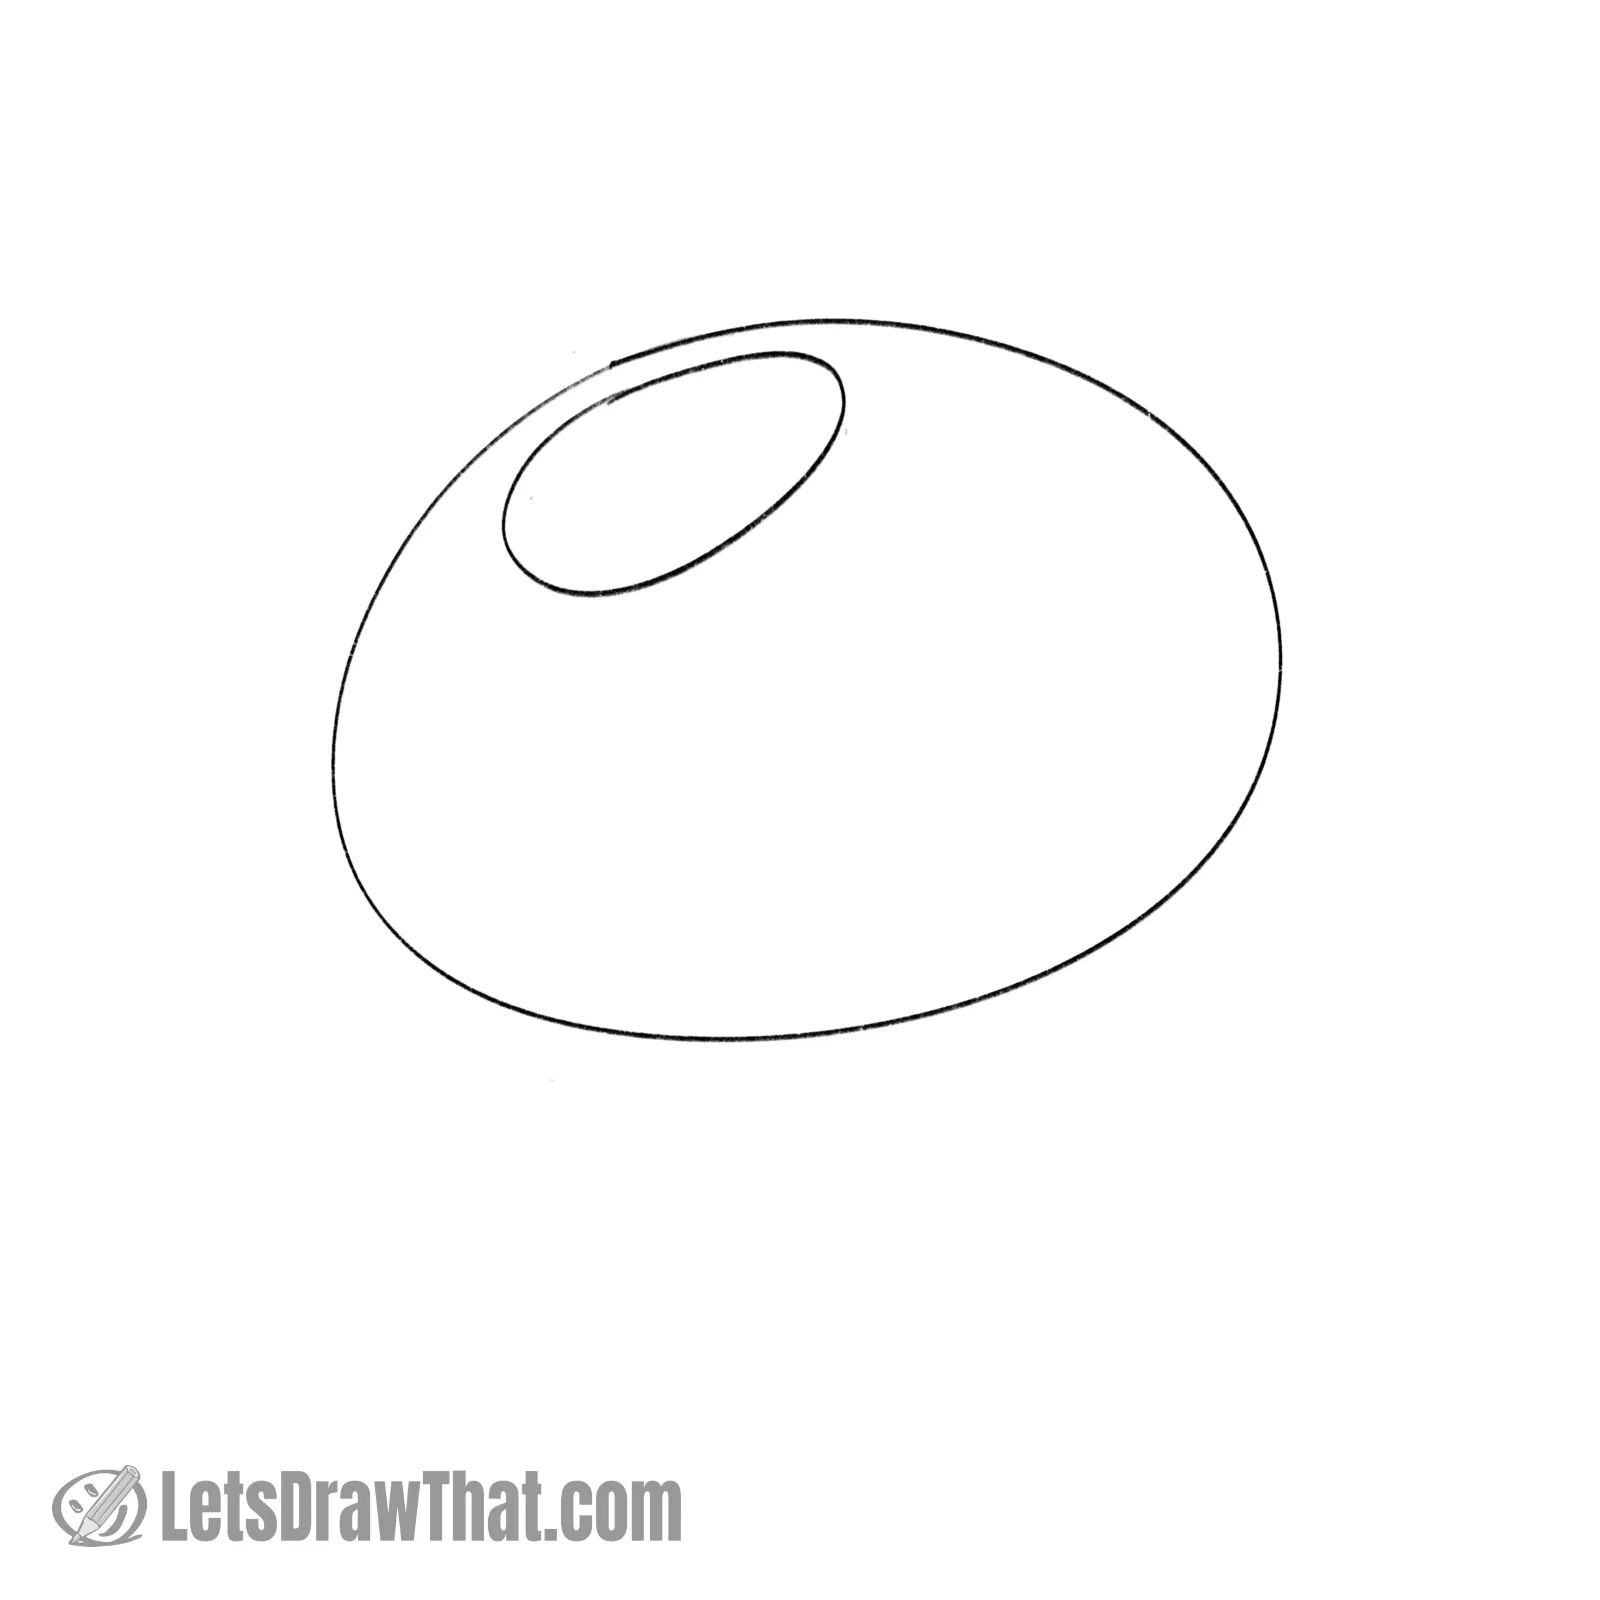
Our blueberry drawing starts with the usual simple base shapes. Draw one large oval for the blueberry outline.
Then, add another smaller oval inside near the top, slightly off-center to the side. This will be the “belly button,” or center calyx of the fruit.
Step 2: Draw the small centre sepal leaves
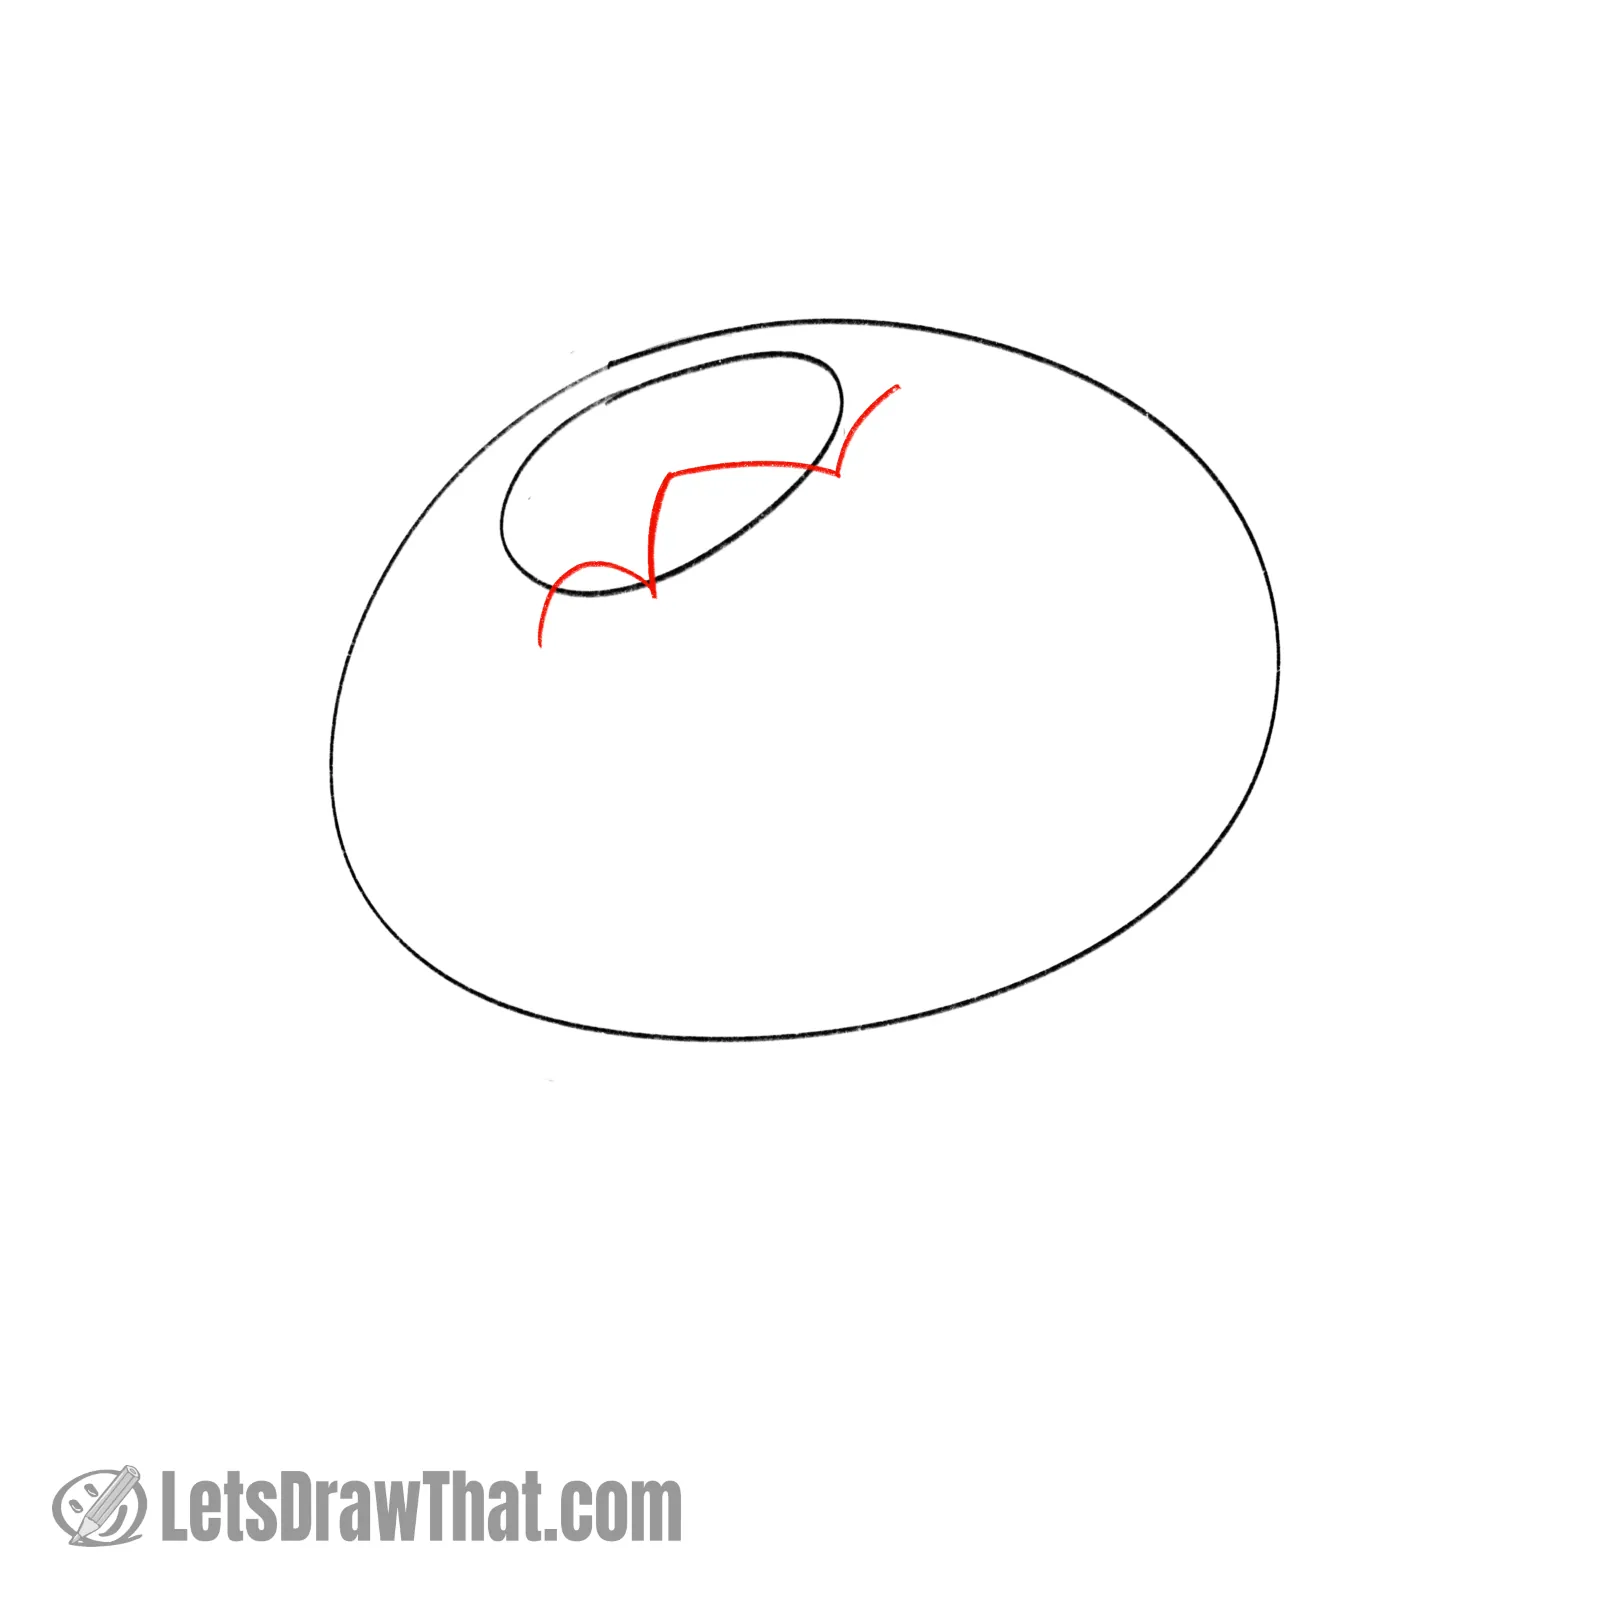
Let’s start drawing the small center leaves – sepals – of the blueberry. Start with the one in the center – it is kind of upside down “V” with curved sides.
Then add just two small arcs, one on each side – we will finish those two in the next step.
Step 3: Draw the folded over leaves
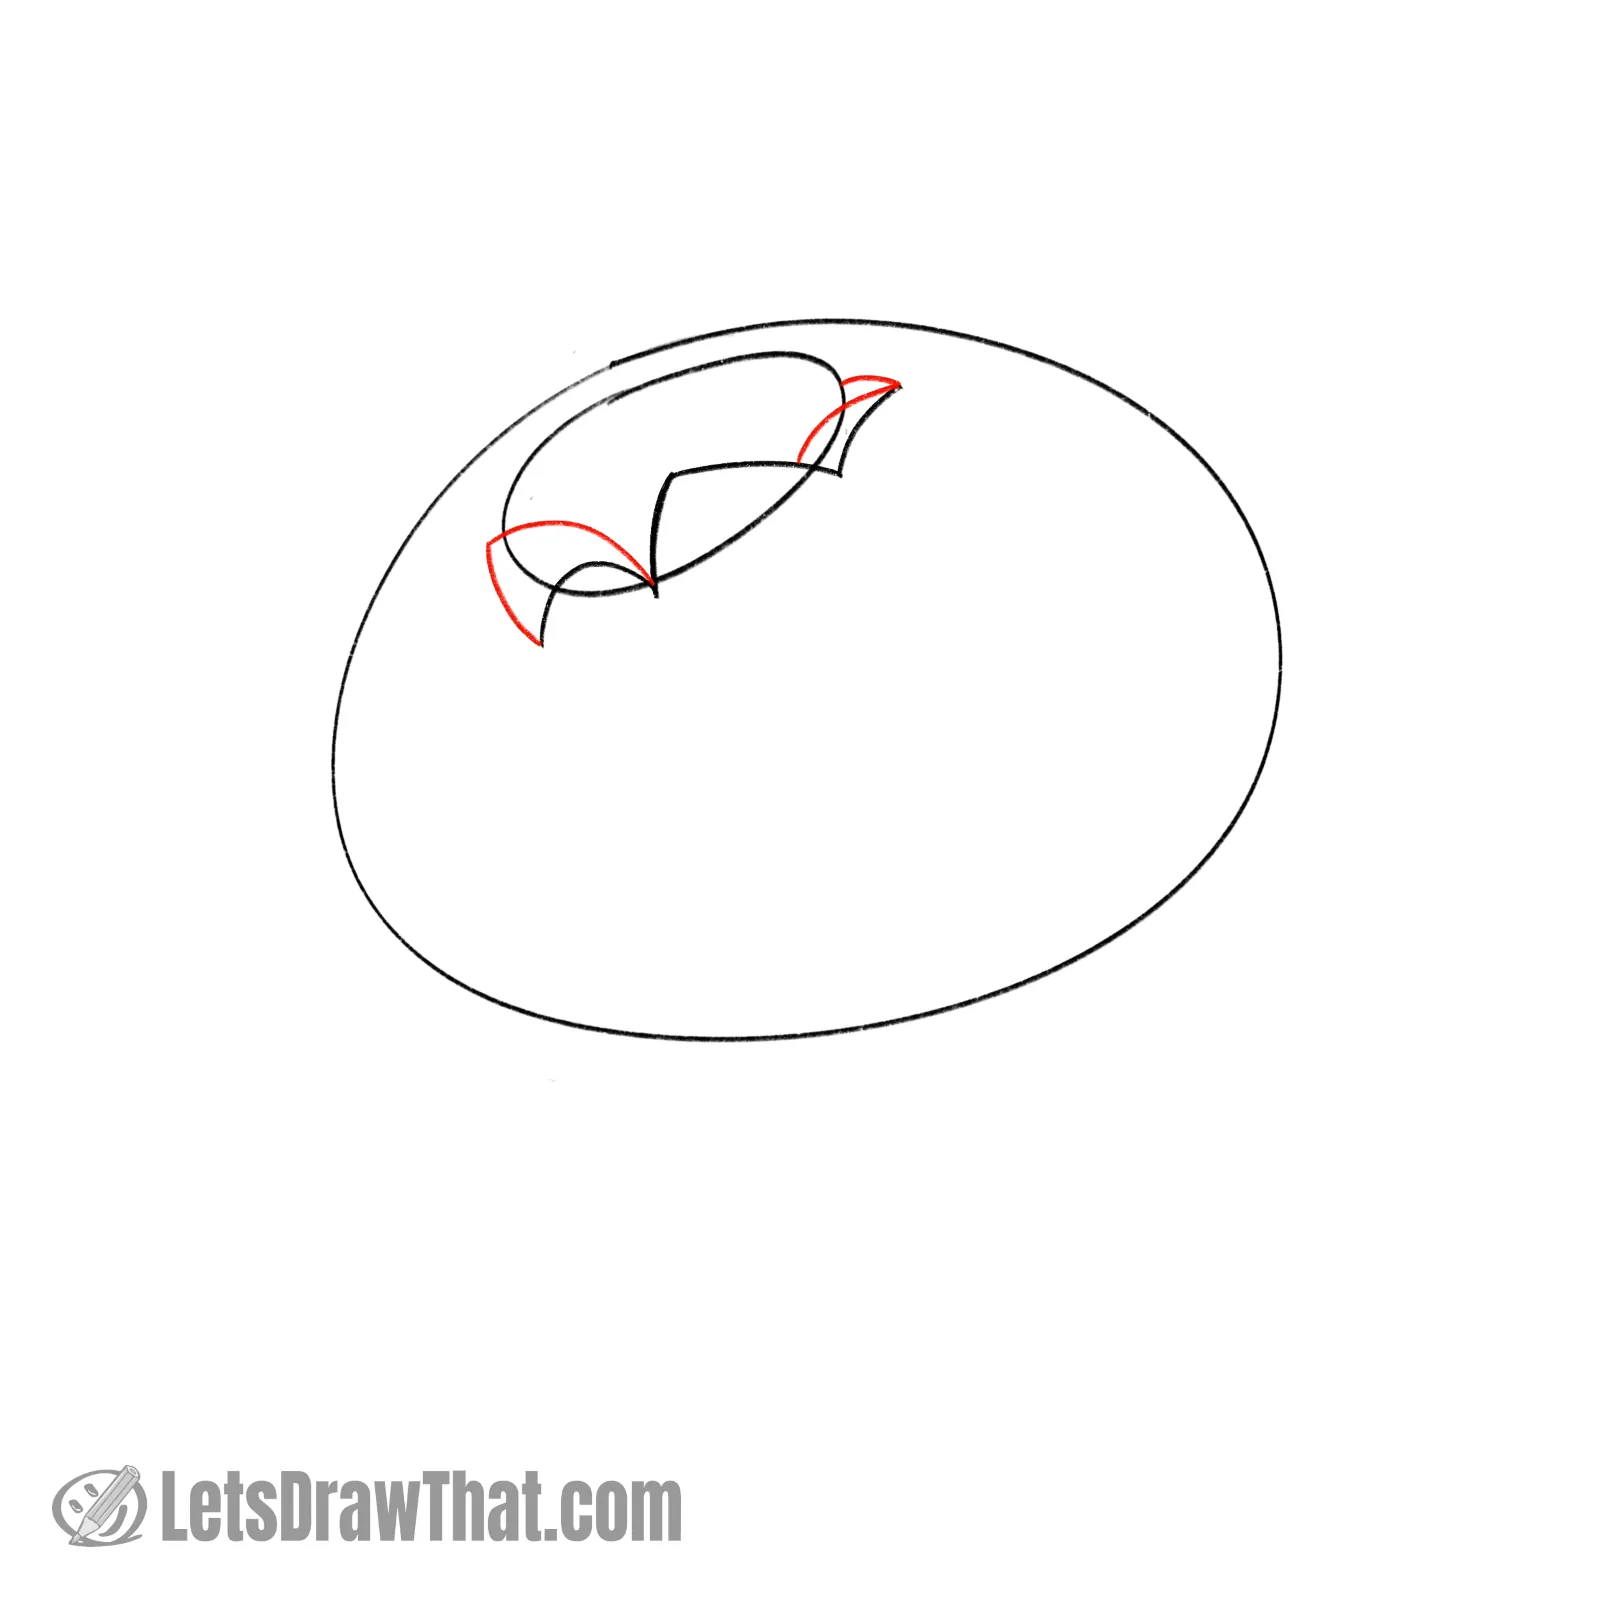
Let’s finish the two side leaves. Both are completed with another “V” shaped line.
See how they attach in the picture. The left one is a folded-over leaf. The right one is a leaf viewed from the bottom.
Step 4: Draw the small sepal leaves on the back of the calyx oval
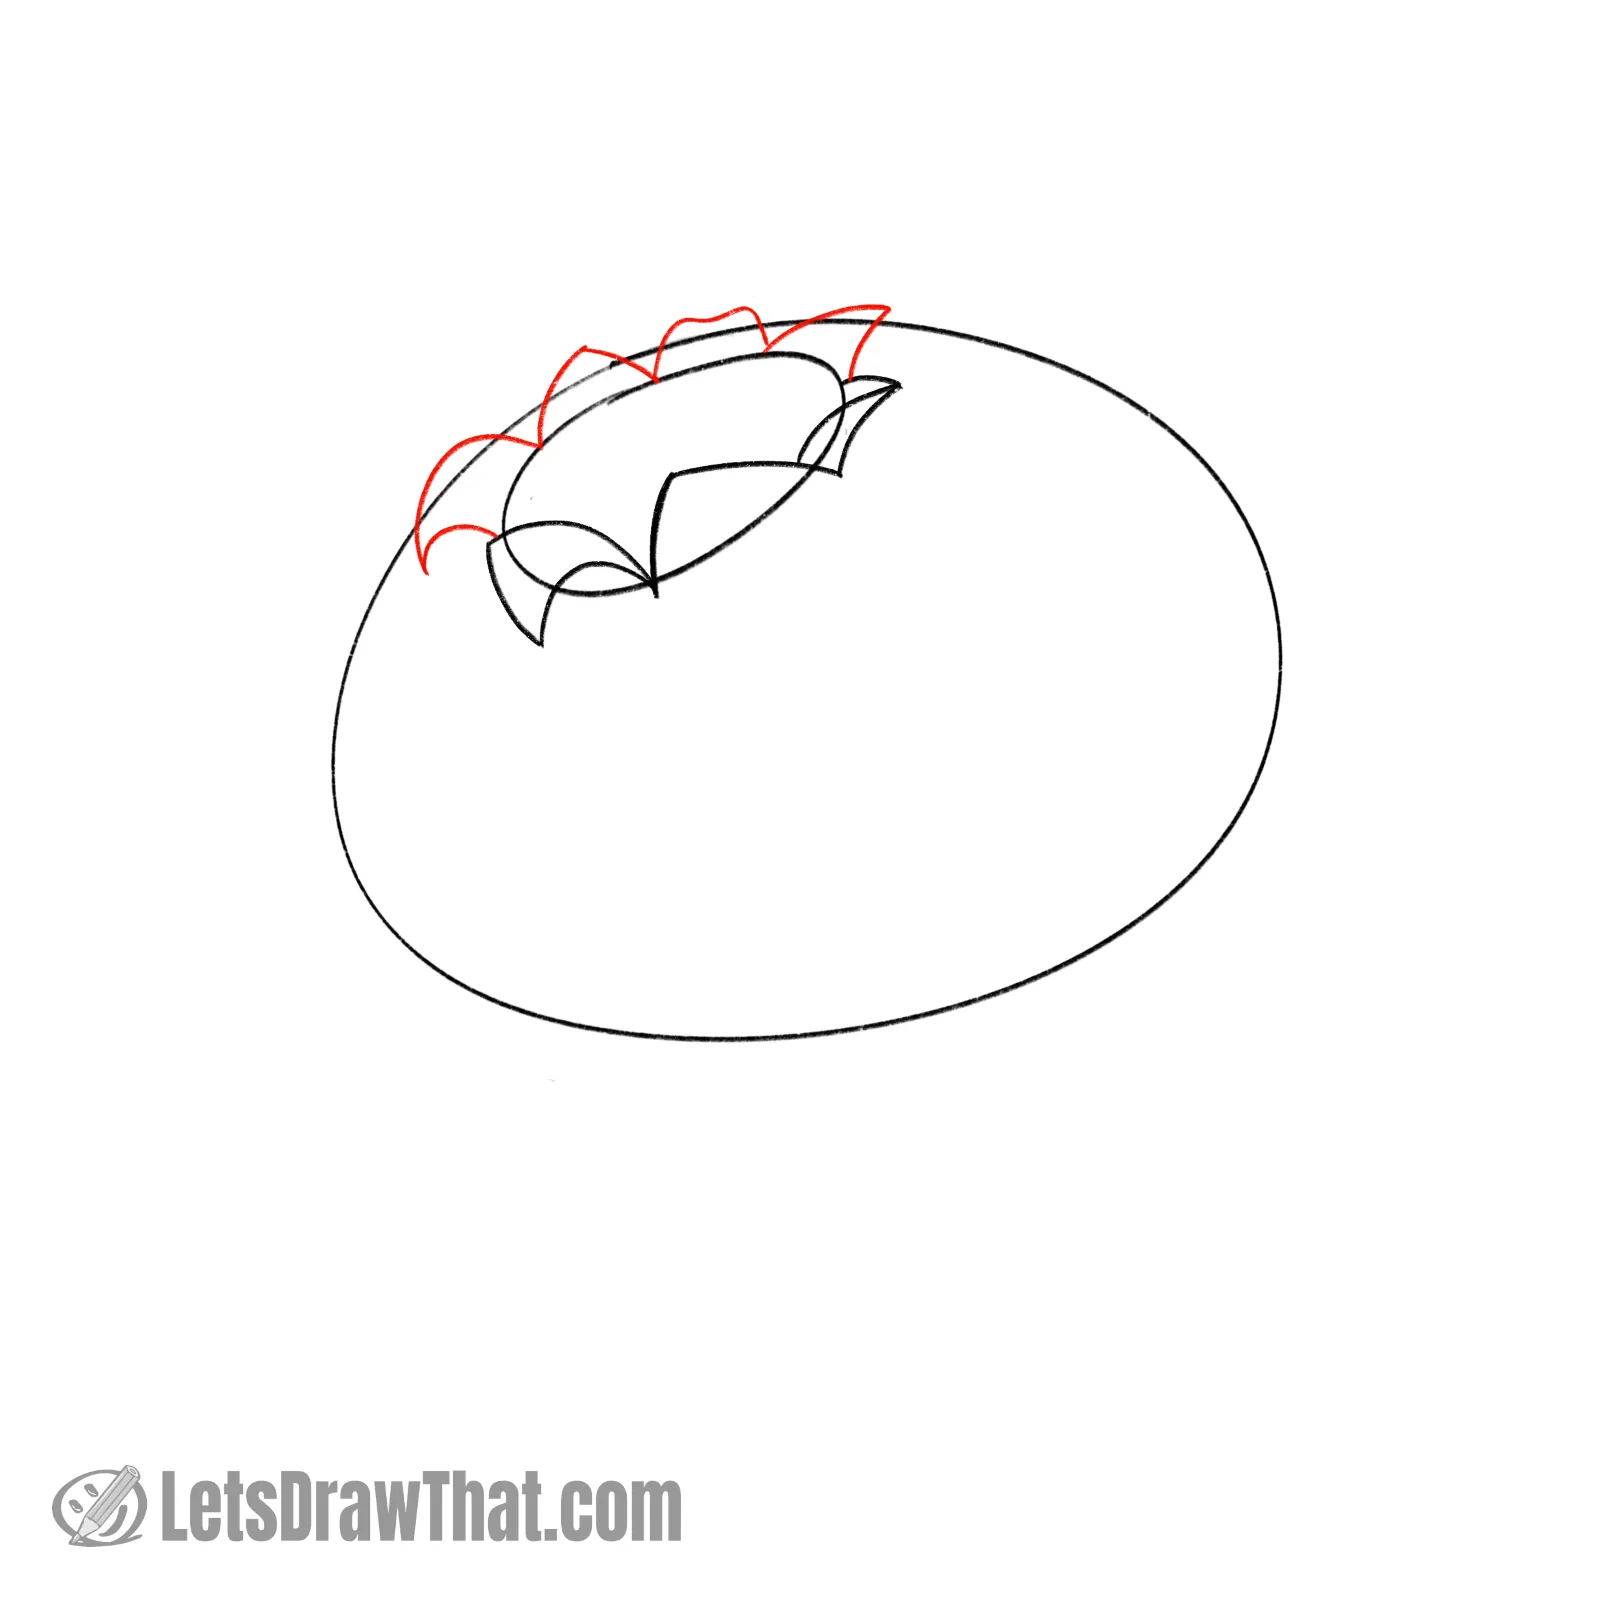
Time to draw the remaining sepal leaves on the back of the calyx oval.
They are again the “V” shaped lines, curved in different ways for some variety.
Ooh, and there is one leaf that is kind of an “M” shape – that one folds back.
Step 5: Add final details to the calyx
Here are a few final touches to complete the blueberry calyx – or the “belly button”.
Double up the top half of the oval -to suggest some depth – the center of the blueberry is squashed in a bit.
Then, some small double-up lines to the two folded leaves to show a small part of the flipped-over leaf.
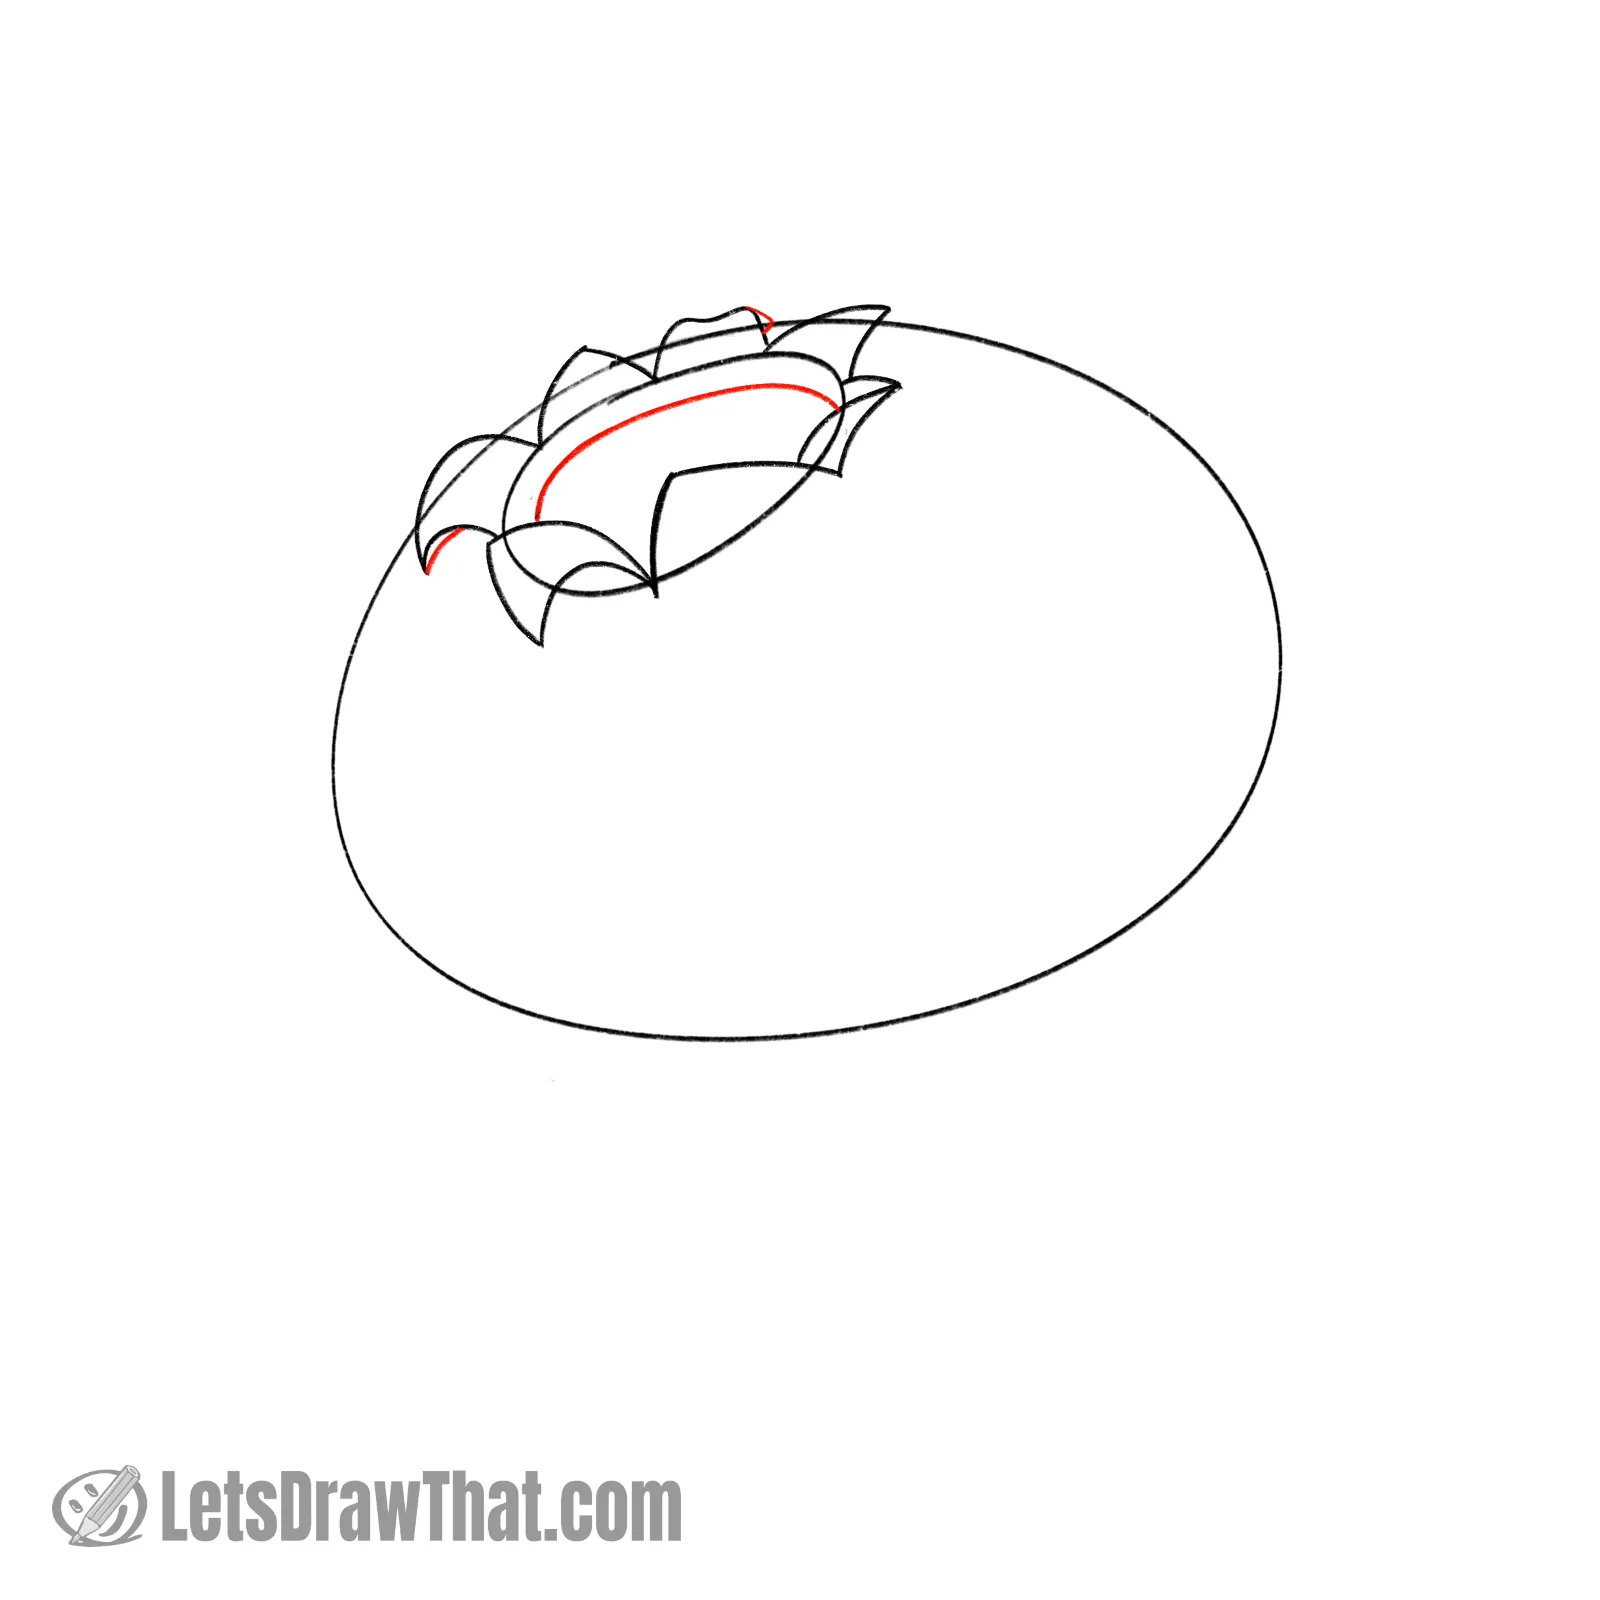
Step 6: Sketch three blueberry leaves
To make the simple blueberry drawing more interesting, let’s add three larger leaves showing under the blueberry fruit.
All three are sort of a way “V” shapes. Make them slightly different shapes and sizes to add some variety.
Step 7: Draw the leaf midribs
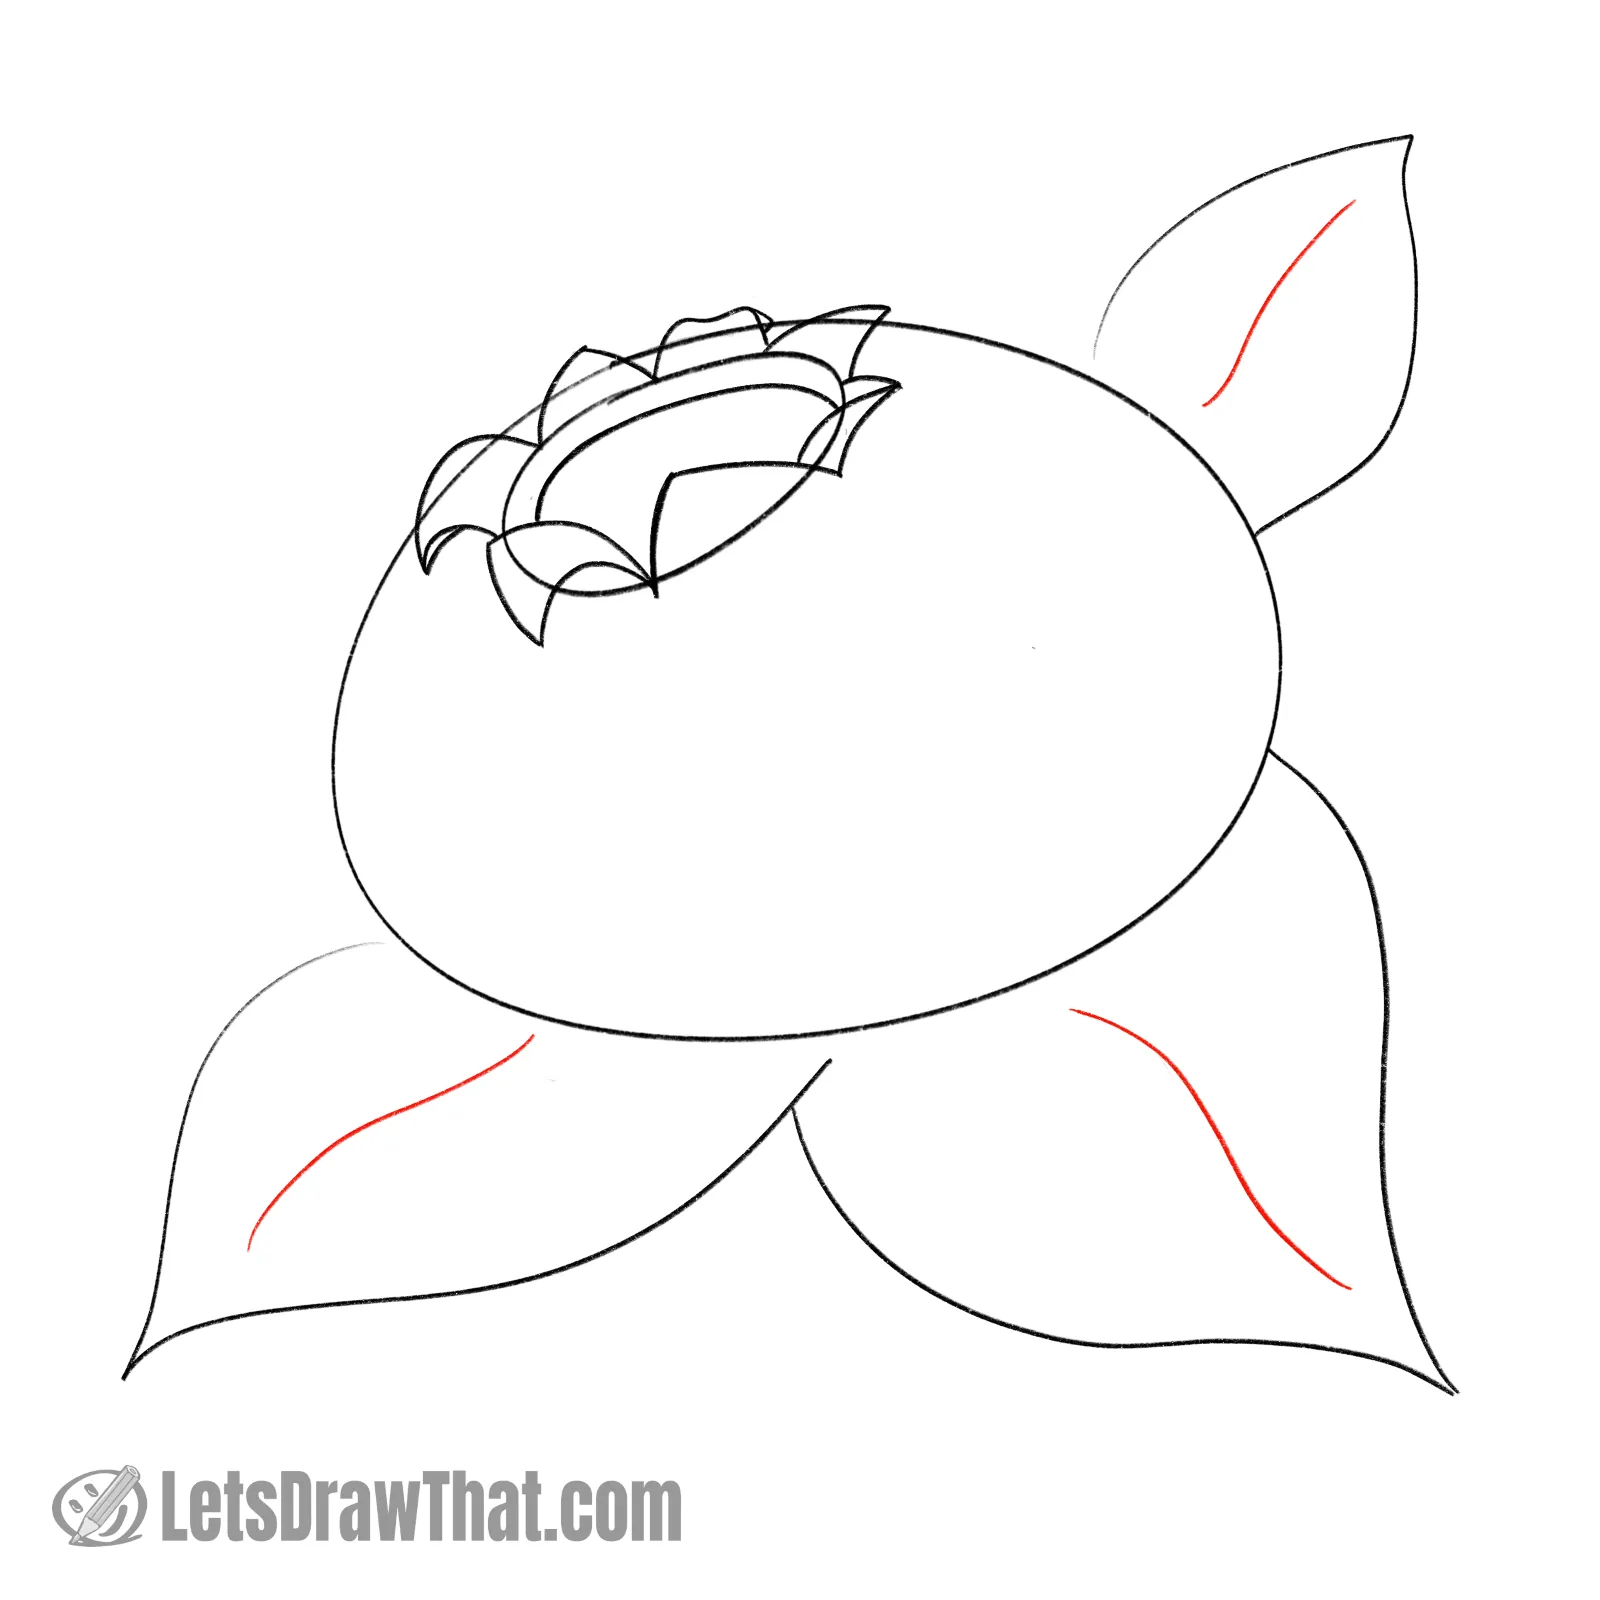
A final detail before we start outlining our blueberry drawing – sketch in the midribs for the three leaves.
See that they are not straight but rather a very wide “S” curve wave.
Now, that is pretty much how to draw a blueberry.
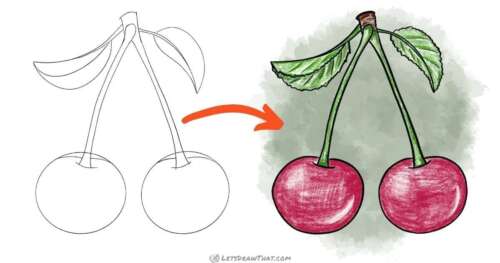
Another berry drawing for you:
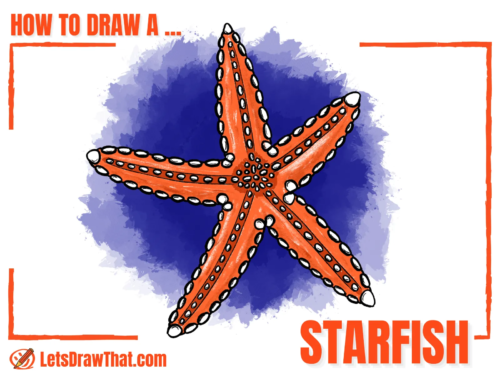
How to Draw a Strawberry – An Easy Realistic Strawberry Drawing
Learn how to draw a strawberry. An easy realistic strawberry drawing, nice and juicy, complete with a stalk and a few green leaves, step-by-step.How to draw a blueberry: outline the drawing step by step
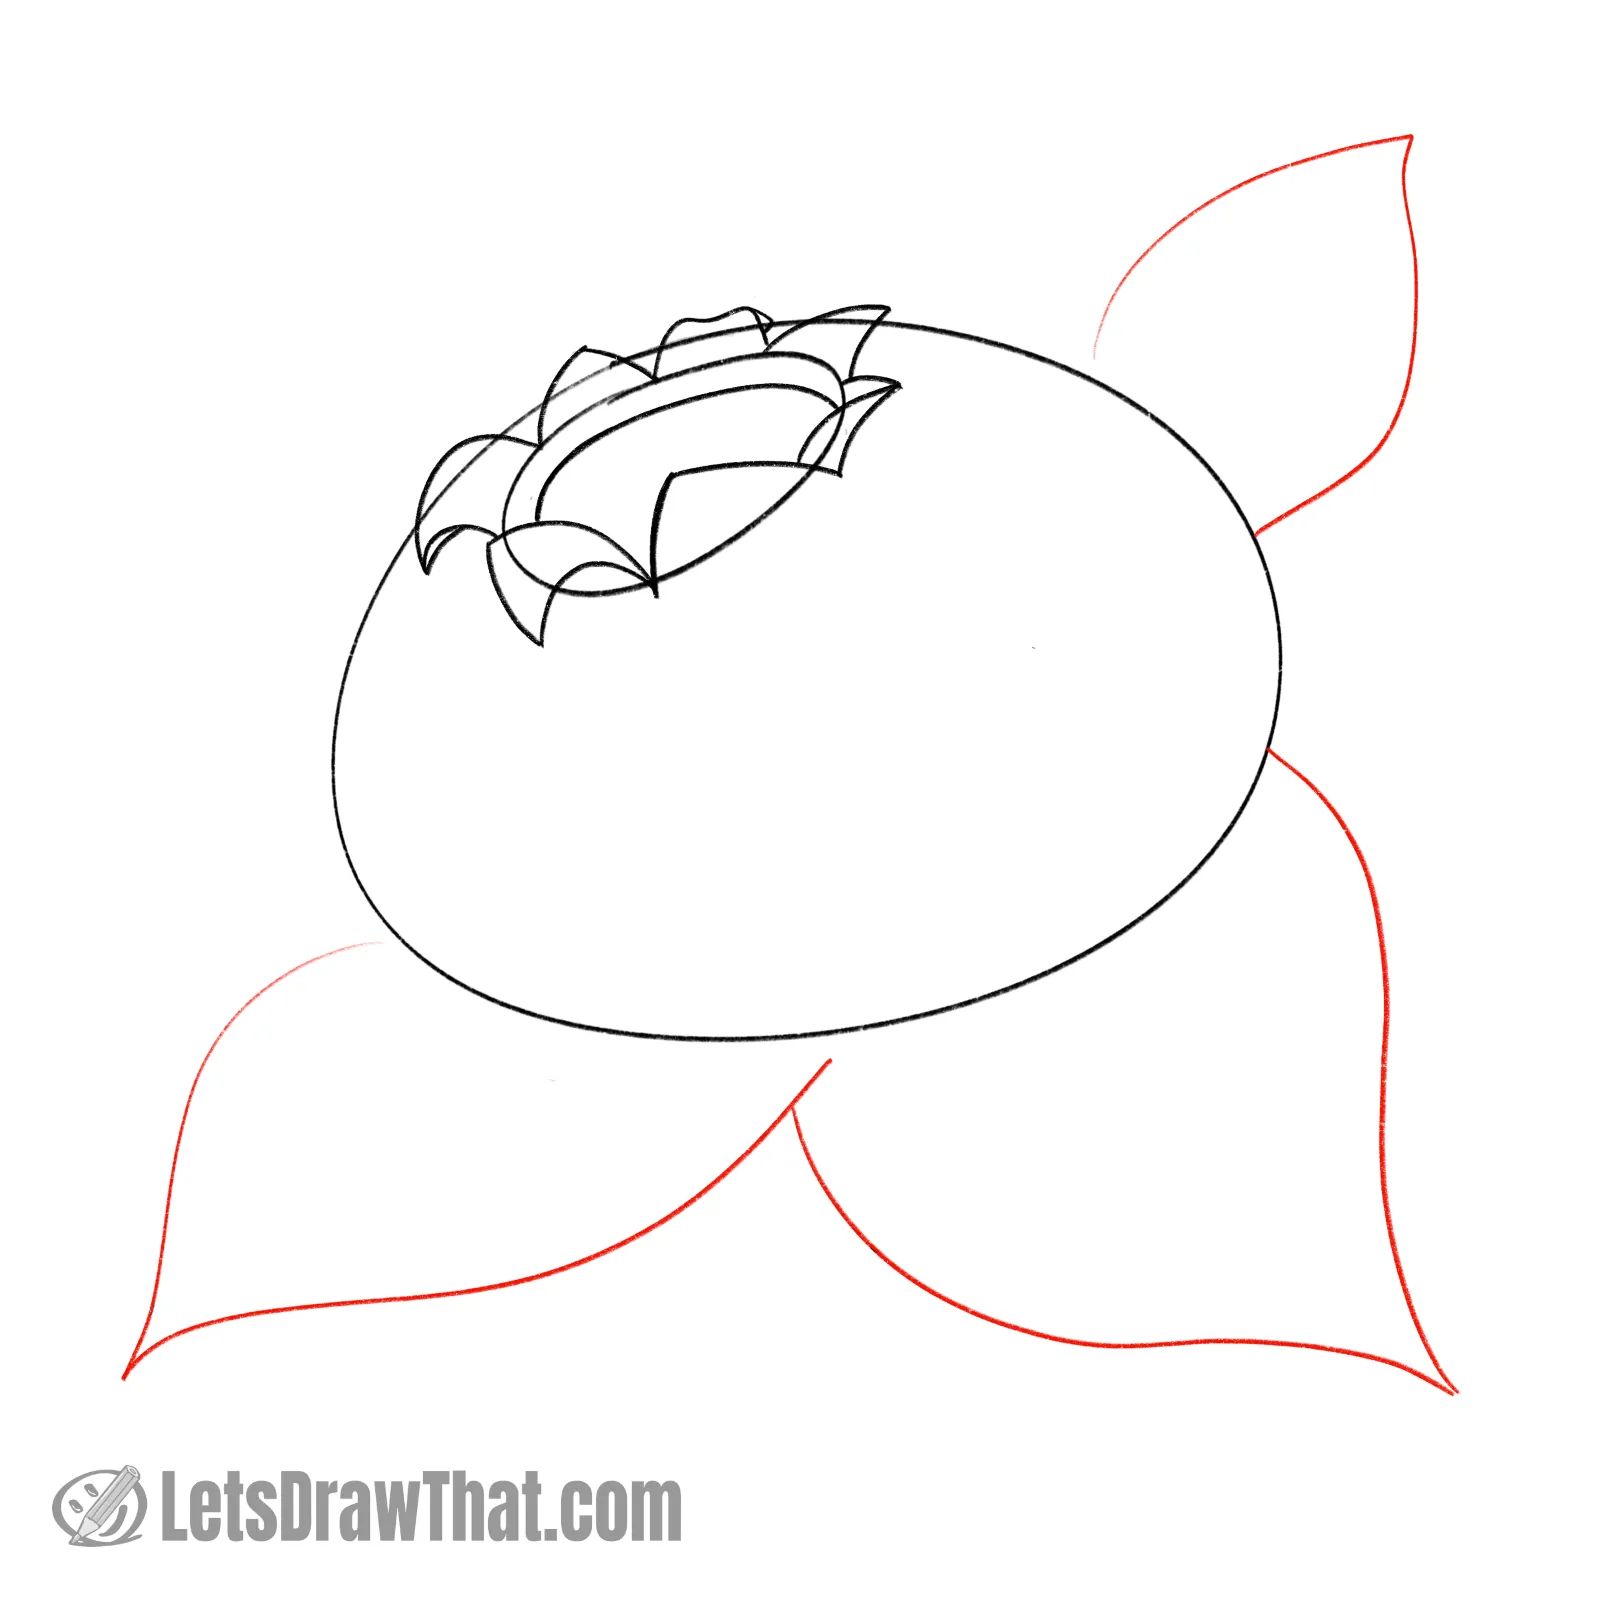
Step 1: Draw the front sepal leaves
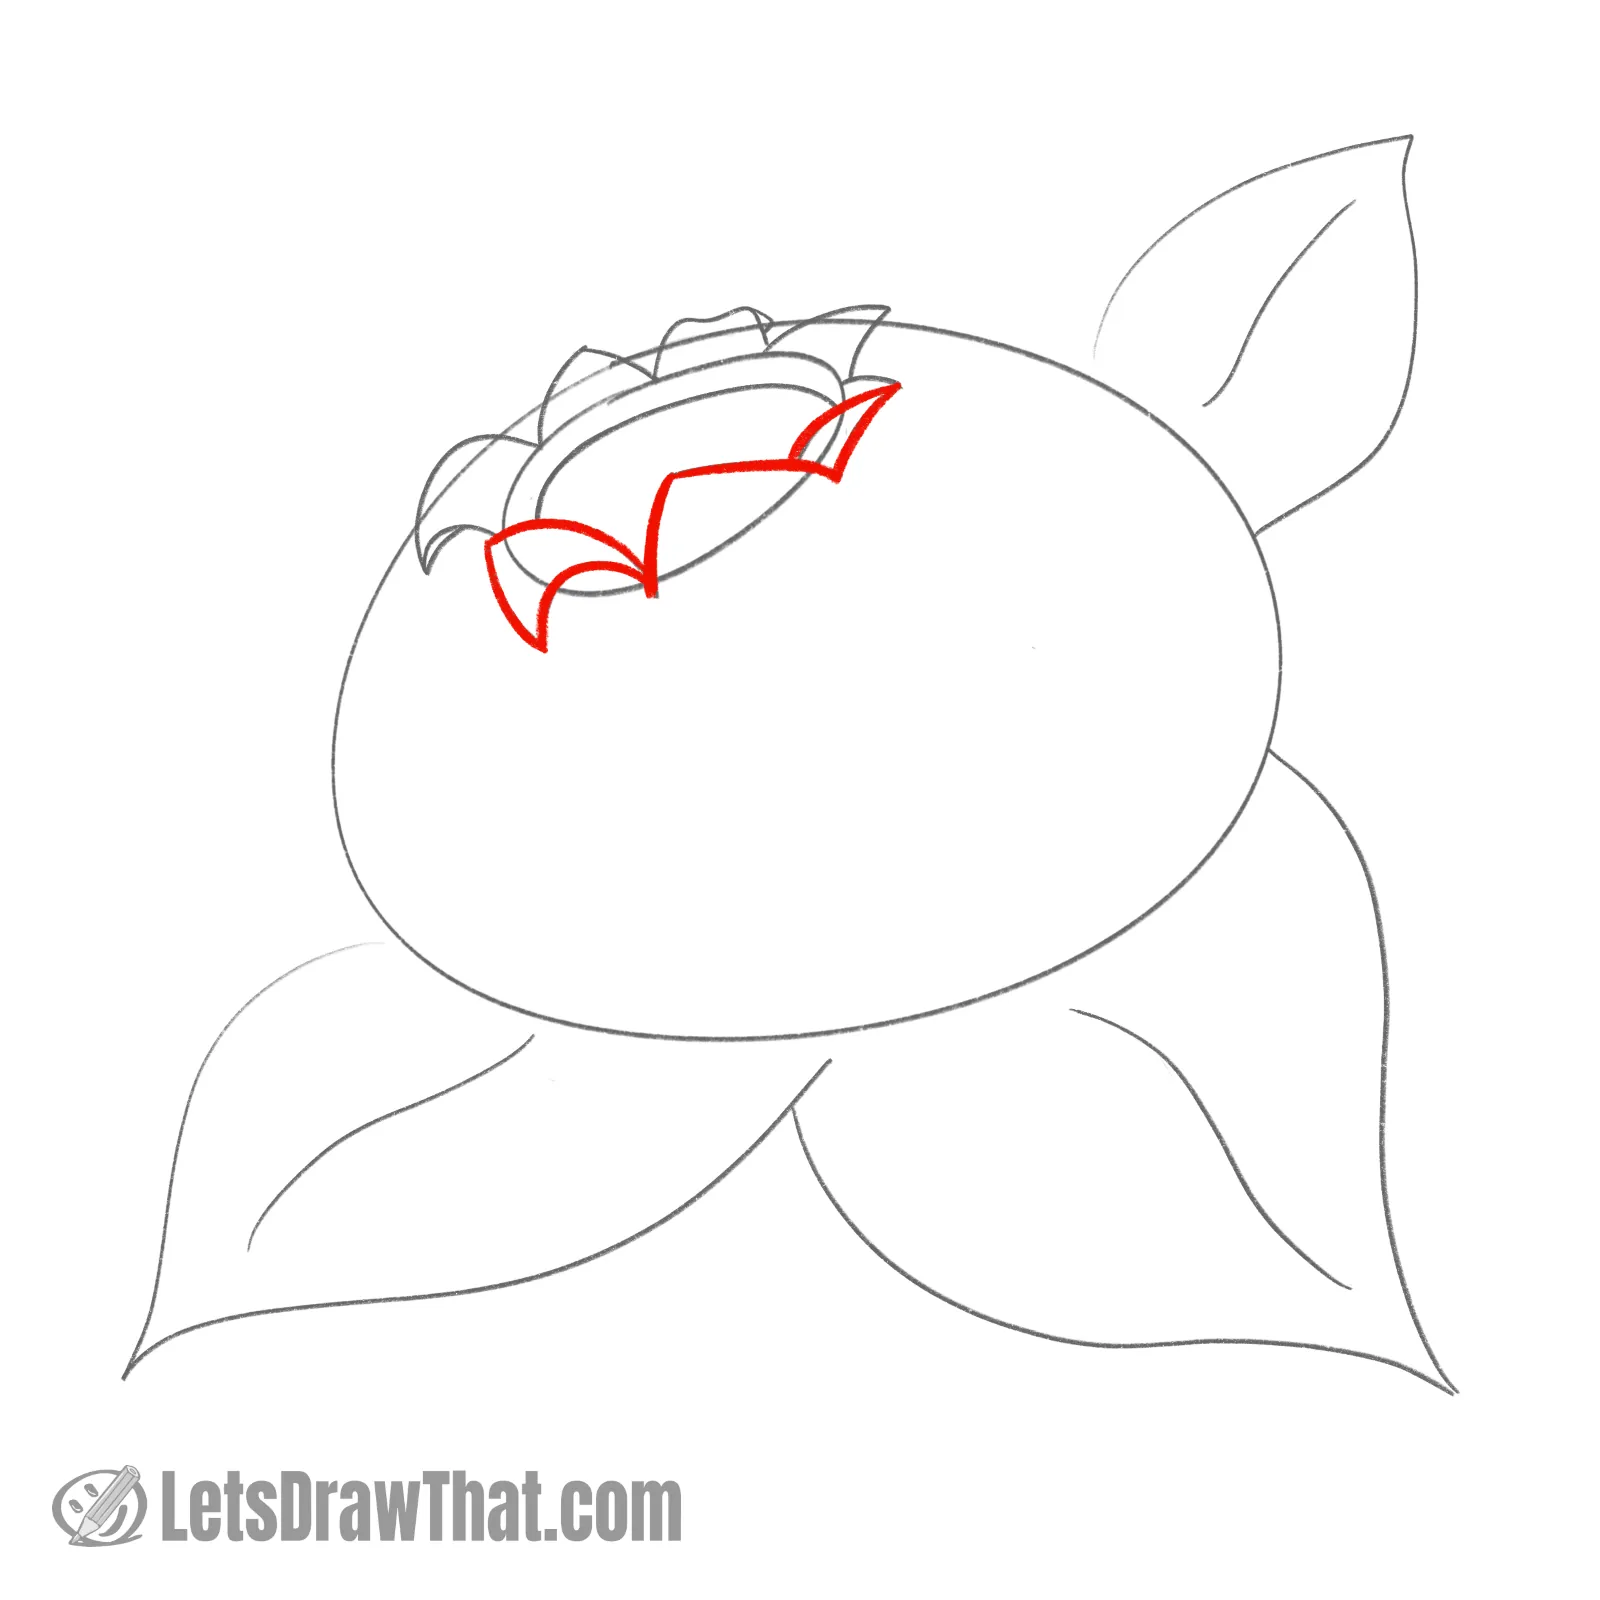
With all the hard work done, let’s outline our blueberry drawing.
Start with the three front sepal leaves.
Notice we are outlining only the leaves, leaving the front of the sketched oval out. You will not see it in the final picture, as the line would be hidden behind the leaves.
Step 2: Draw the calyx center dip
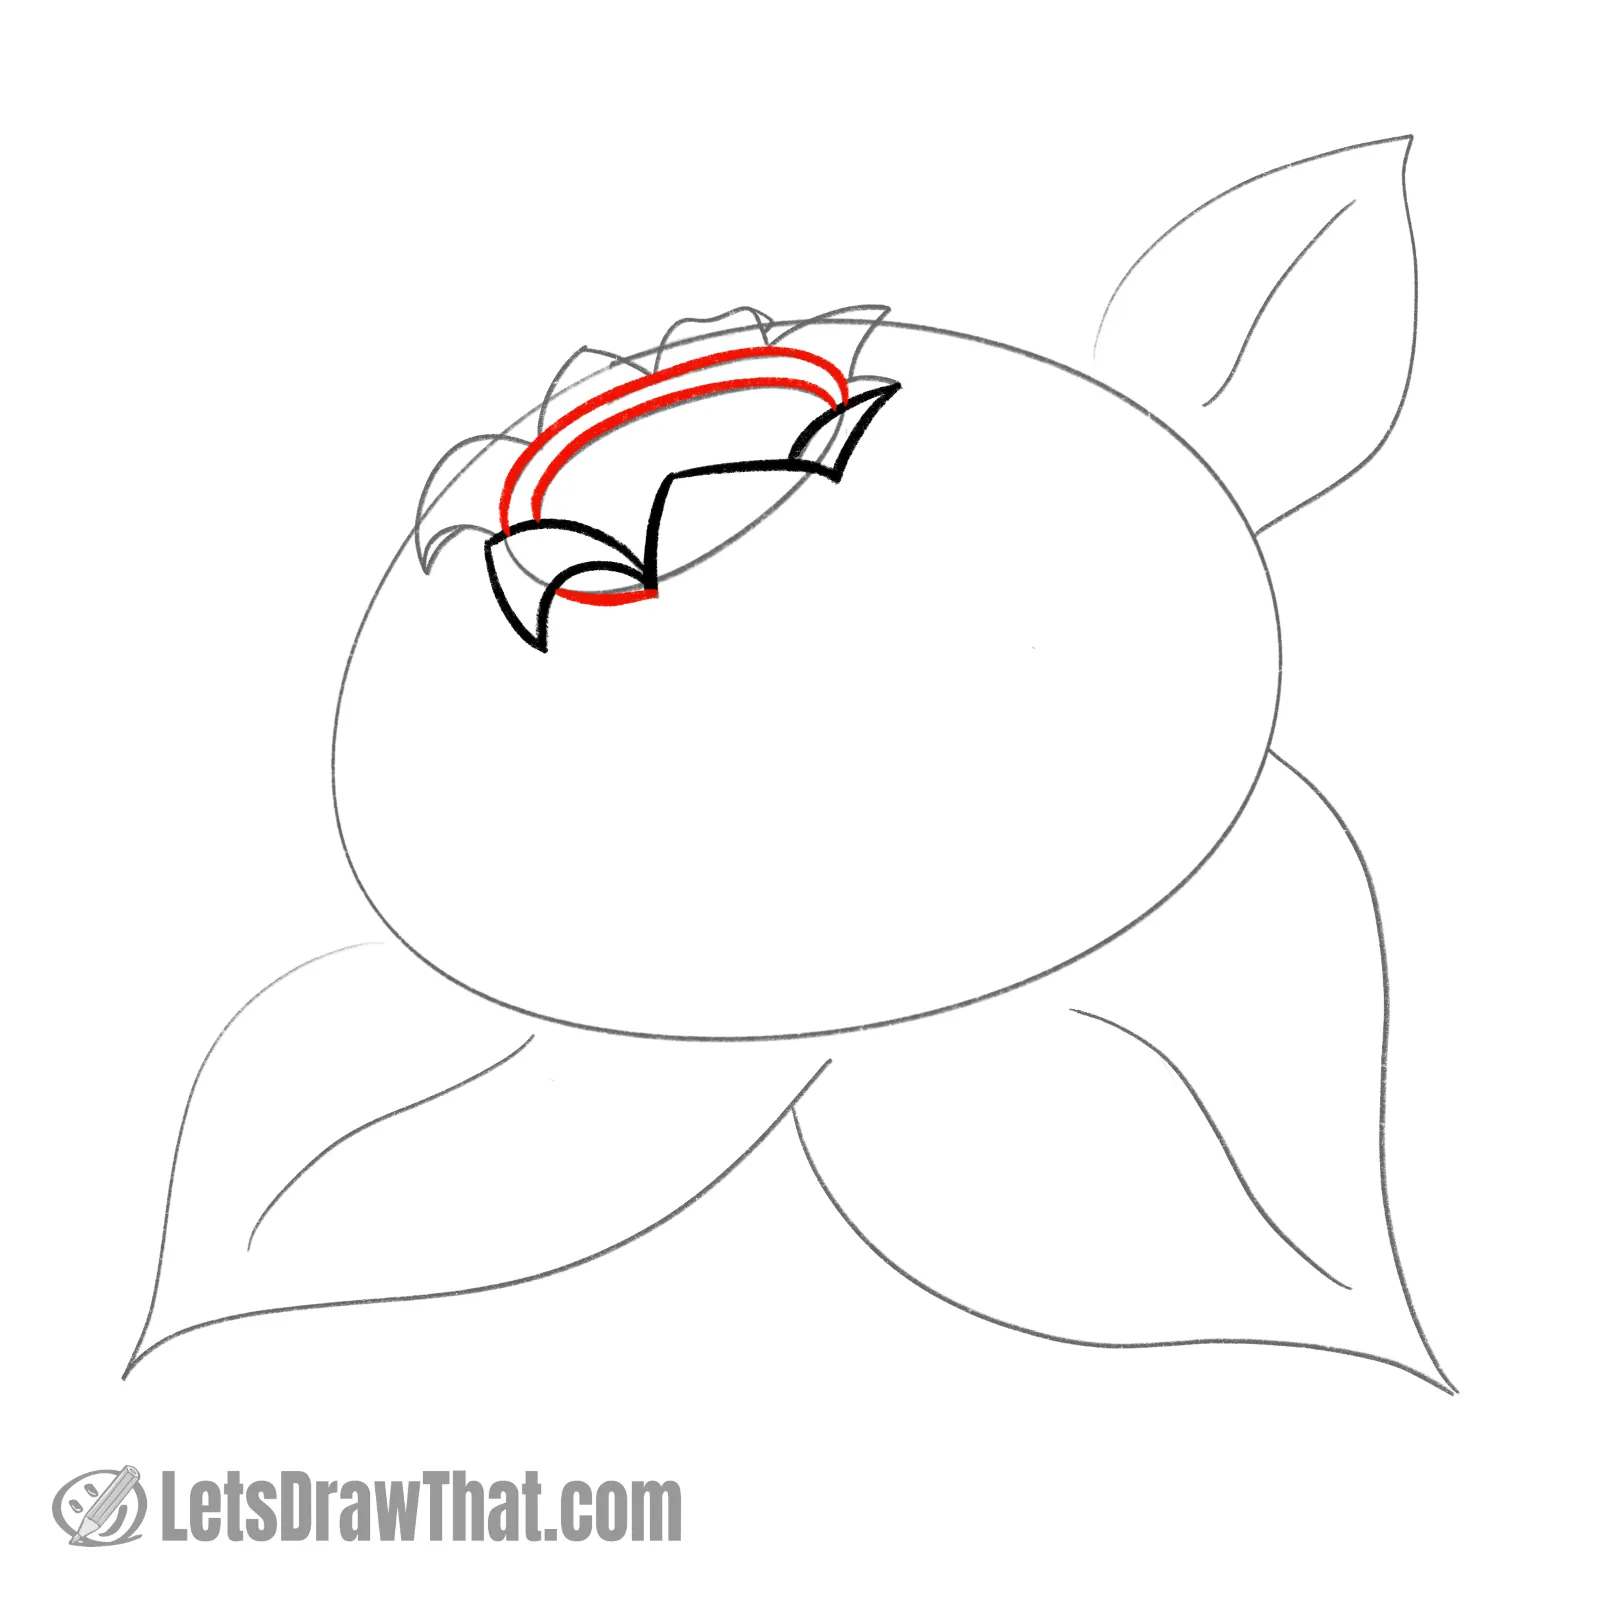
Next, outline the sides of the calyx center dip. Those are the two half ovals at the top.
Then, add the small part that shows up under the leftmost folded sepal leaf. See how we are starting to add some interesting depth to the drawing?
Step 3: Draw the rear sepal leaves

Next, draw the rear sepal leaves.
We have done all the hard work drawing the fiddly leaf folds during the sketch, so it is a simple trace of the sketch.
Step 4: Draw the blueberry outline and leaves
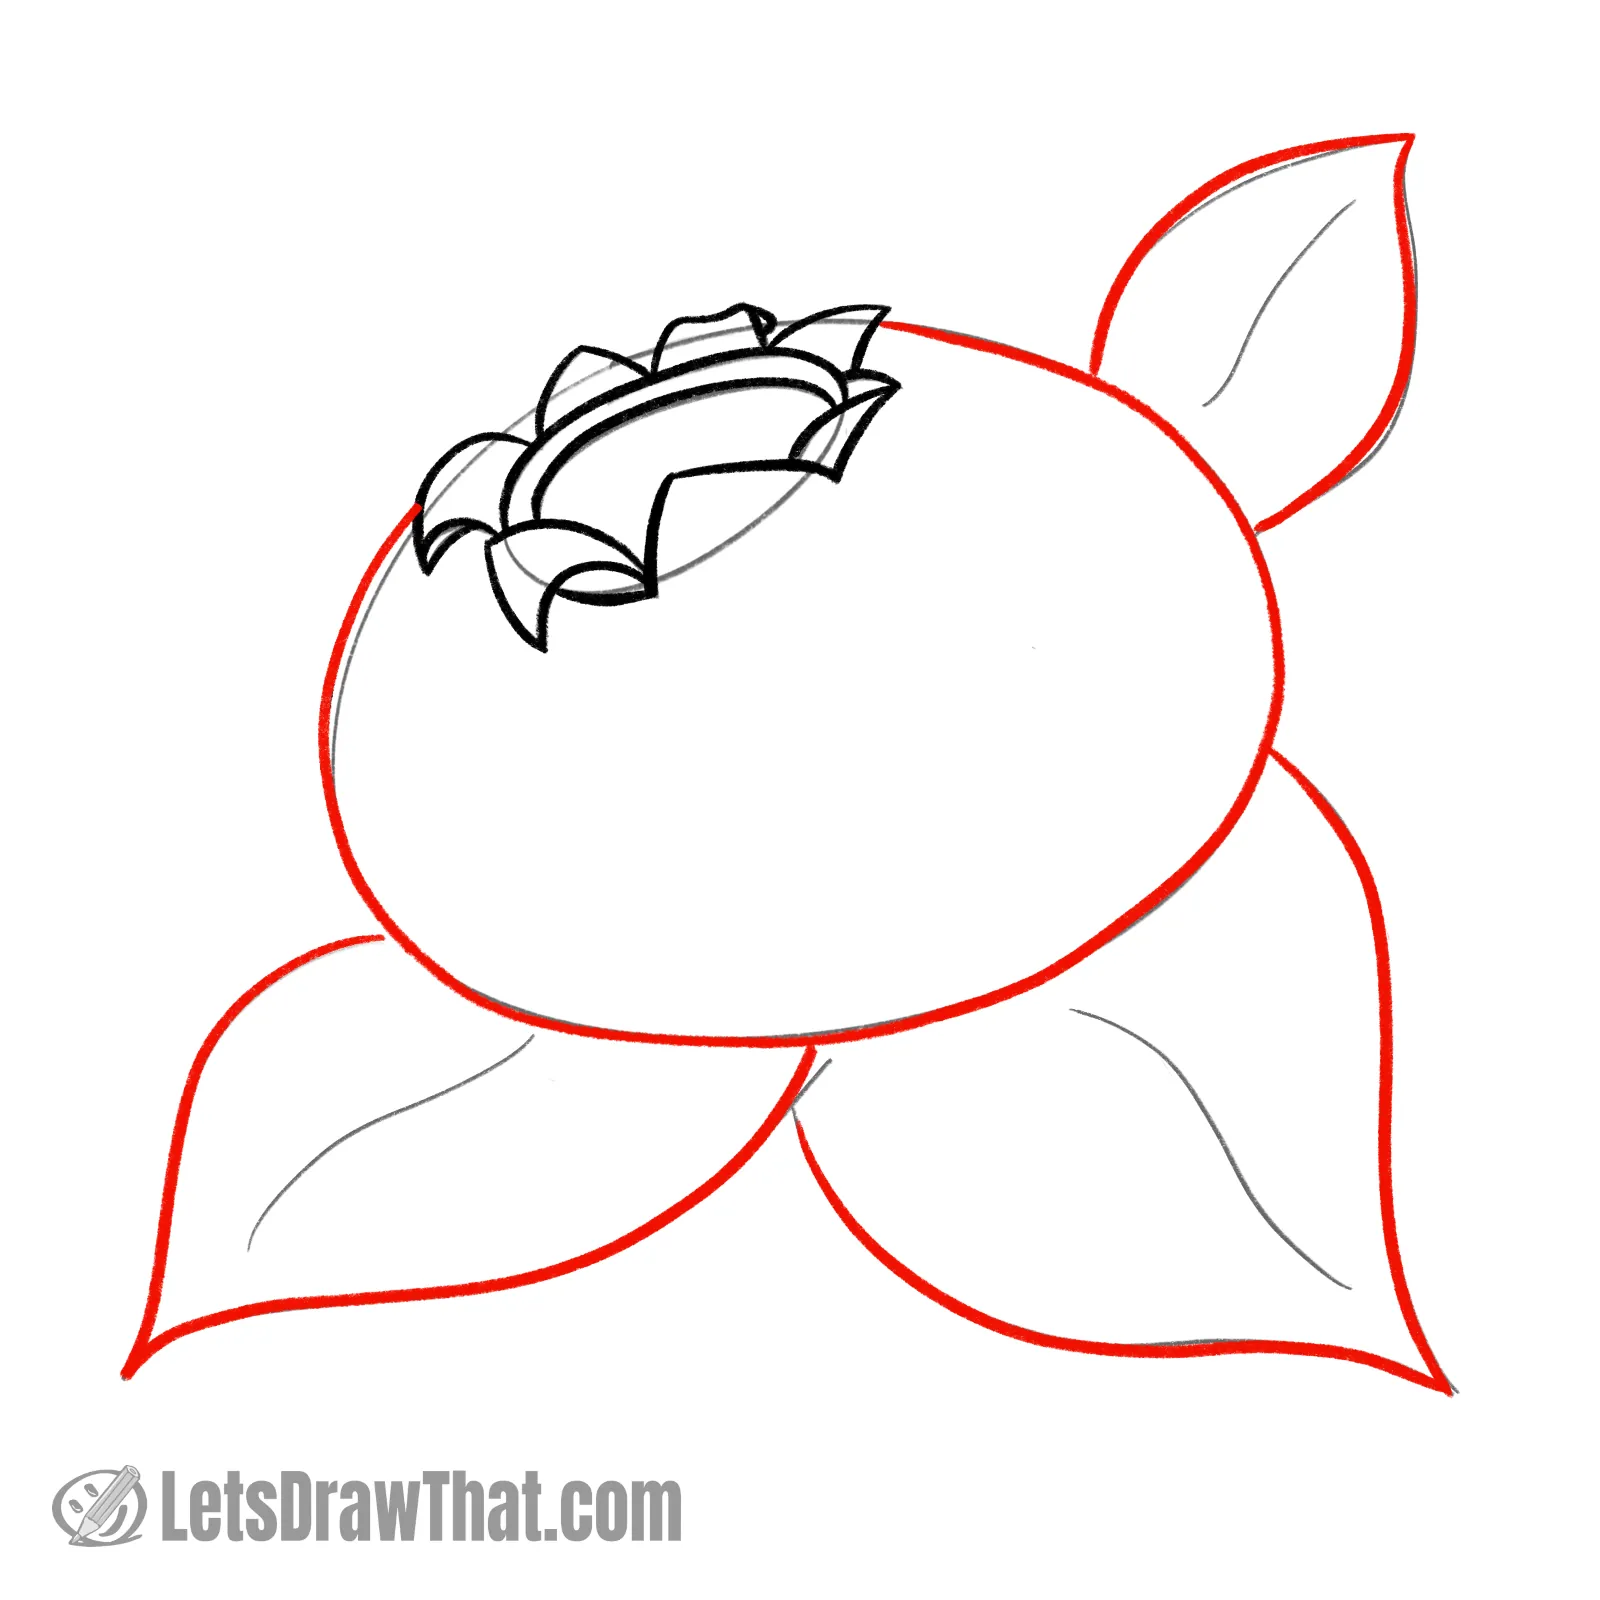
Outline the blueberry – here is your chance to straighten up any wobble in the sketched oval.
Then, draw out the background leaves. Again, you can fine-tune the shape if needed.
Step 5: Final details: add ribs to the leaves and texture to calyx
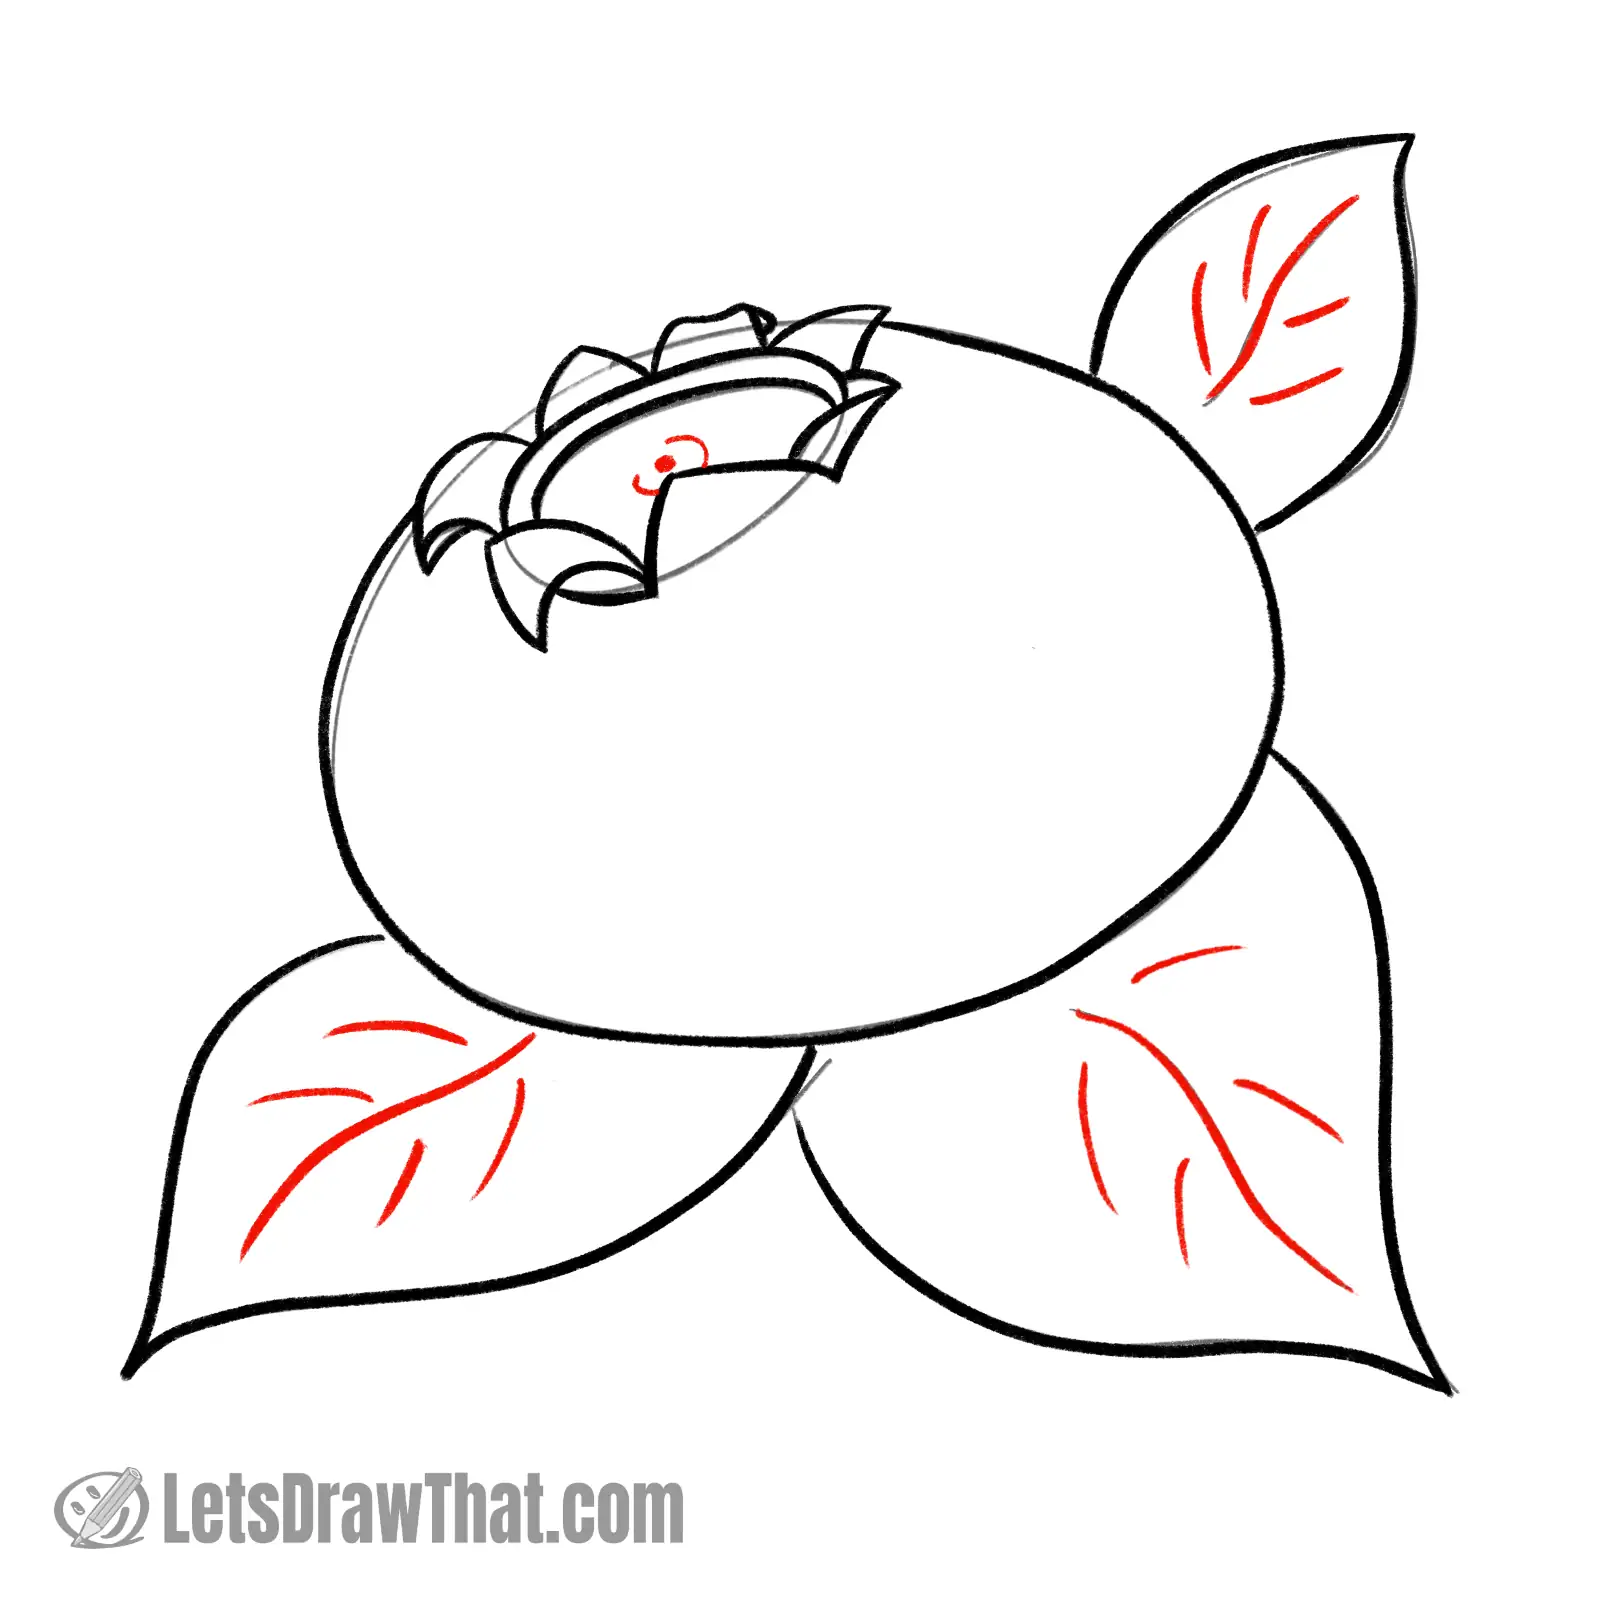
The very last step in our how to draw a blueberry tutorial is to add some details:
Draw out the midribs in the leaves, and add extra ribs on both sides onto each leaf.
Then, draw three dots into the calyx oval – these are there to suggest some texture, as the blueberry “belly button” is not completely flat inside.
Another simple fruit drawing:
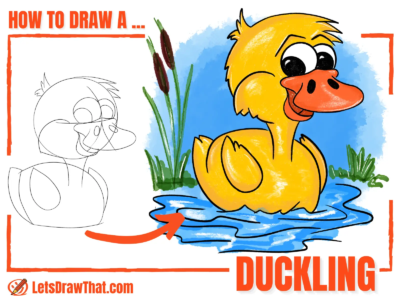
How to Draw Cherries With Leaves
Learn how to draw cherries. An easy step by step drawing tutorial to draw a pair of cherries on the stalk, complete with some cherry leaves.How to draw a blueberry: finished drawing
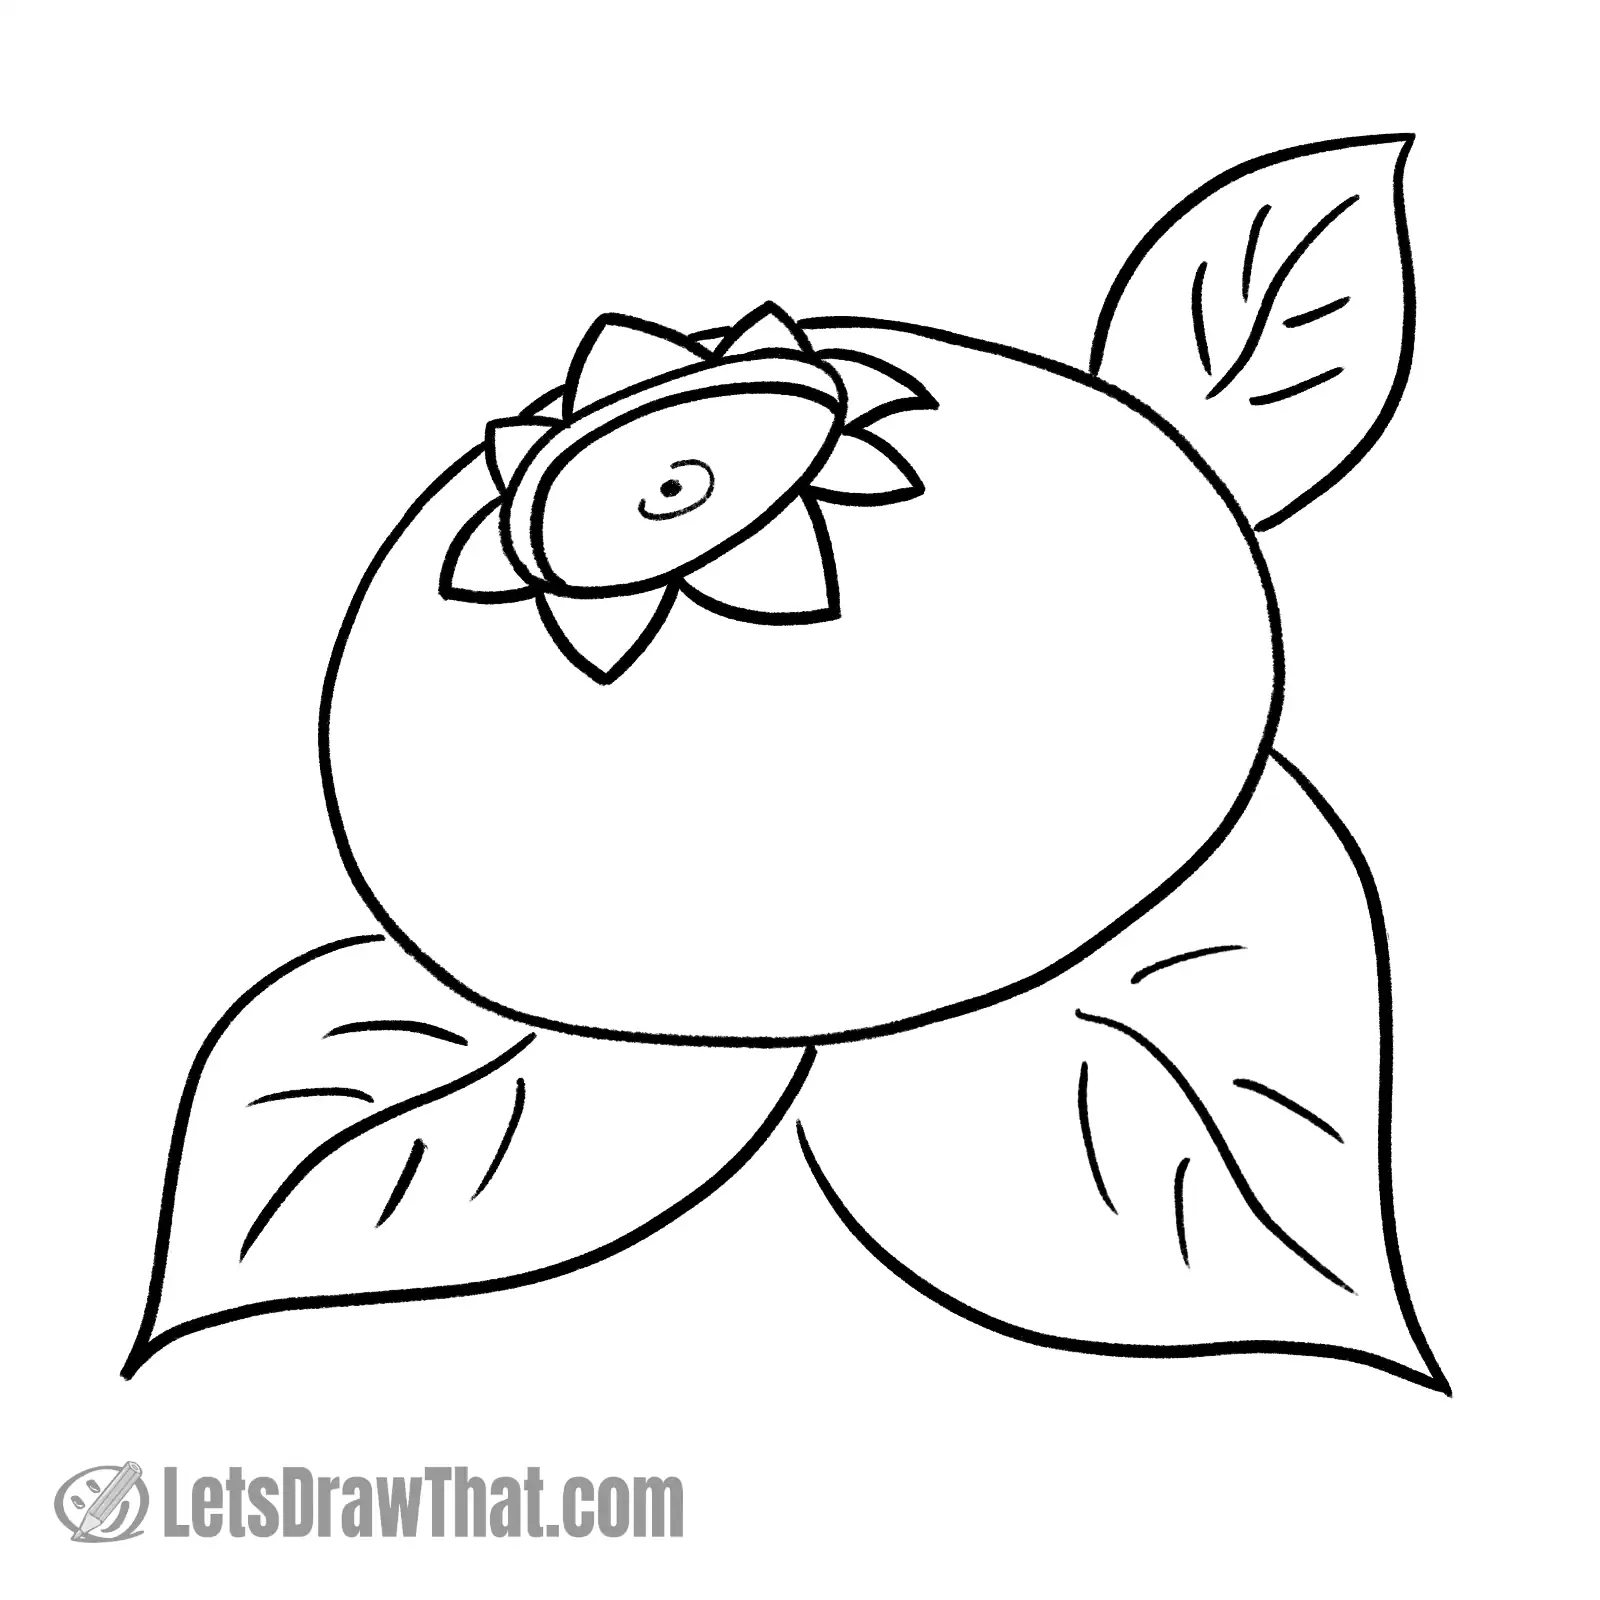
Finished outline blueberry drawing
Here is the finished blueberry drawing.
Admittedly, we went a bit overboard, playing with the small sepal leaves and folding them into different shapes. But that is what adds some interest and fun to otherwise relatively simple drawing.
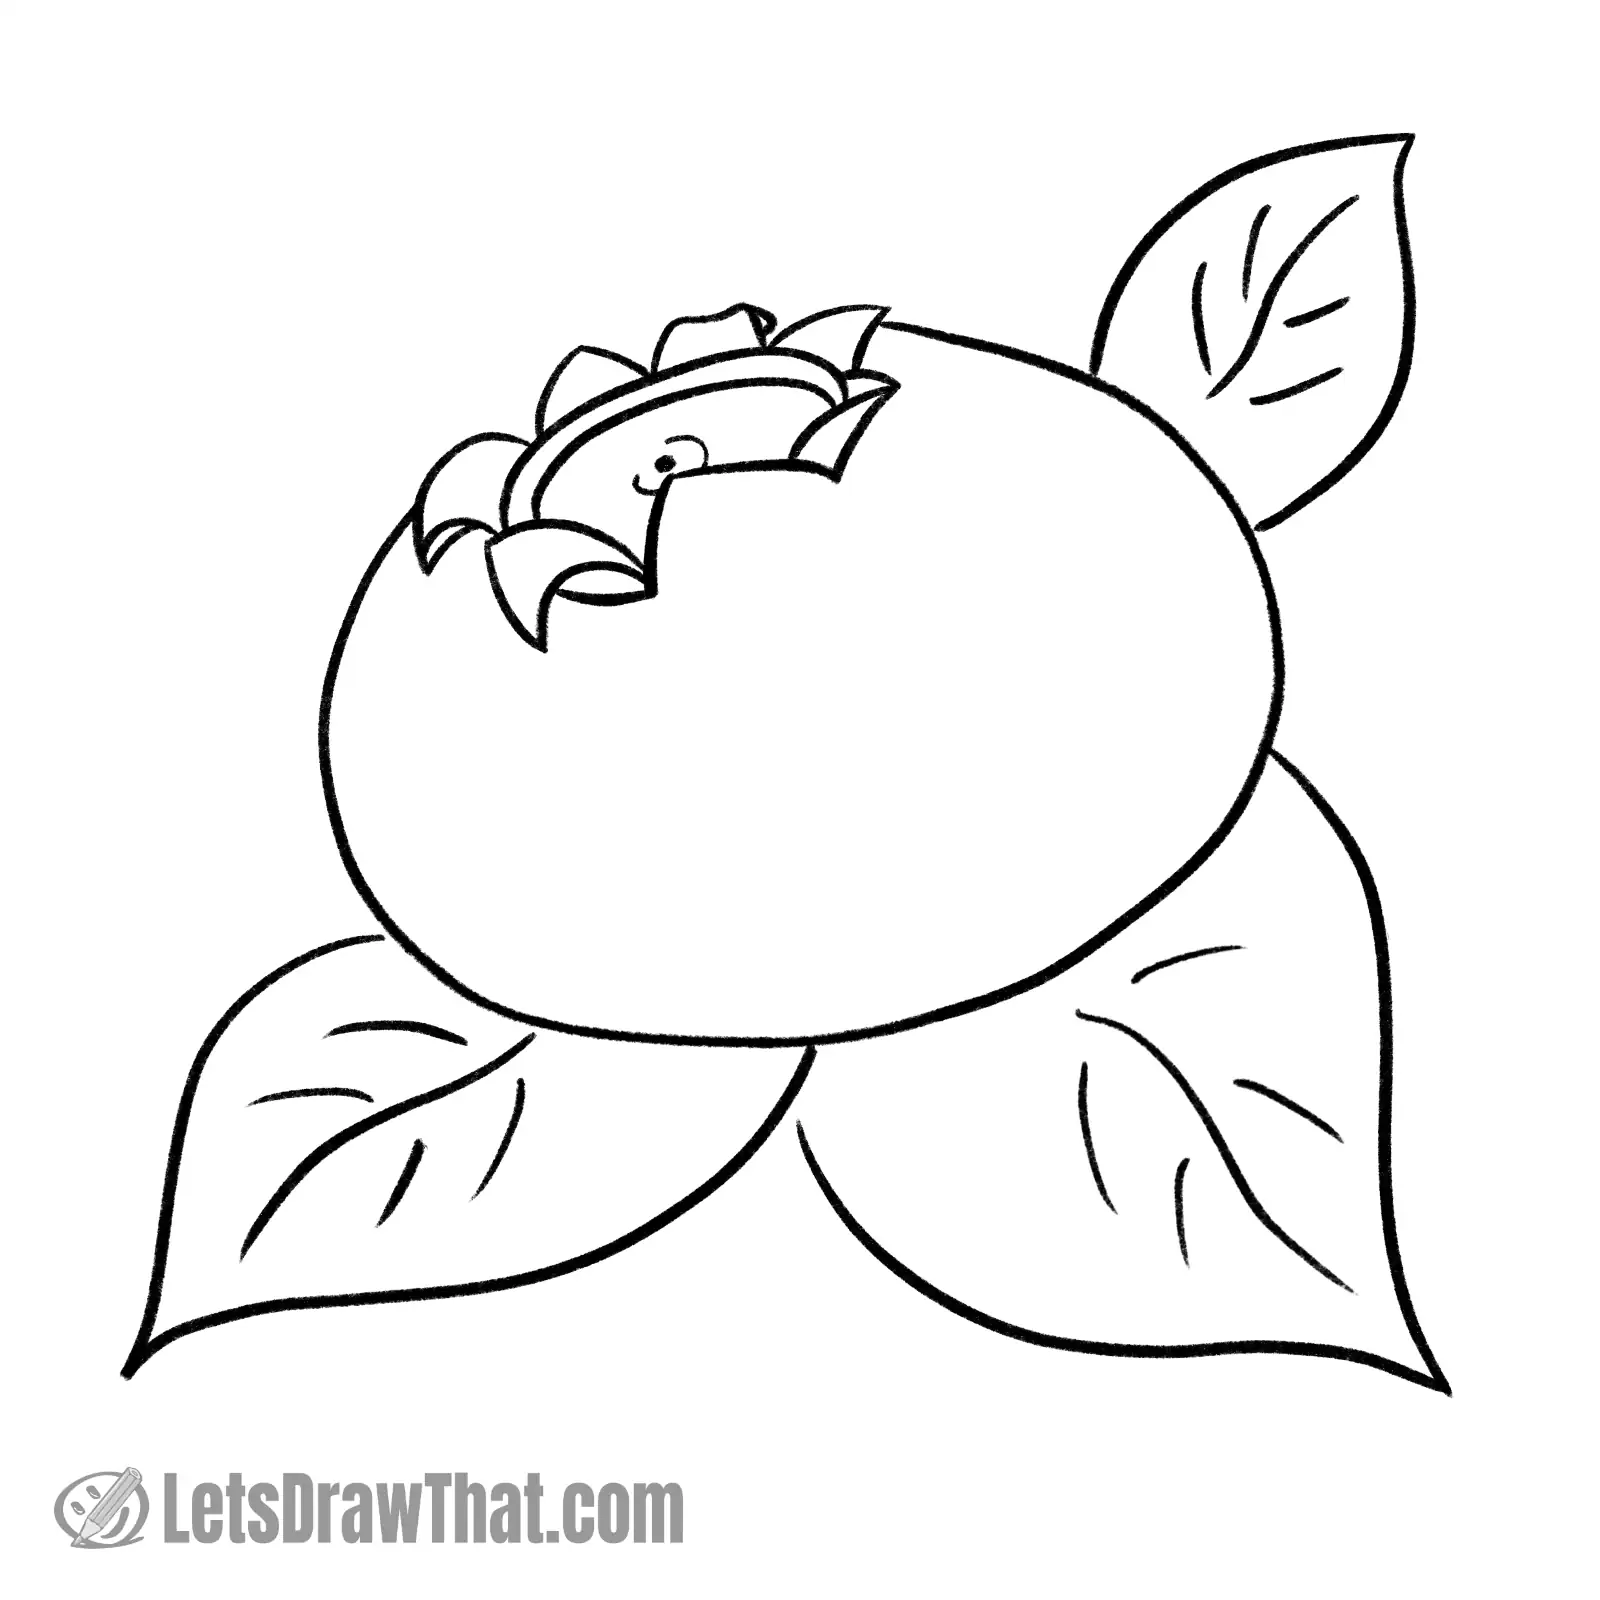
Easier blueberry drawing variation
If you are just a beginner or drawing with small kids, you can use the simple “V” shaped leaves all around the calyx oval, making the center look a little bit like a sun.
Here is the simplified version – it’s still looking pretty good. Notice the variation in the sepal leaves, although they are all just simple “V” curves.
Now that you know how to draw a blueberry, all that is left is to color in the drawing.
Blueberry drawing coloured-in
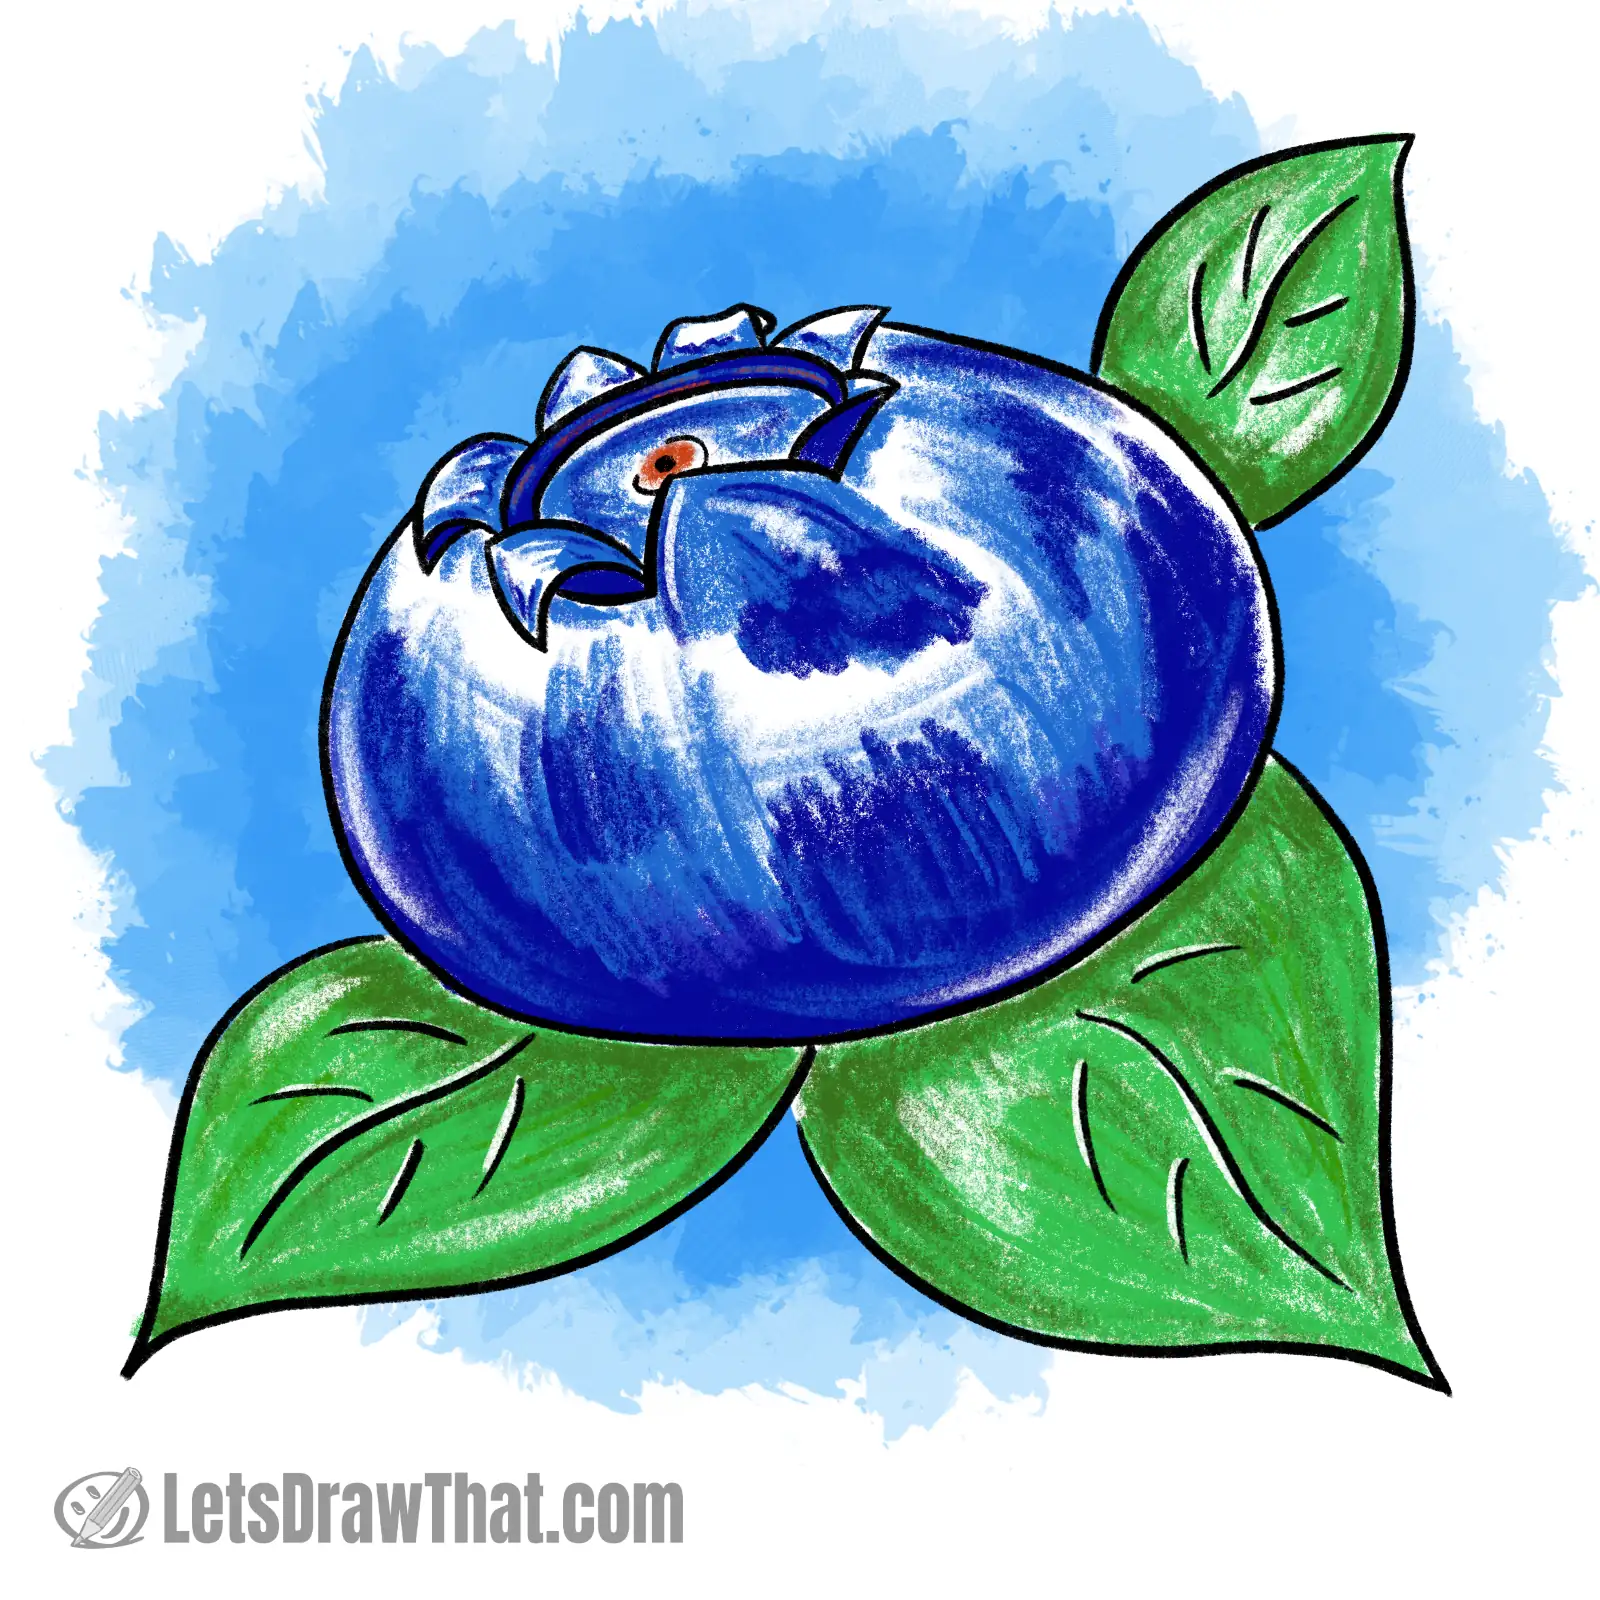
So here is the blueberry drawing colored in.
Now, obviously, the blueberry needs to be blue. Leaves are green. But notice we are using two different shades, dark and lighter, for both the blue and green to suggest some shades and texture.
As important as the color is to leave some white out for the highlights – that is where the light shines onto our blueberry drawing.
Simple blueberry drawing coloured-in
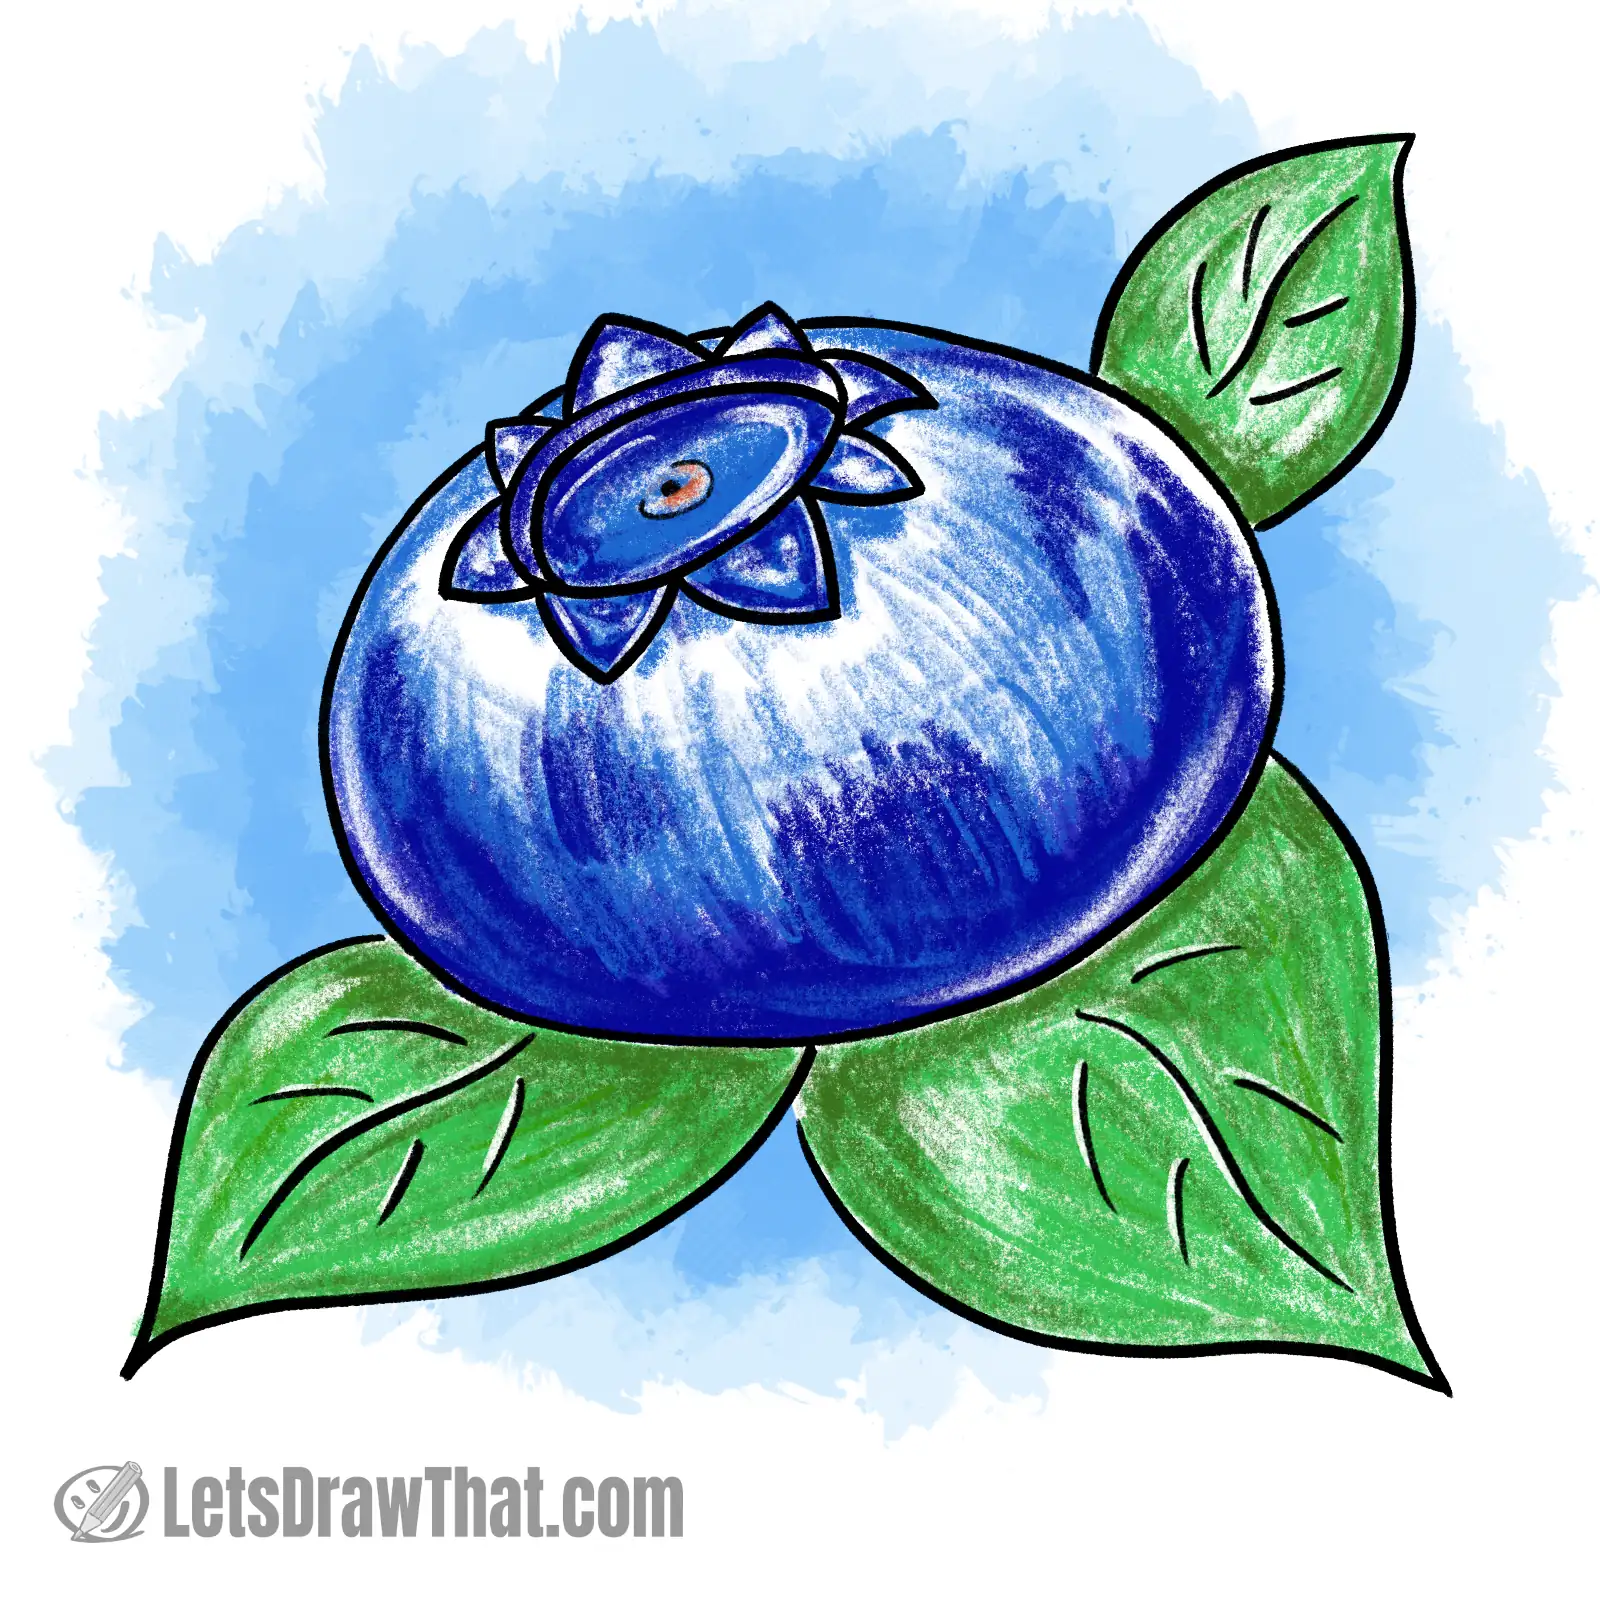
Just for good measure, we have colored the simplified blueberry drawing, too.
We still think that the one above is slightly nicer, although a bit more fiddly to draw. But hey, that’s what the step-by-step drawing tutorials are for – to challenge you into something new.
And that is it – now you know how to draw a blueberry! And if you enjoy drawing fruits, try your hand at drawing strawberries or learn how to draw cherries next.